Search
Search
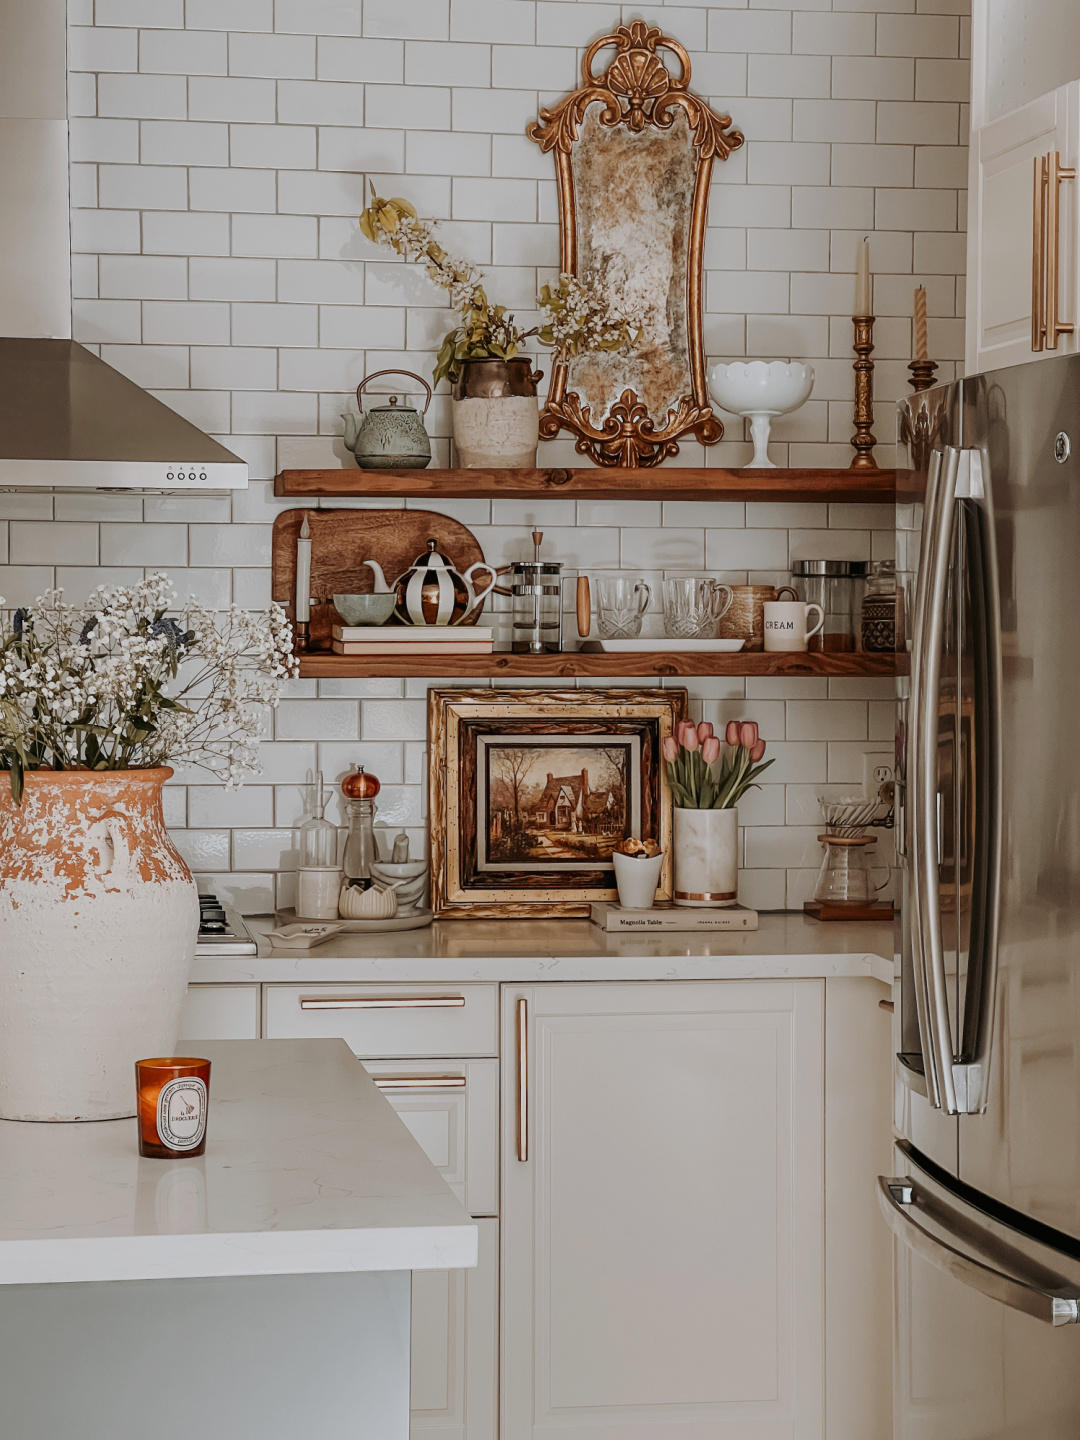
Elegant vintage French antique gold mirrors are absolutely one of my favorite things. Their price tag, on the other hand, not so much. That’s why it wasn’t until recently that the vision I’ve had to add one above my kitchen shelves for quite some time now hasn’t happened yet. Then one day, as I was perusing one of my local craft stores for something entirely different, I happened to spot this classic baroque-style mirror. Even though it’s not the size I had in mind for this area, its shape, and style made it irresistibly impossible to pass up. I decided to snag it until I eventually find the one I really envision for this spot. I want a mirror there to add a stylish statement and reflect sunlight on that side of the space since it’s one of the darker rooms in the house.
Since the mirror wasn’t in that antique style I’m after, I naturally knew I would get it looking as close as possible. One thing about me and my newfound objects – unless they’re actual antique and vintage pieces, you better believe any shiny new things I buy always get enhanced into that beautiful faux vintage/antique patina I’m drawn to. I would say about ninety percent of brand-new items that come into our home will inevitably get the aged treatment in one form or fashion. And for good reason. Not only because vintage items add that cozy warmth and texture to a space, but the combination of old and new creates an inviting space that often is most alluring.
Okay, let’s get into how I went about antiquing the mirror. Ideally, taking the mirror out of its frame to apply the antique treatment method from the back using a stripping liquid would have been my preferred way to go. However, the people who made this mirror decided to glue the mirror to the frame with the strongest adhesive known to man – thus, I had to opt for experimenting with antiquing this mirror from the front with paint I had on hand, using zero chemicals.
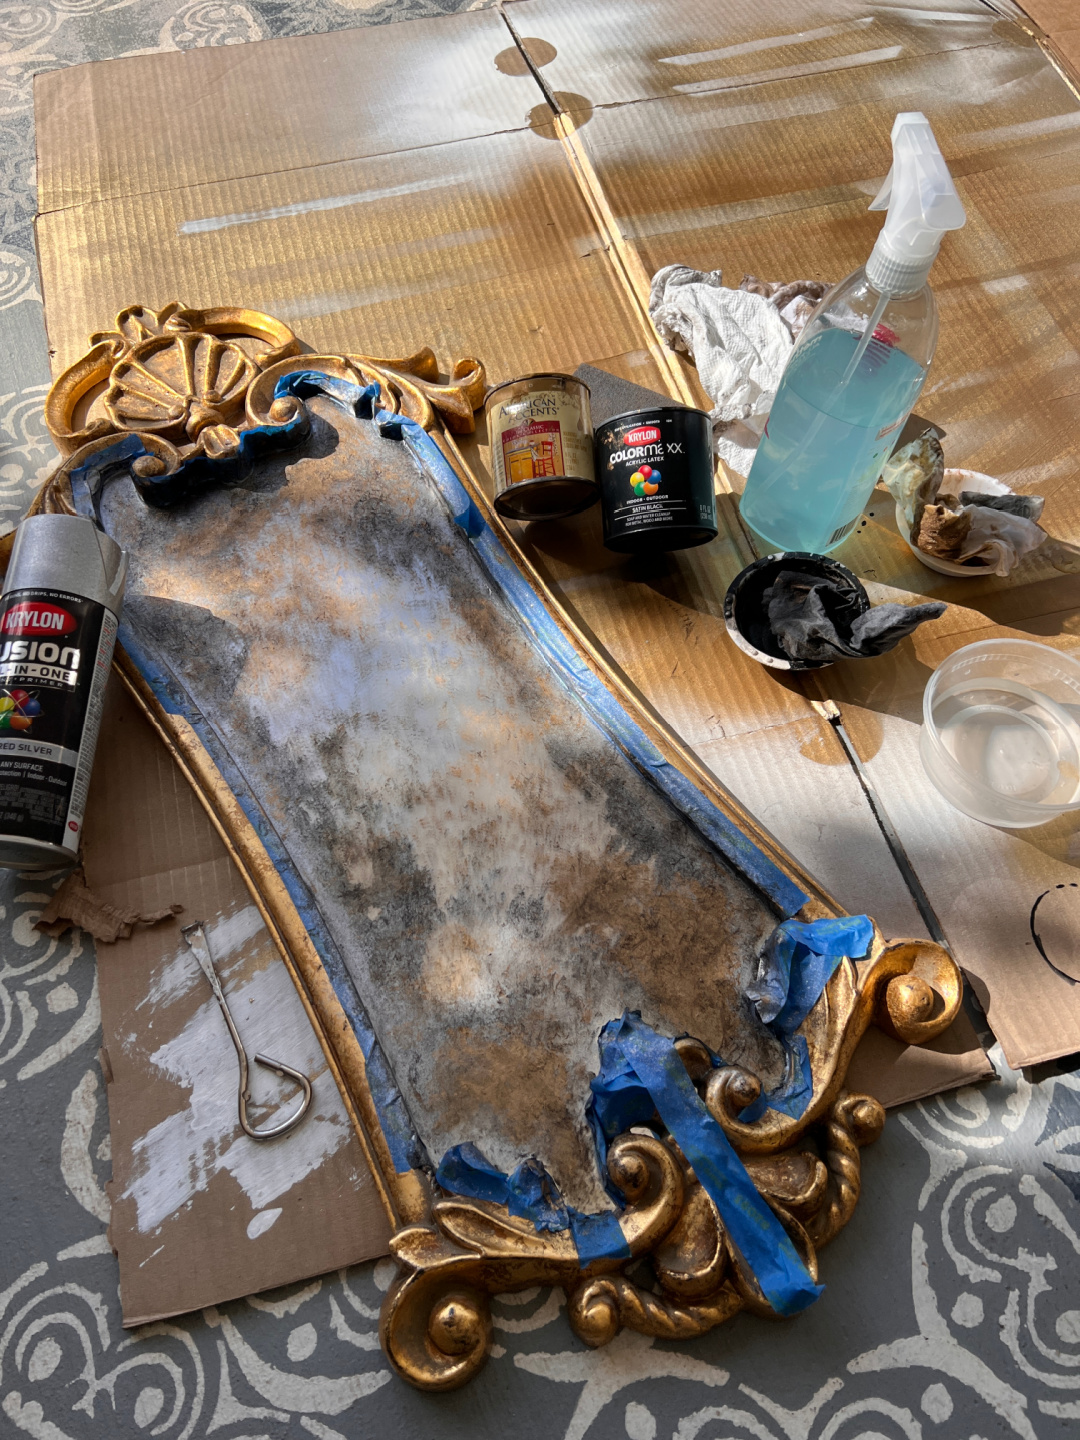
The good news is that this method of antiquing a mirror is the easiest DIY ever and spares you from the messy job of using harsh chemicals to strip the back of the mirror. Here’s what I used to accomplish the look-in-a-cinch with products I already had.
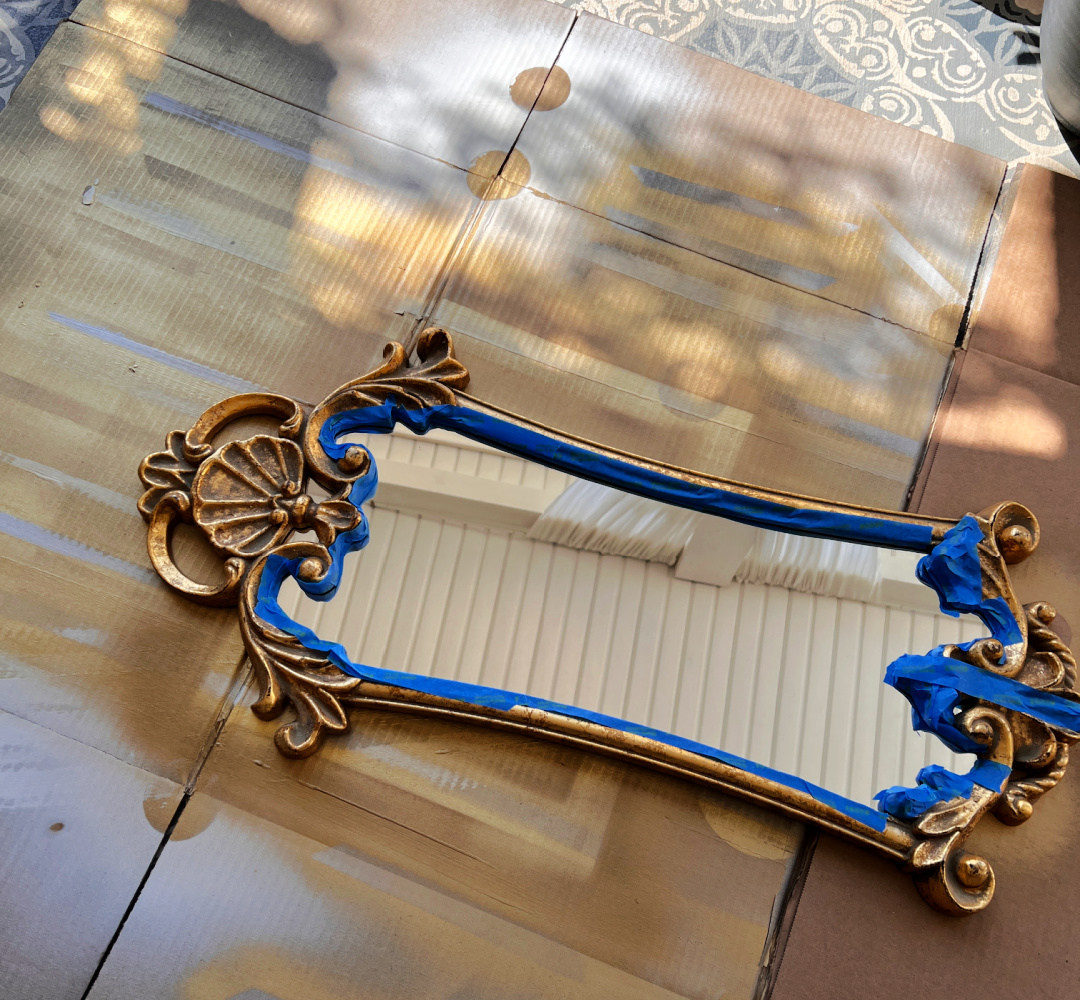
I taped around the frame to avoid getting paint on it. Then, I laid it on a large piece of cardboard to avoid getting paint on my patio floors. I then laid out all the supplies needed to complete the job.
First, clean the mirror’s surface. Once the mirror is dry, use the hammered metallic silver* paint and spray lightly around the inside edges, then mist the mirror with the Windex and vinegar mix. After that, take your small damp rag or paper towel and dip it in the black paint, making sure to wipe off any excess and dab it lightly on top of the silver around the frame until you’re satisfied with how it looks. Remember, the black paint is more of an accent, so you don’t need to add as much black paint as you did the silver paint. Just apply it strategically to give your mirror that old look. When you’re happy with how the black layer turns out, repeat the process by dipping your damp cloth into the gold paint, always wiping off excess paint, and then begin dabbing it around and in between the grey and black on the mirror until you achieve the pretty antique patina to your liking. This is what really takes the antique look to the next level.
What’s nice about applying the paints on the mirror’s surface is that you can always use paint thinner or acetone to remove any areas you may not be happy with and fix those areas as needed.
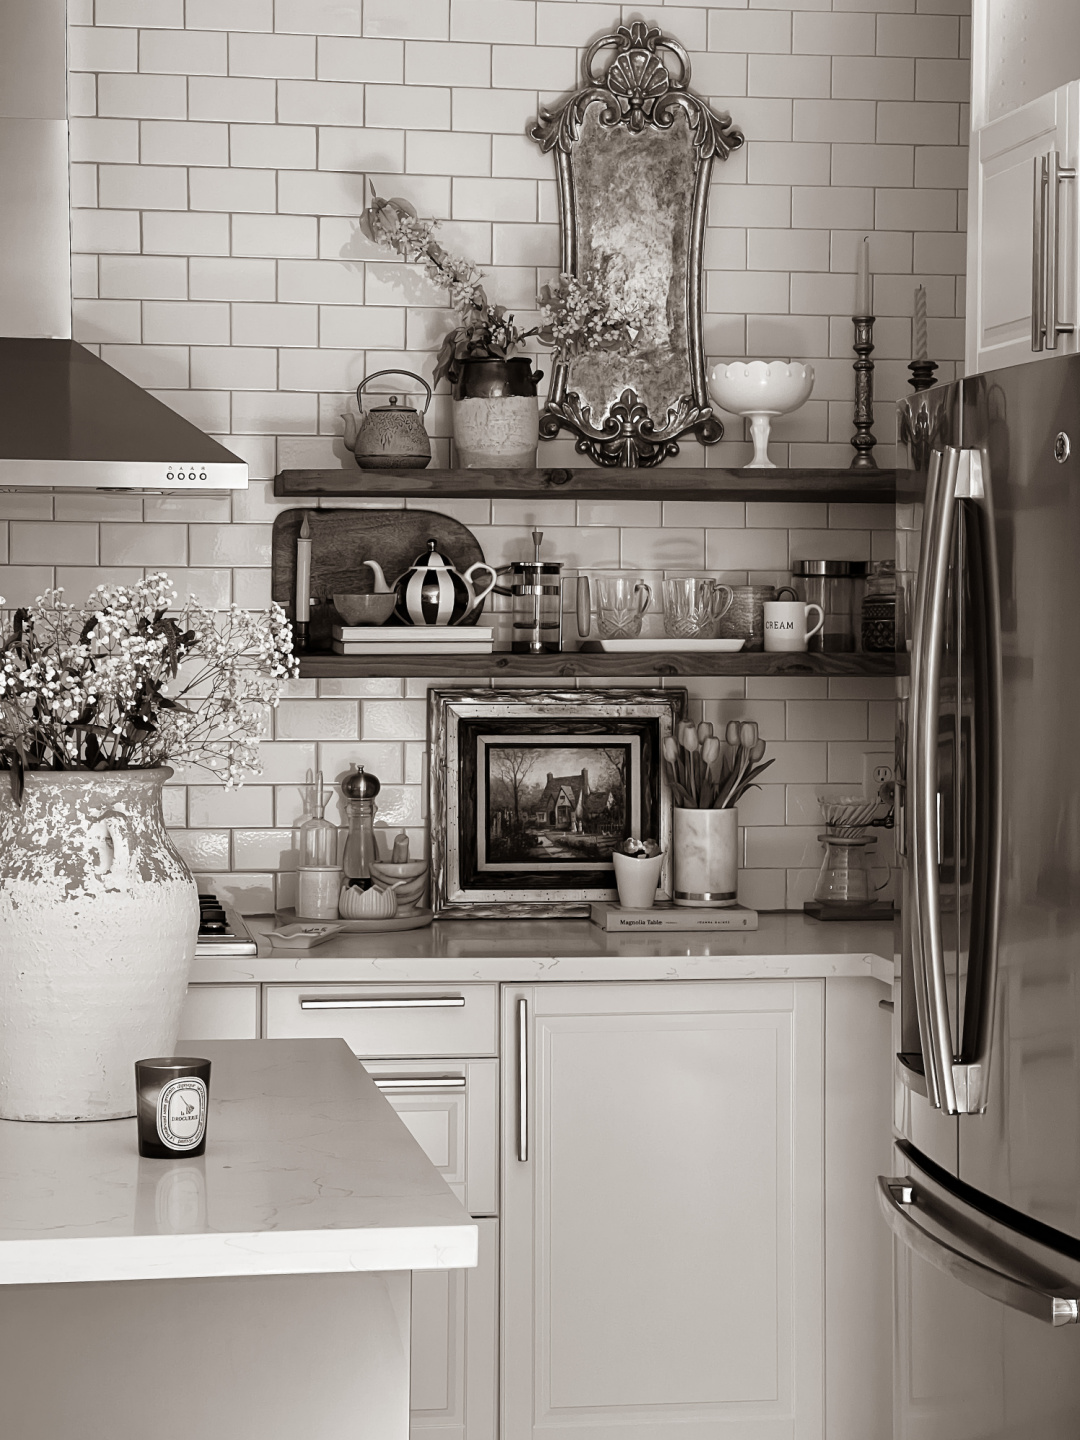
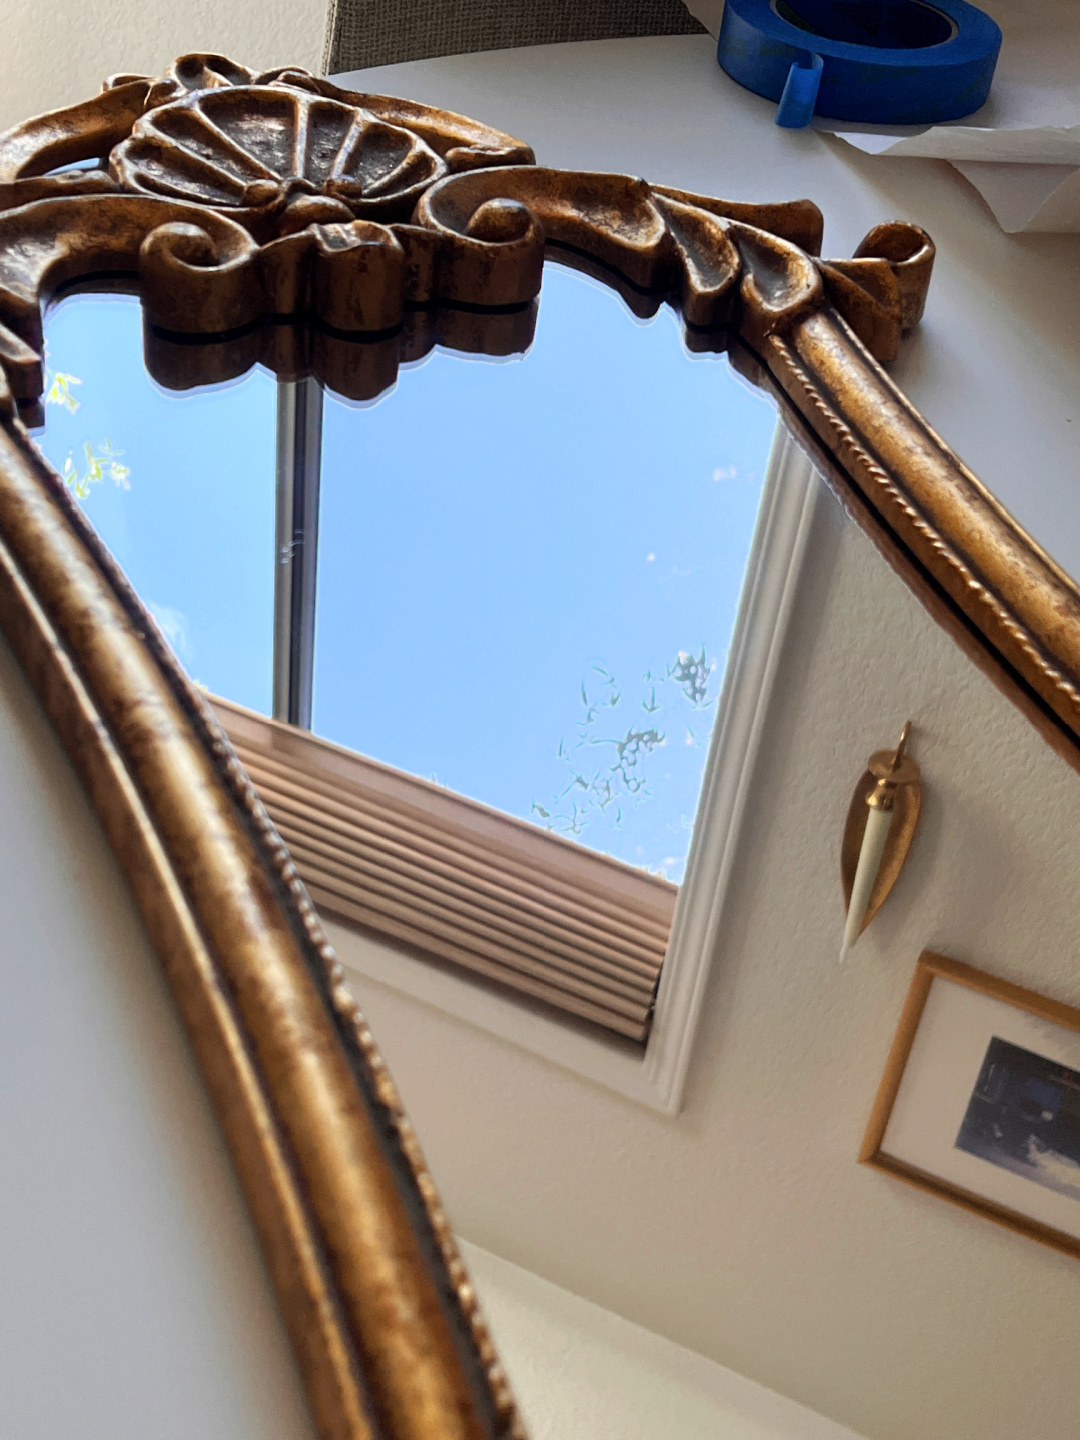
And voila! This is how you successfully antique a mirror from the front instead of the back! Allow your masterpiece to dry. When dry, hang it up, admire your beautiful work, and let it delight you daily.
* Please note: I did not cover the entire mirror with the hammered silver paint. I made sure I left most of the mirror’s center visible with light dabs of gold and black paint to give it a more realistic look.