
Search
Search
One of the downsides to renting is the relinquishing of good quality furniture. When you move from a home that you owned (which we’ve done twice) to going back to a rental in an attempt to live a simpler unencumbered life, you probably have what’s believed to be those “lifetime pieces”, which is furniture you purchased with the intent of never getting rid of. Forgetting the square footage of rental spaces and the pitfalls of moving, you might be gung-ho on keeping those good quality pieces, but soon, invariably you come to two realizations: 1) those beloved pieces can’t seem to fit anywhere in your new space, and 2) after a couple of moves watching your stuff getting banged up by careless movers, you can’t help but resort to buying some pieces of furniture not so much for their quality but more for their functionality. And that’s when IKEA becomes the favorite weekend excursion in exchange for puttering around in the garden on the weekends.
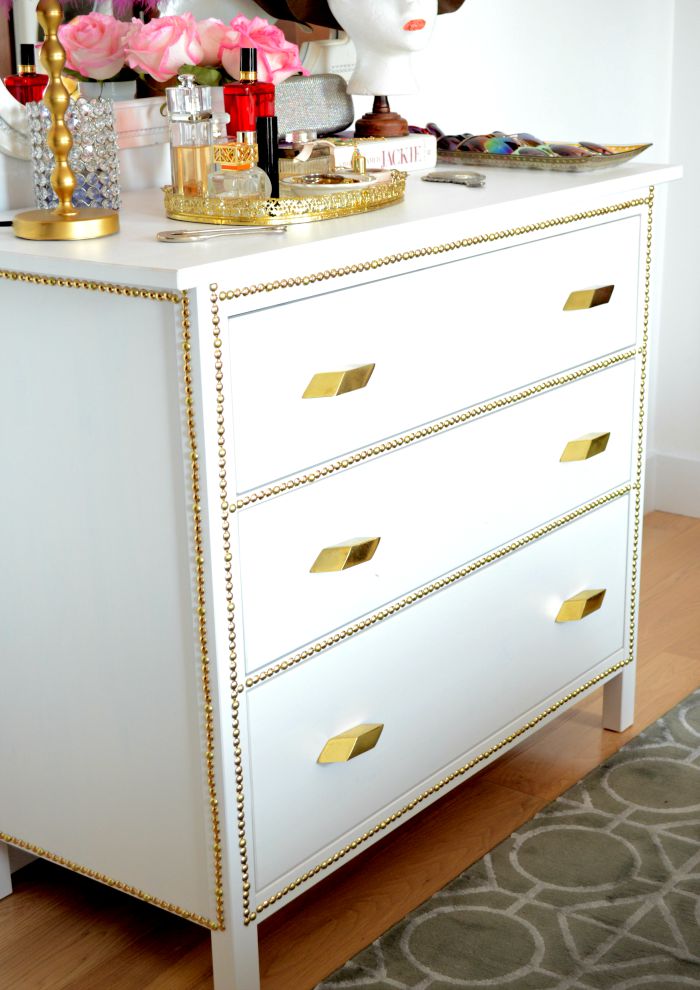
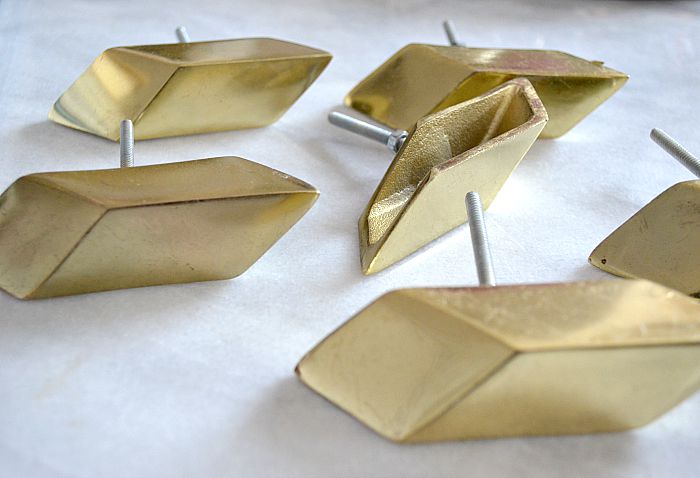
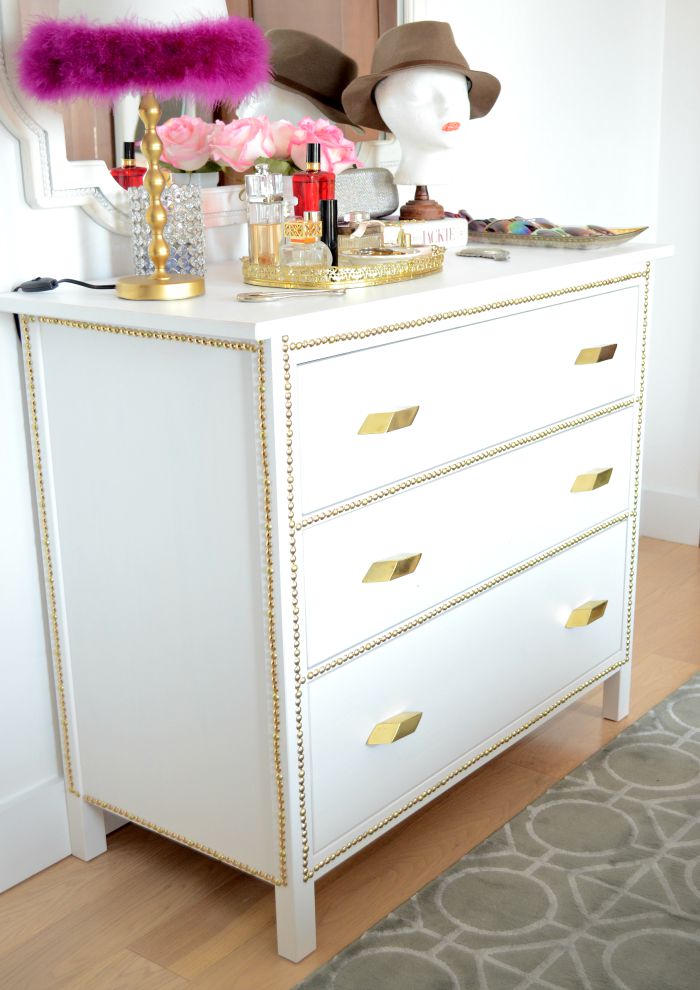
That said, I have to say that though IKEA is known for making inexpensive furniture, the hubby and I have actually had a great experience with the durability of their bookshelves and chest of drawers. They surprisingly have endured for years even after putting them through several arduous moves. Of course, being of the mindset that everything has greater potential, I look at IKEA furniture as a blank slate waiting to be transformed. So whenever I browse their store for a specific item, I always already envision the piece, not as it currently is but as how it’s going to look. Essentially, you can say that I view their furniture as I would couscous or quinoa (which by the way have you tried this recipe yet?) – a blank canvas that can be dressed and flavored any way you wish. For example, like our office bookshelves here and here, and now with their HEMNES chest of drawers. Thanks to the pairing of some sleek geometric gold knobs from Anthropologie (in exchange for its original tiny black pull knobs) to the studded gold nailhead trim detail, this plain unassuming chest of drawers went from a barely noticed piece to a more sophisticated timeless one that now glistens. I can’t stop staring and smiling every time I use it. It’s become a special piece other than a place where it accommodates my necessary items.
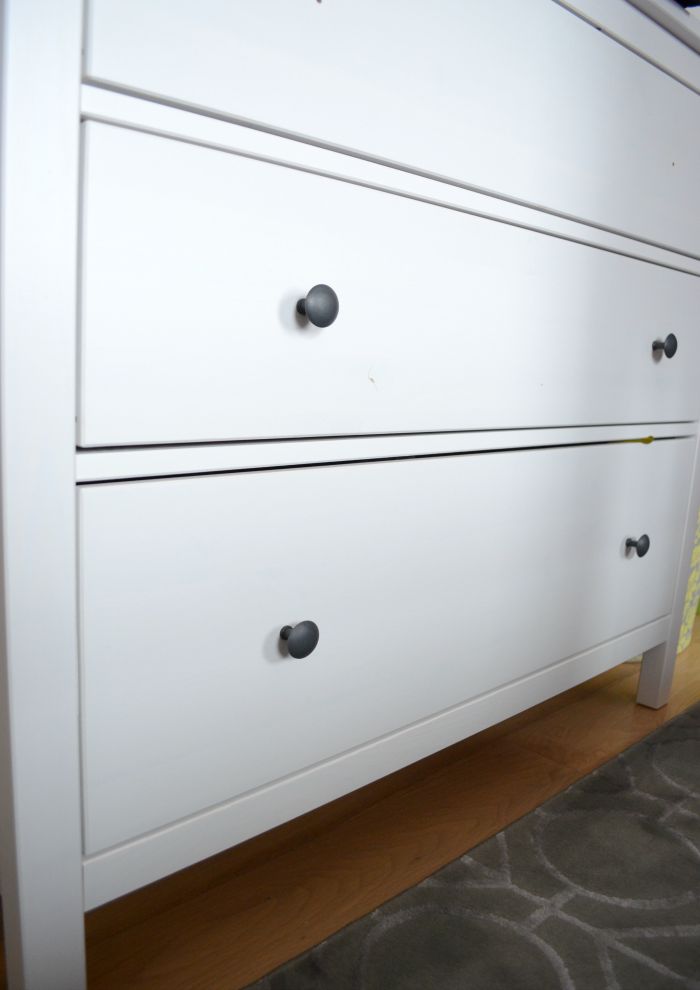
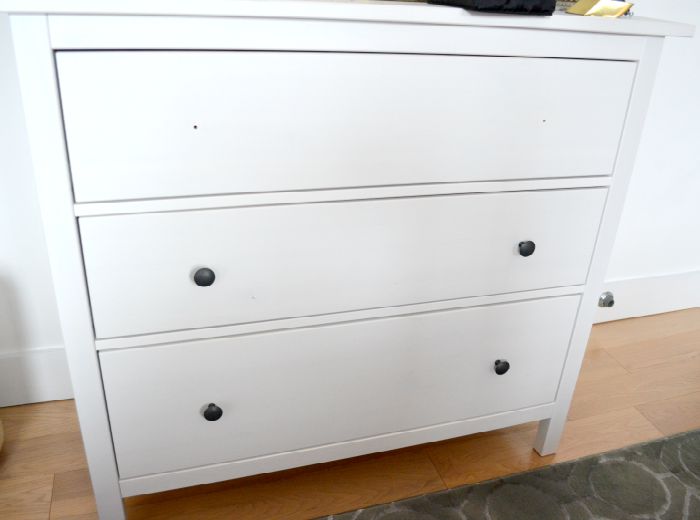
Before…
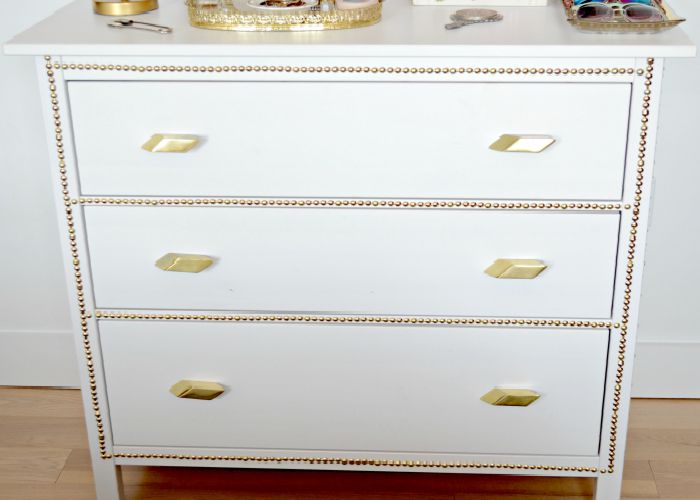
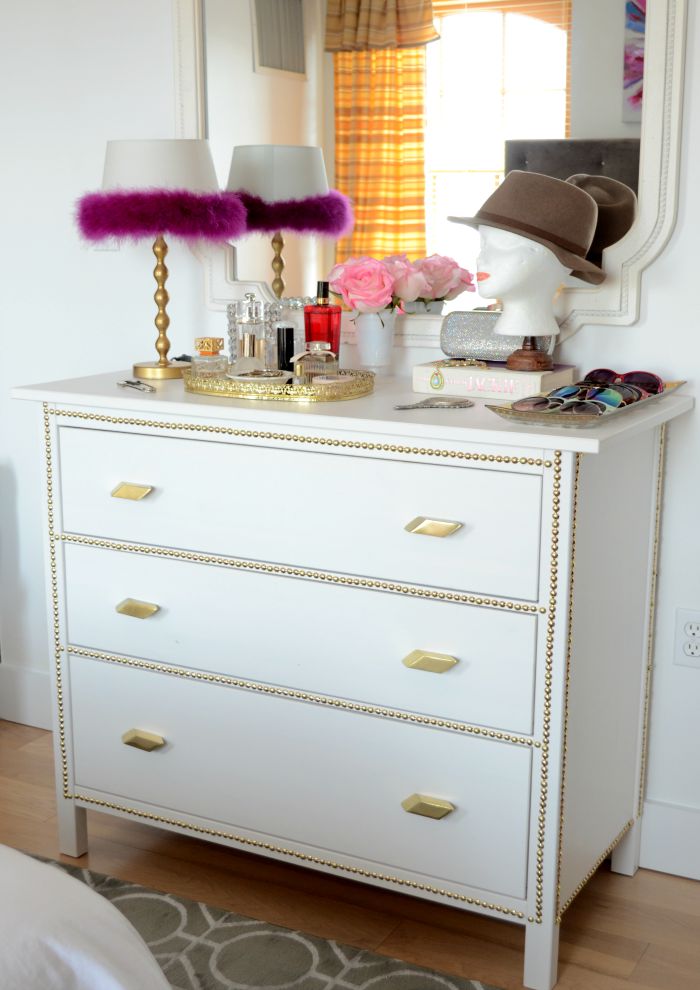
After…
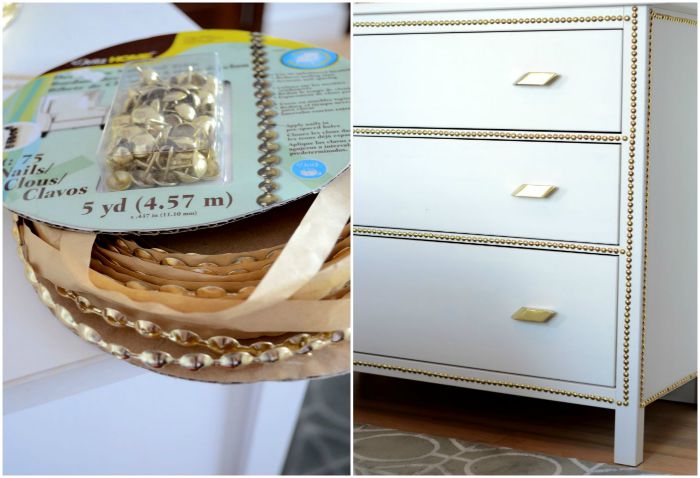
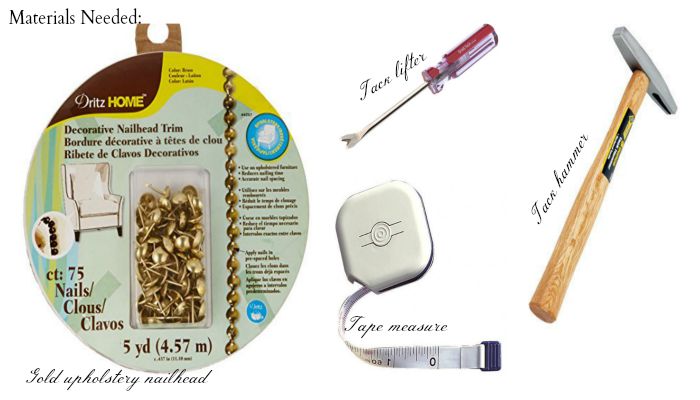
Gold Upholstery Nailhead Trim // Tack Lifter // Tack Hammer and of course the Chest Of Drawers
With all my nailhead projects, I always opt for the nailhead trim variety instead of individual nails as I find it less time consuming and easier to visually space/guide the nails in a straight shot – only having to apply a nail in every 5th hole. Beware: every now and then, you’ll find that one pesky uncooperative little nail will insist on going in crooked/bent no matter how precise your aim is at tacking it in. This handy dandy tack lifter is tiny enough to remove it without scuffing your furniture as opposed to using the nail remover of a regular-sized hammer. However, a better-suited item for this job is a rubber mallet as it won’t damage the surrounding wood when you do miss that shot. Speaking from experience. Here are the steps on how-to go about this project:
First Step: Make sure to wear gloves before handling the nailhead trim to protect your hands from tiny little cuts once you unravel it out of its packaging.
Second Step: Measure how long a piece you’ll need for each area of the dresser where you’re going to position the trim. Then cut all the pieces you will need – using the first cut piece as your guide. Then straighten each piece as much as possible before placing it onto your furniture. It ensures a seamless and quick application.
Third Step: Start nailing trim from the top down while eyeing or have a friend or your better half help you keep a straight line down as you tack in each 5th nail in the holes.
Fourth Step: Once all completed, give yourself a big pat on the back for your ingenuity as you sit back and admire your beautiful work.
I’m still debating whether or not I want to top off the legs with a band of gold paint 3 inches up from the floor. Hmmm…we shall see.
P.S. If you have any questions or have more tips, please feel free to leave them at the comment box below this post.