Search
Search
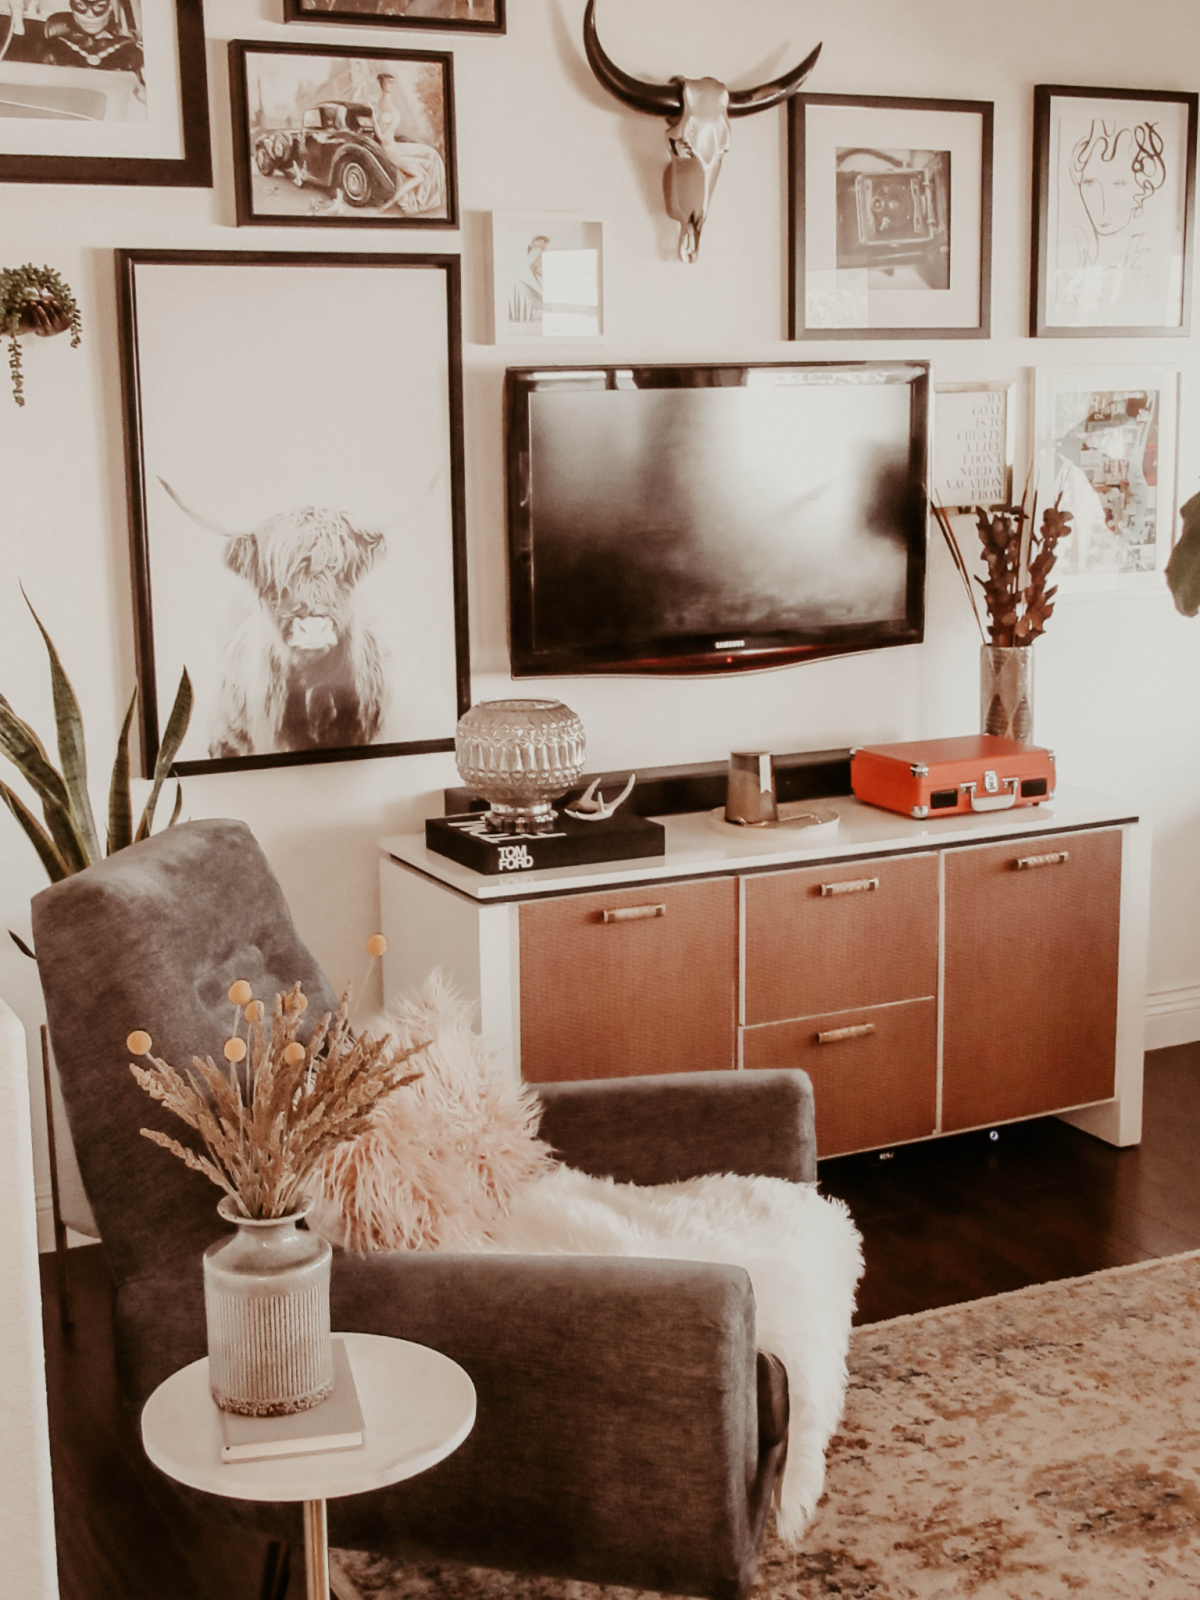
You know how I feel when it comes to using details to make a major impact. Details… details… details are my secret trick to making a good statement. Whenever I have to wait until I have the budget (or not) to buy new furniture or renovate a room, one of my clever go-to solutions to refresh a space has always been in the details. It’s one of those design aspects I favor so much since it challenges me to be a little bit more ingenuitive in the most clever way to elevate a room or a piece of furniture with minimum cash and effort. For instance, this…
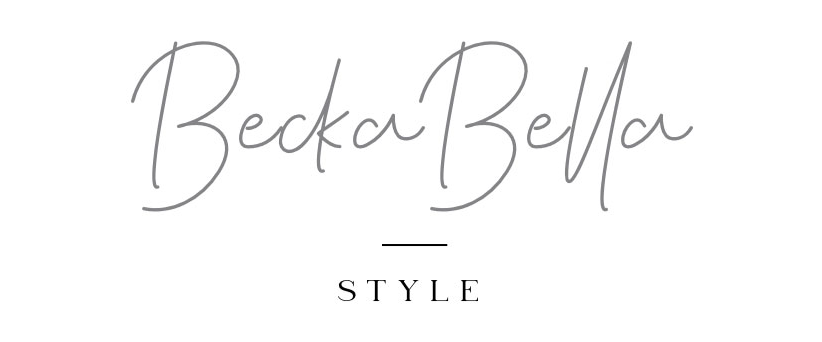
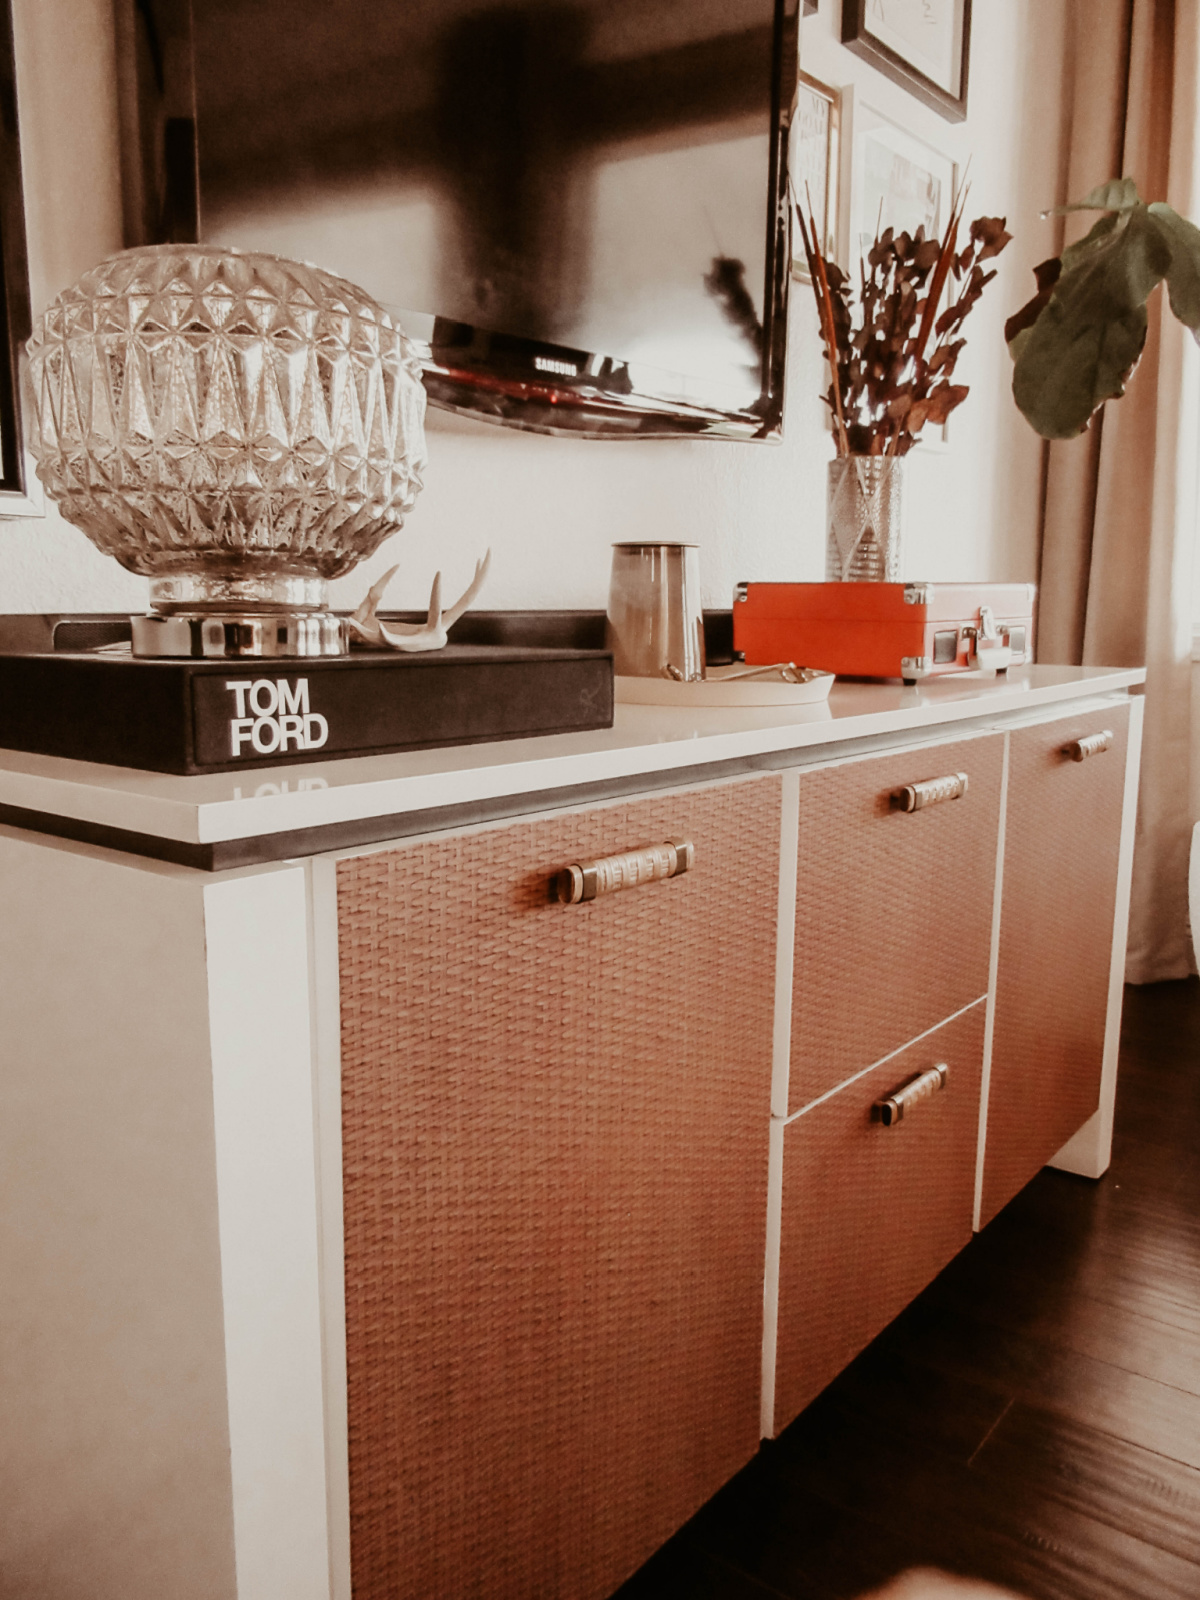
This console cabinet has been with us for over ten years now. A pretty hefty piece of furniture that’s quite a beast to move, I might add! Having grown tired of it, initially, I wanted to upgrade to a newer piece. Something mid-century modern with warmer tones. But since right now we’re concentrating on acquiring pieces for our backyard, I decided to go another route. After all, this tv media console is still in perfect condition and serving us well at the moment. While replacing its previous silver door pulls with the new natural rattan wood and metal ones last July gave it a mini facelift, I felt it still lacked pizzazz. So I opted for one of my all-time favorite cost-effective resolutions: self-adhesive, removable wallpaper to breathe life into it. Self-adhesive, removable wall coverings are such an easy way to instantly add character, texture, and design depth and are one of my go-to options for quick DIY projects like refreshing walls, the back of bookshelves, shelvings, dressers, and sprucing up tired furniture that’s either dated or in desperate need of a pick-me-up. The woven pattern of this paper brings that natural texture and timeless style I imagined for this area of the living room.

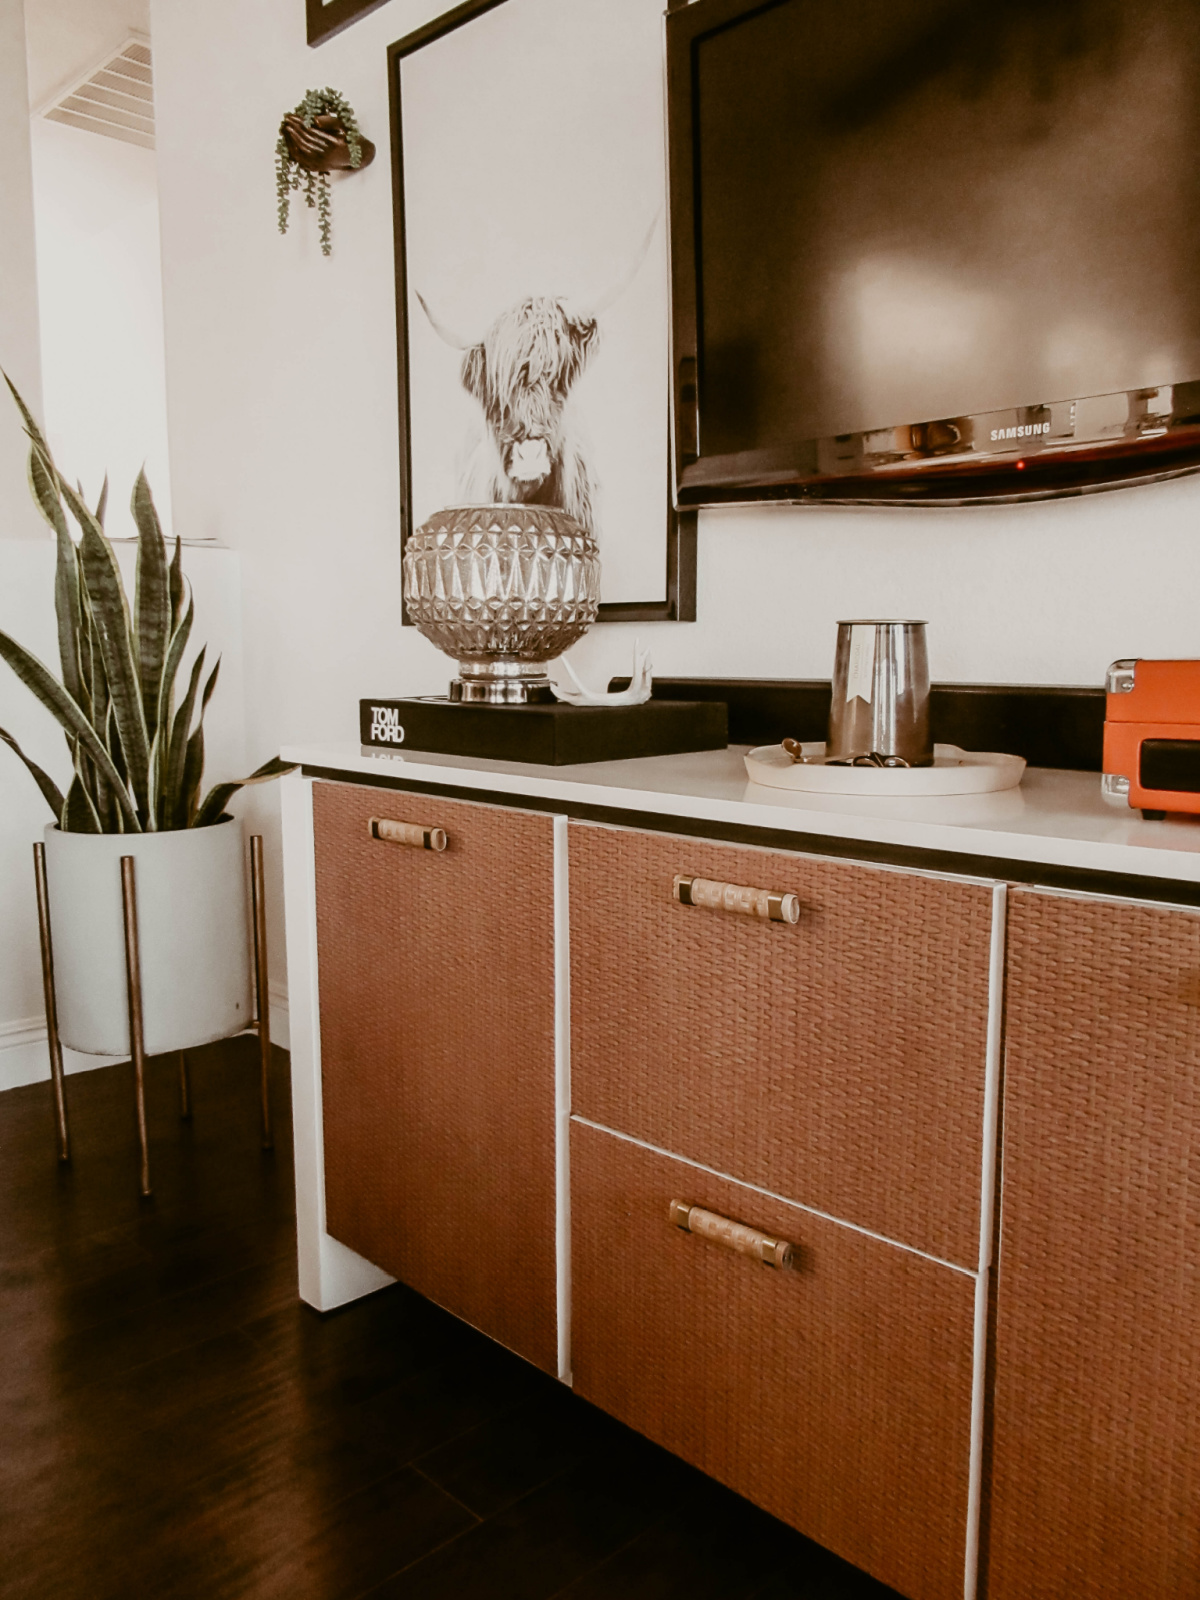
Applying this self-adhesive paper was pretty easy. The media cabinet had a smooth surface with a semi-gloss finish which is one of the perfect surfaces for self-sticking wallpaper, so there was zero prep. All we needed was a pair of scissors, a straightedge, paperweight, paper for templates, wallpaper squeegee (this wallpaper smoothing kit is a great one to have if you don’t already have one), a partner to help guide and align the paper, and a love for beautifying your home one piece-at-a-time! With the help of hubby, the job was a breeze and got done in less than a couple of hours, only because we took our time and ate our lunch in between while watching Television.
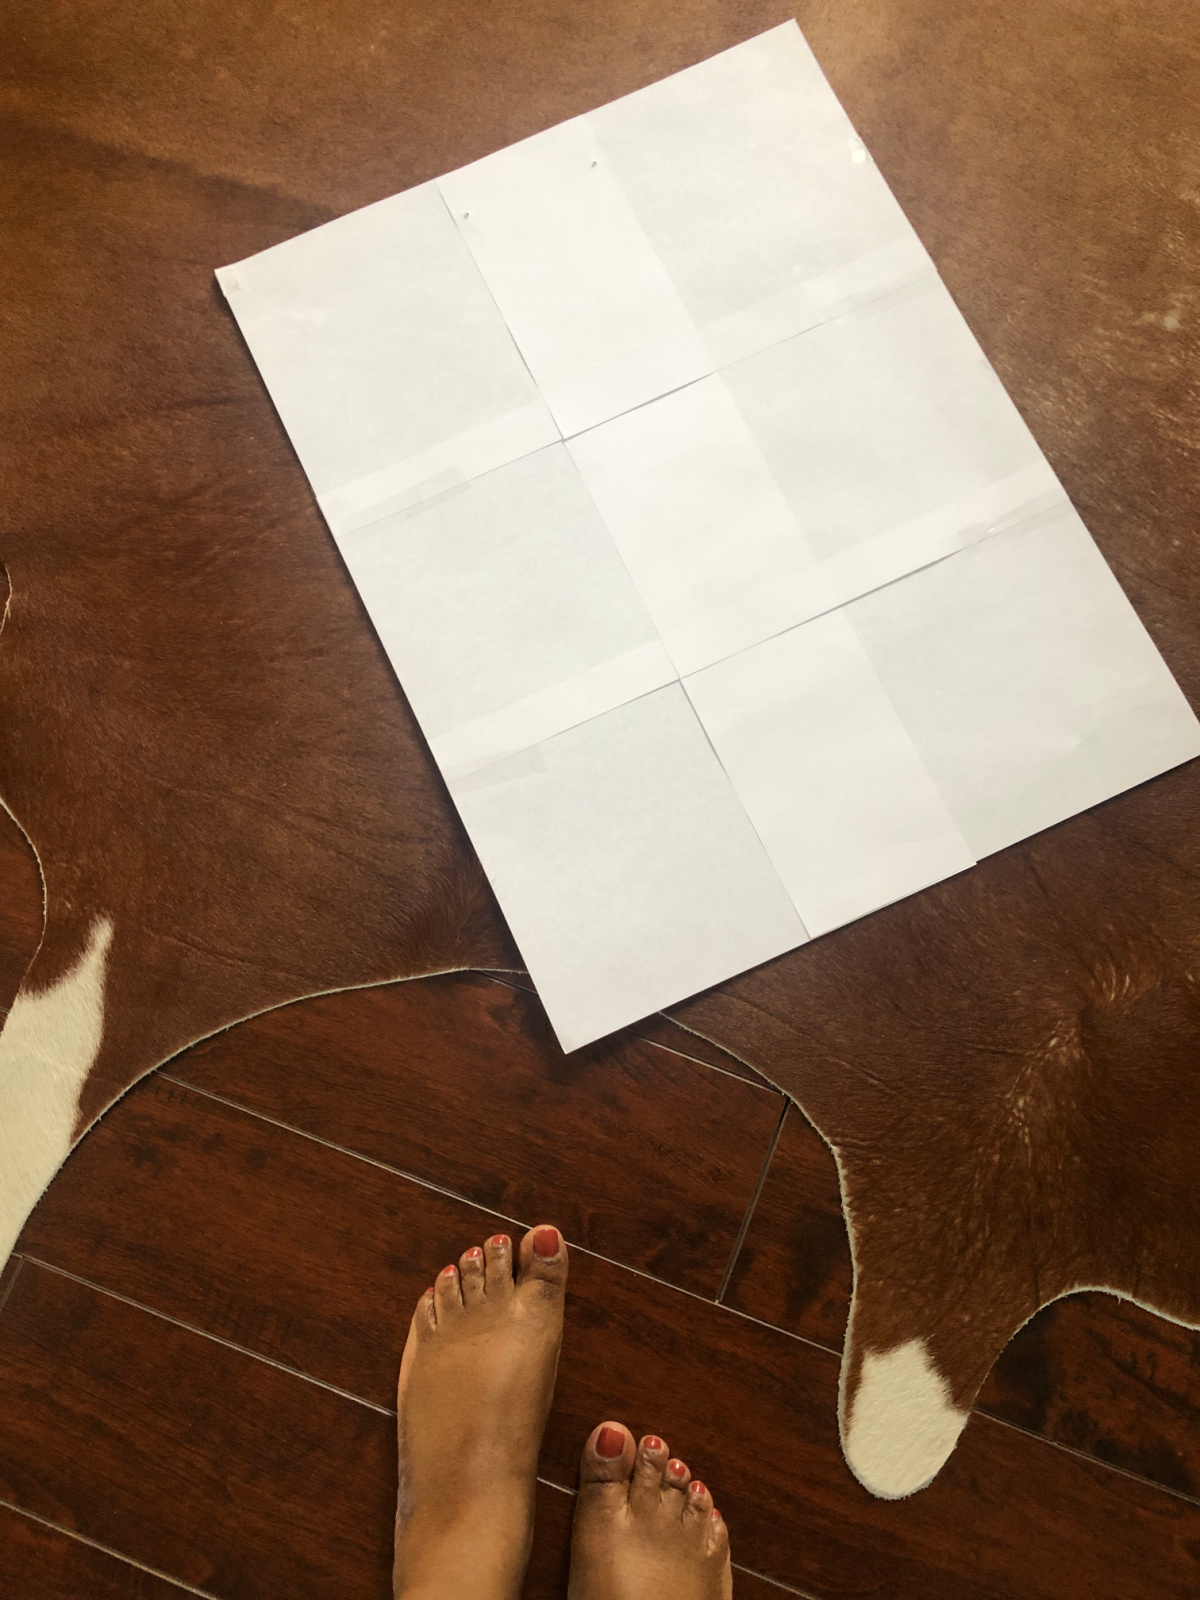
I highly suggest to measure out the area you’re covering and use a template to ensure precise cuts for a perfect end result. I always say, “measure twice and apply once.”
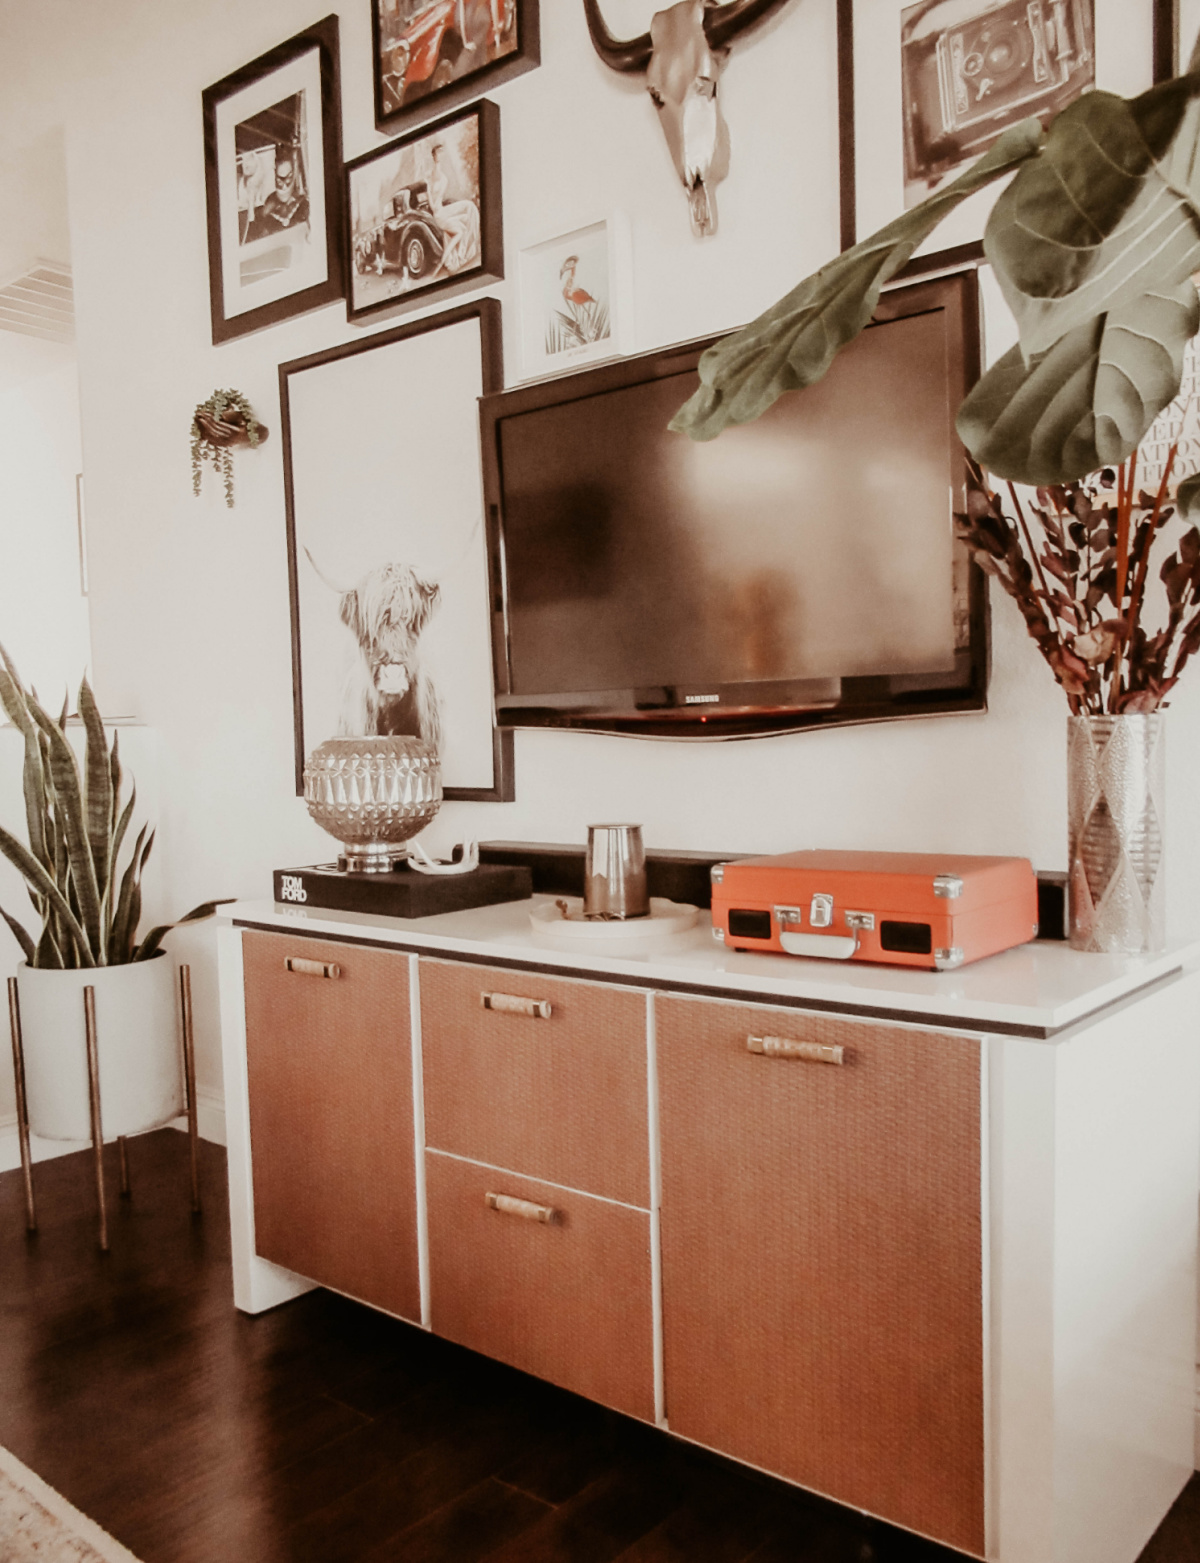
What’s nice about this quick and easy DIY is that it adds a fun and whimsical element to your design without the risk of damage you may experience with traditional wallpaper and paste. This is one of those easy and most cost-effective upgrades that make me giddy. Such a simple way to reimagine your environment – proving that living beautifully doesn’t have to cost a lot of money, time, or be complicated. I love the refreshed energy it breathes into the room – a new start to our space for the new year if you will.