
Search
Search
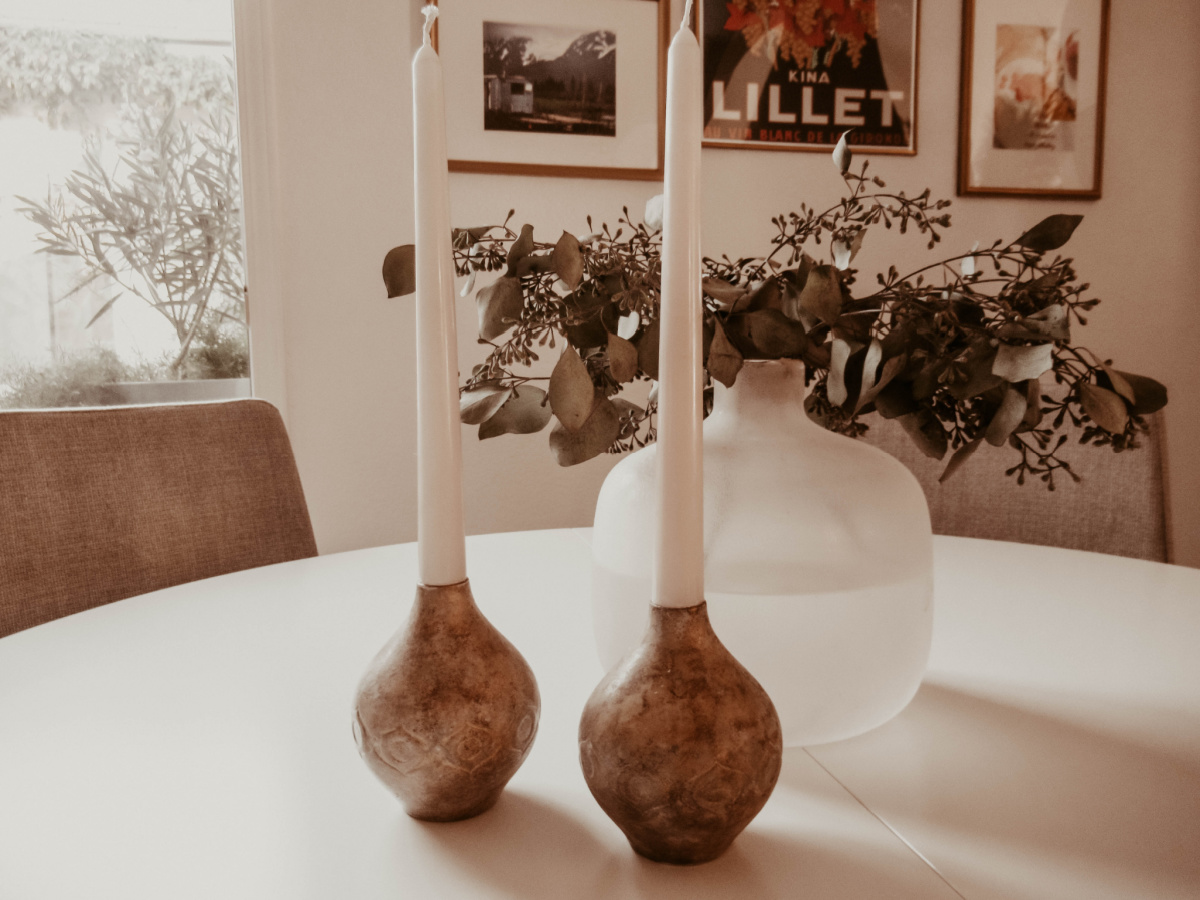
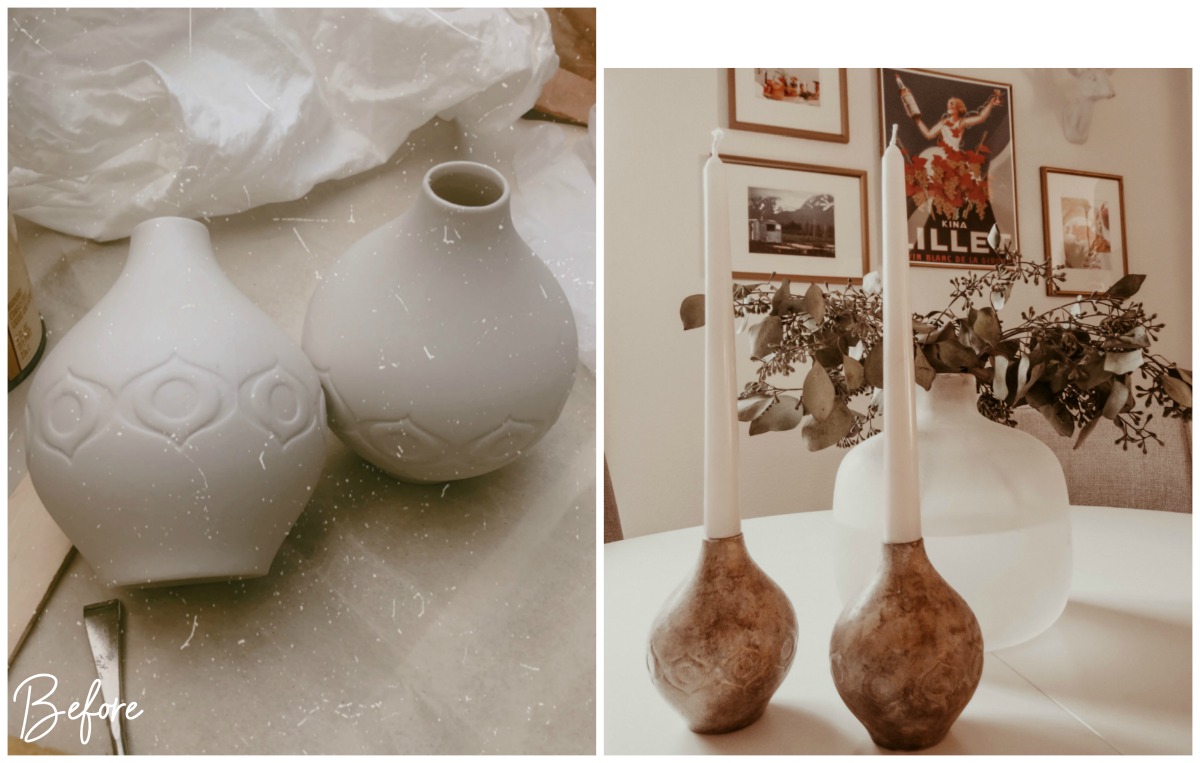
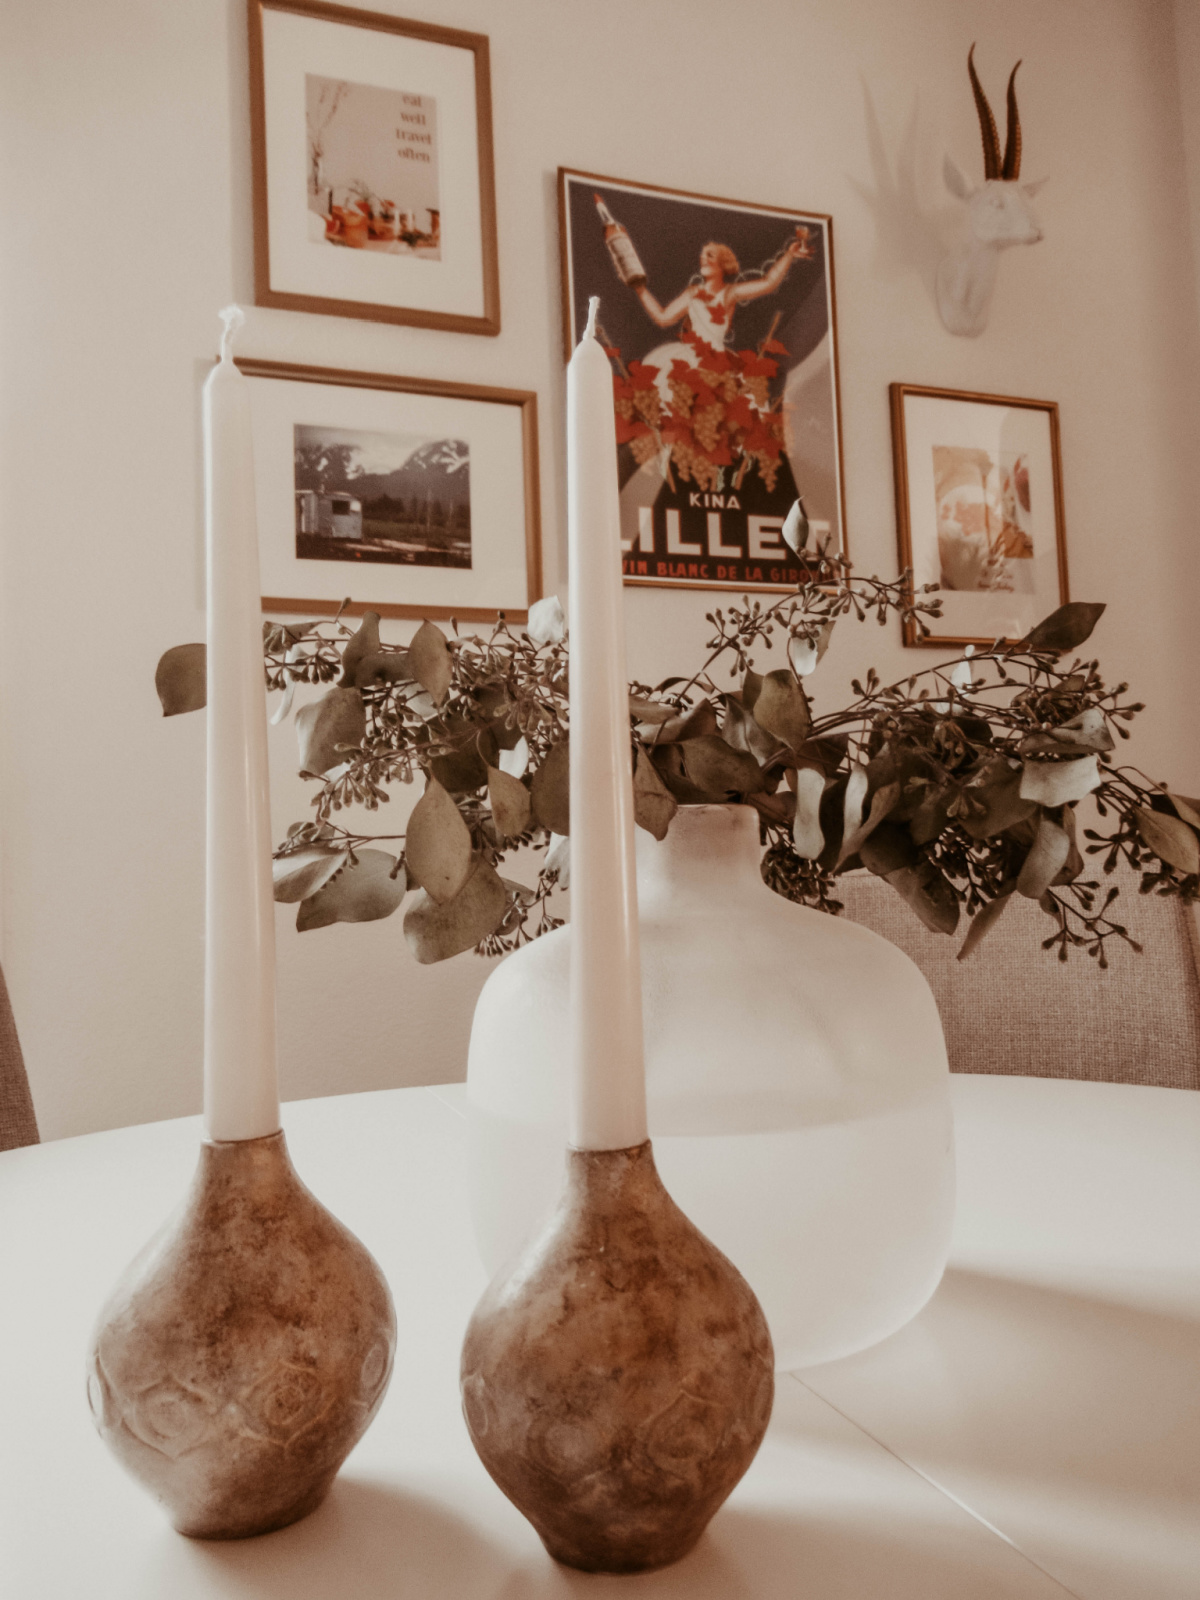
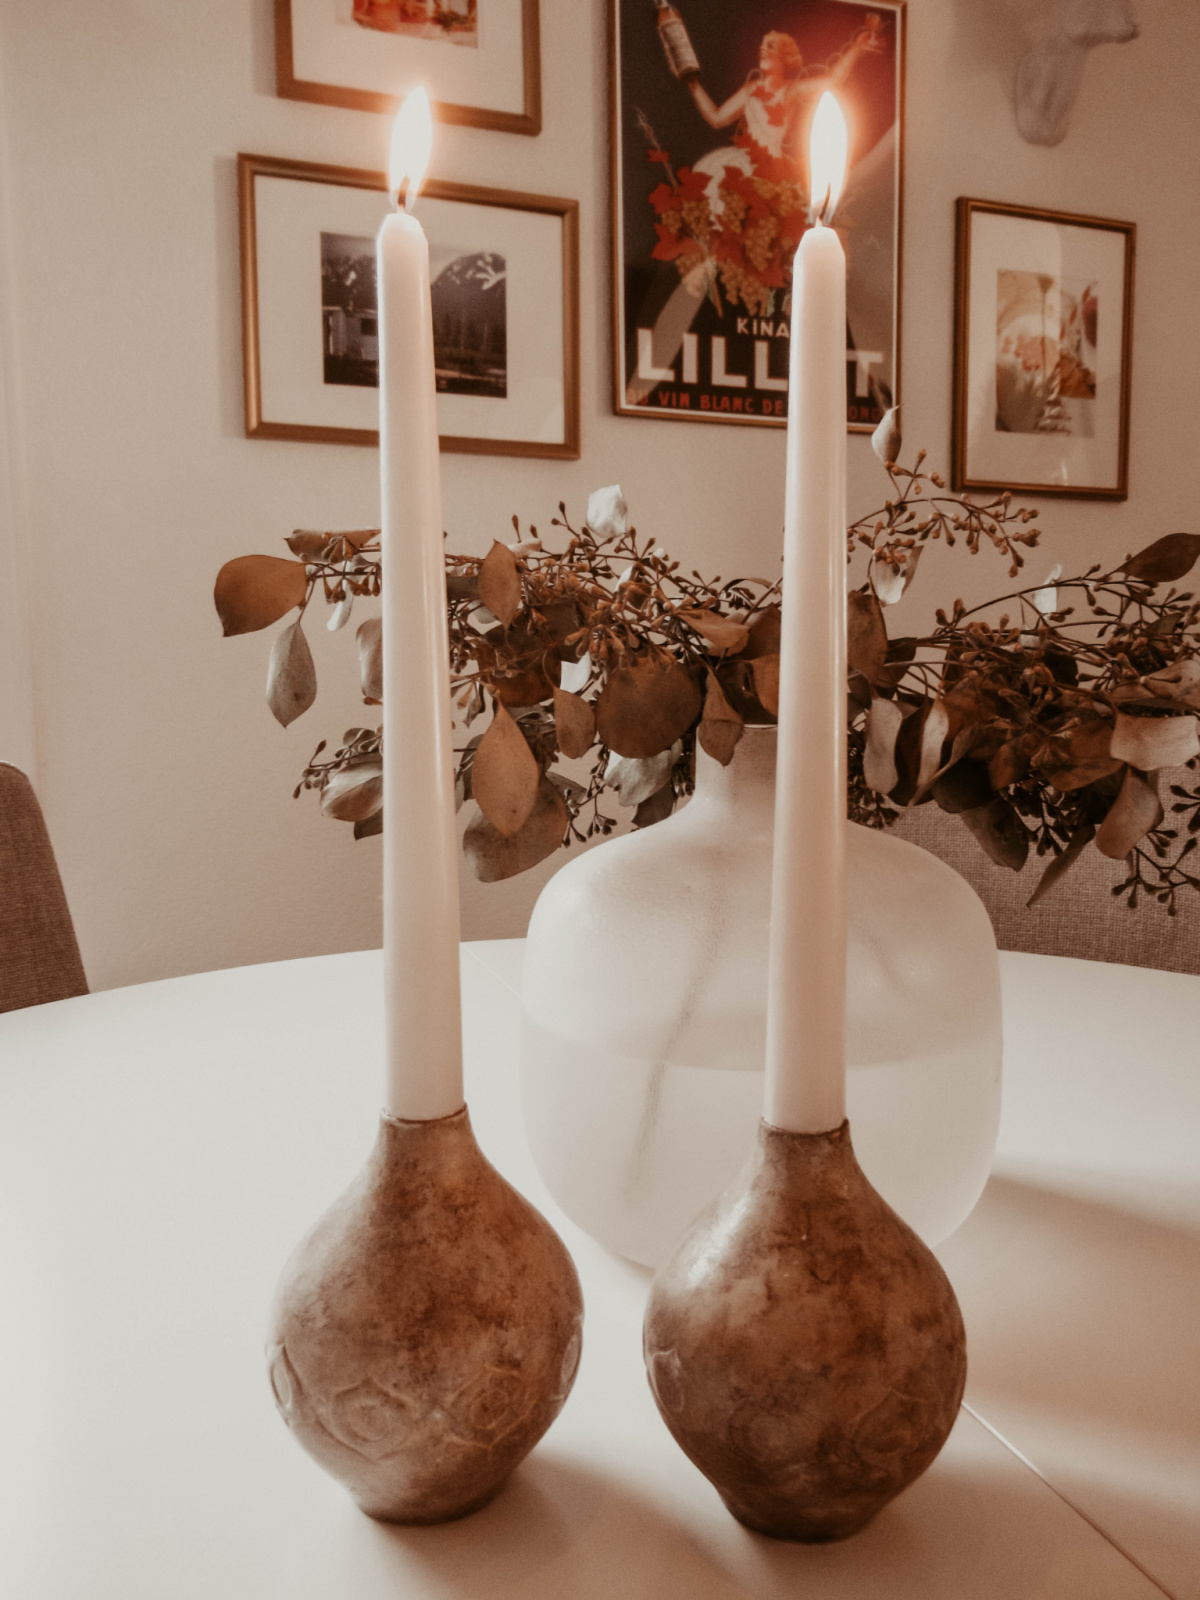
Isn’t it true that two people can look at the same exact thing and see something totally different? It’s not what we look at that matters, it’s what we see. Case in point, take these two small white bud vases transformed into candleholders. During my first outing back to one of the local thrift stores in months, these pretty little bud vases were the second things I spotted upon entering the store. I immediately saw their potential to be elevated to a unique pair of candleholders instead. I’m known for always having a different idea for things I see. Everything and everyone in my eyes have the potential to be enhanced to something extraordinary. Being able to put my own touch on what I find, from my wardrobe to my home, whether new or old is inevitable.
Rethink the basics. Classics didn’t come about without pushing the boundary of seeing beyond the obvious. As already mentioned, there’s nothing in my life from my home to my wardrobe, jewelry, and shoes that I don’t revamp – most times, in their own unique and unexpected ways.
Supplies Needed:
~ 2 small white bud vases
~ Grey paint (it could be acrylic. I used small paint samples I had on hand)
~ Paper towel and a rag
~ gloves
~ Mixing plate ( I didn’t use one, but completely up to you)
~ Nail polish remover (to wipe off any excess paint/stain application)
Instructions:
Here’s how I went about turning these bud vases into candleholders. First, sand your bud vases slightly to rough up the surface a bit, so your paint can adhere well. Thoroughly wipe off the dust before starting to add paint. I didn’t have to sand mine since they had a pretty porous surface already.
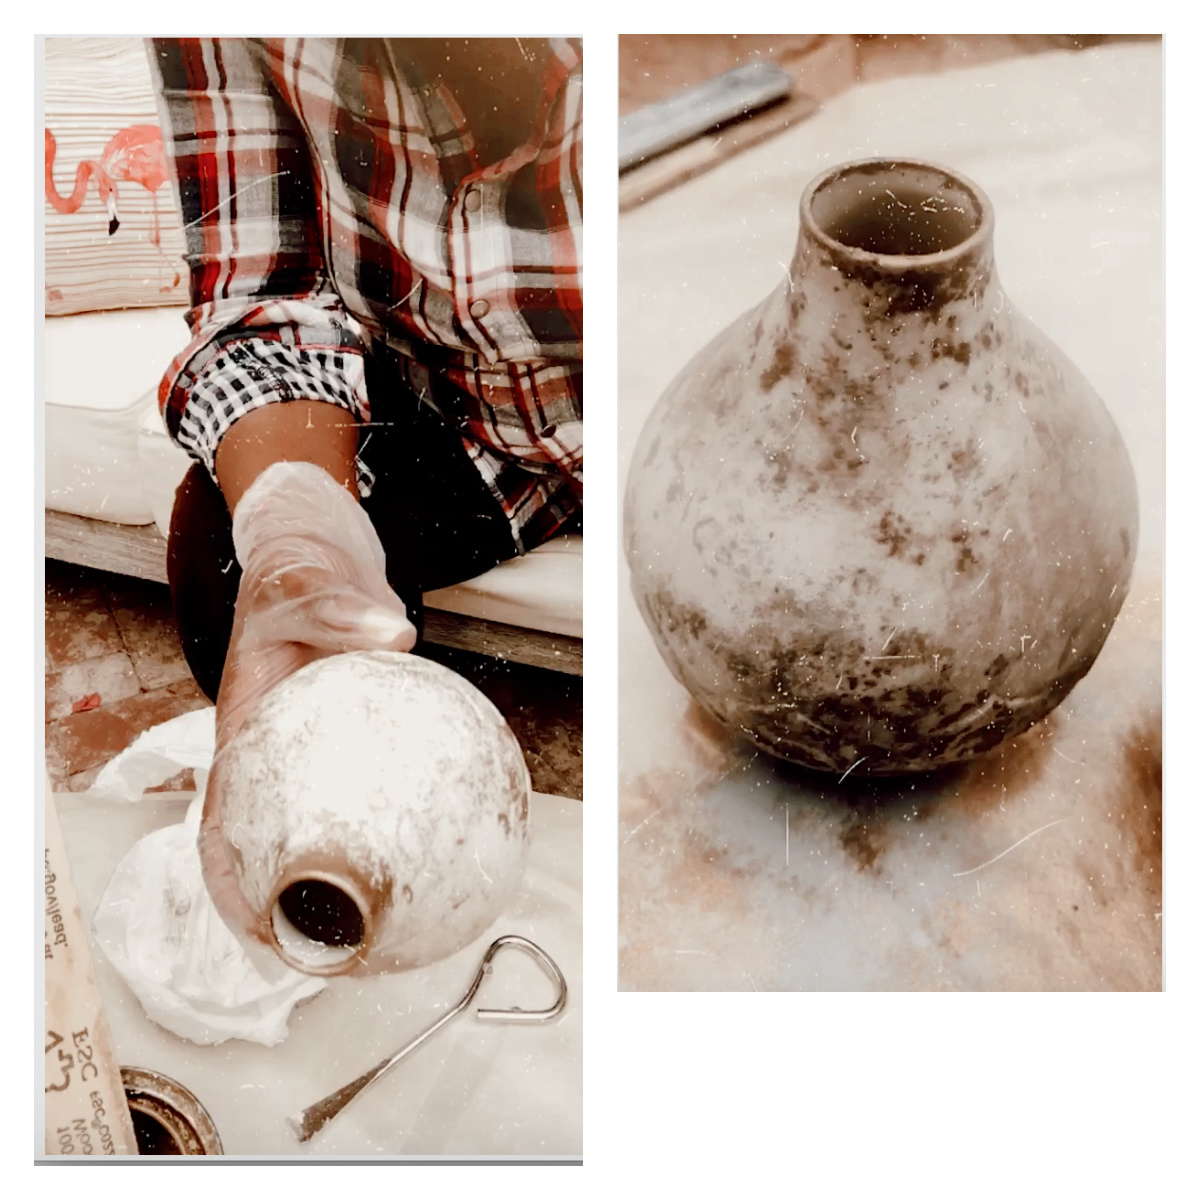
Dip your sea sponge into the brown stain paint, blot out any excess off on a paper towel, then dab the sponge lightly on your vase assuring to blend it in well while leaving some white surface showing as you go. Now, move on to your next vase while allowing your first one to dry a bit – using the same exact method to your second vase.
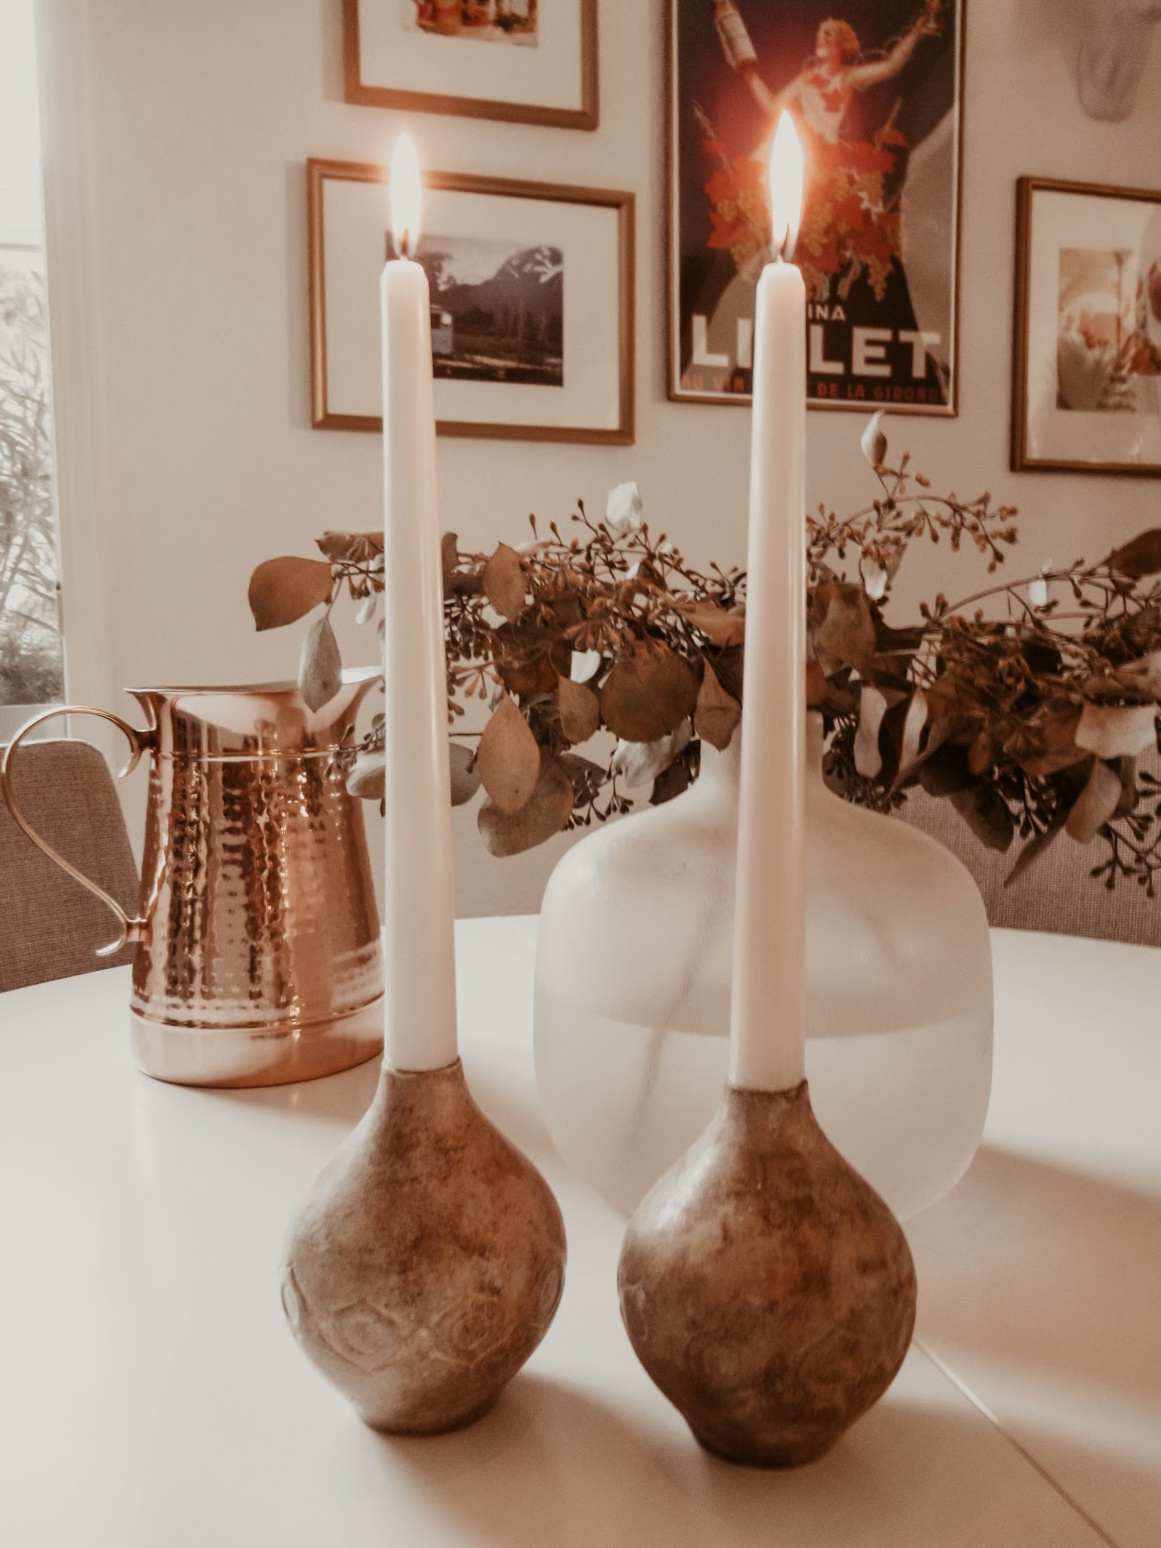
Using a different side of your sea sponge, dip it into the grey paint color – blotting off any excess paint and dab it lightly over the white and brown stain of your vase, smearing the paint as you go to create the look of marble. After letting them dry for a few hours, lightly sand over your finished product to soften, blend, and add more depth to the surface. Complete your work of art with a good coat of polyurethane to seal and protect the surface while giving them a hint of sheen.
Meaningful living is so much more than just getting by. It is looking beyond the obvious, leaning in, seeing the possibilities in each moment that are waiting to be discovered. Because every day is filled with these tiny moments and each of those moments contains endless opportunities to inspire us to create something good, something special. Life is full of beautiful potential. Take time to notice it.
Happy DIY’ing!
Check out more DIY posts HERE.