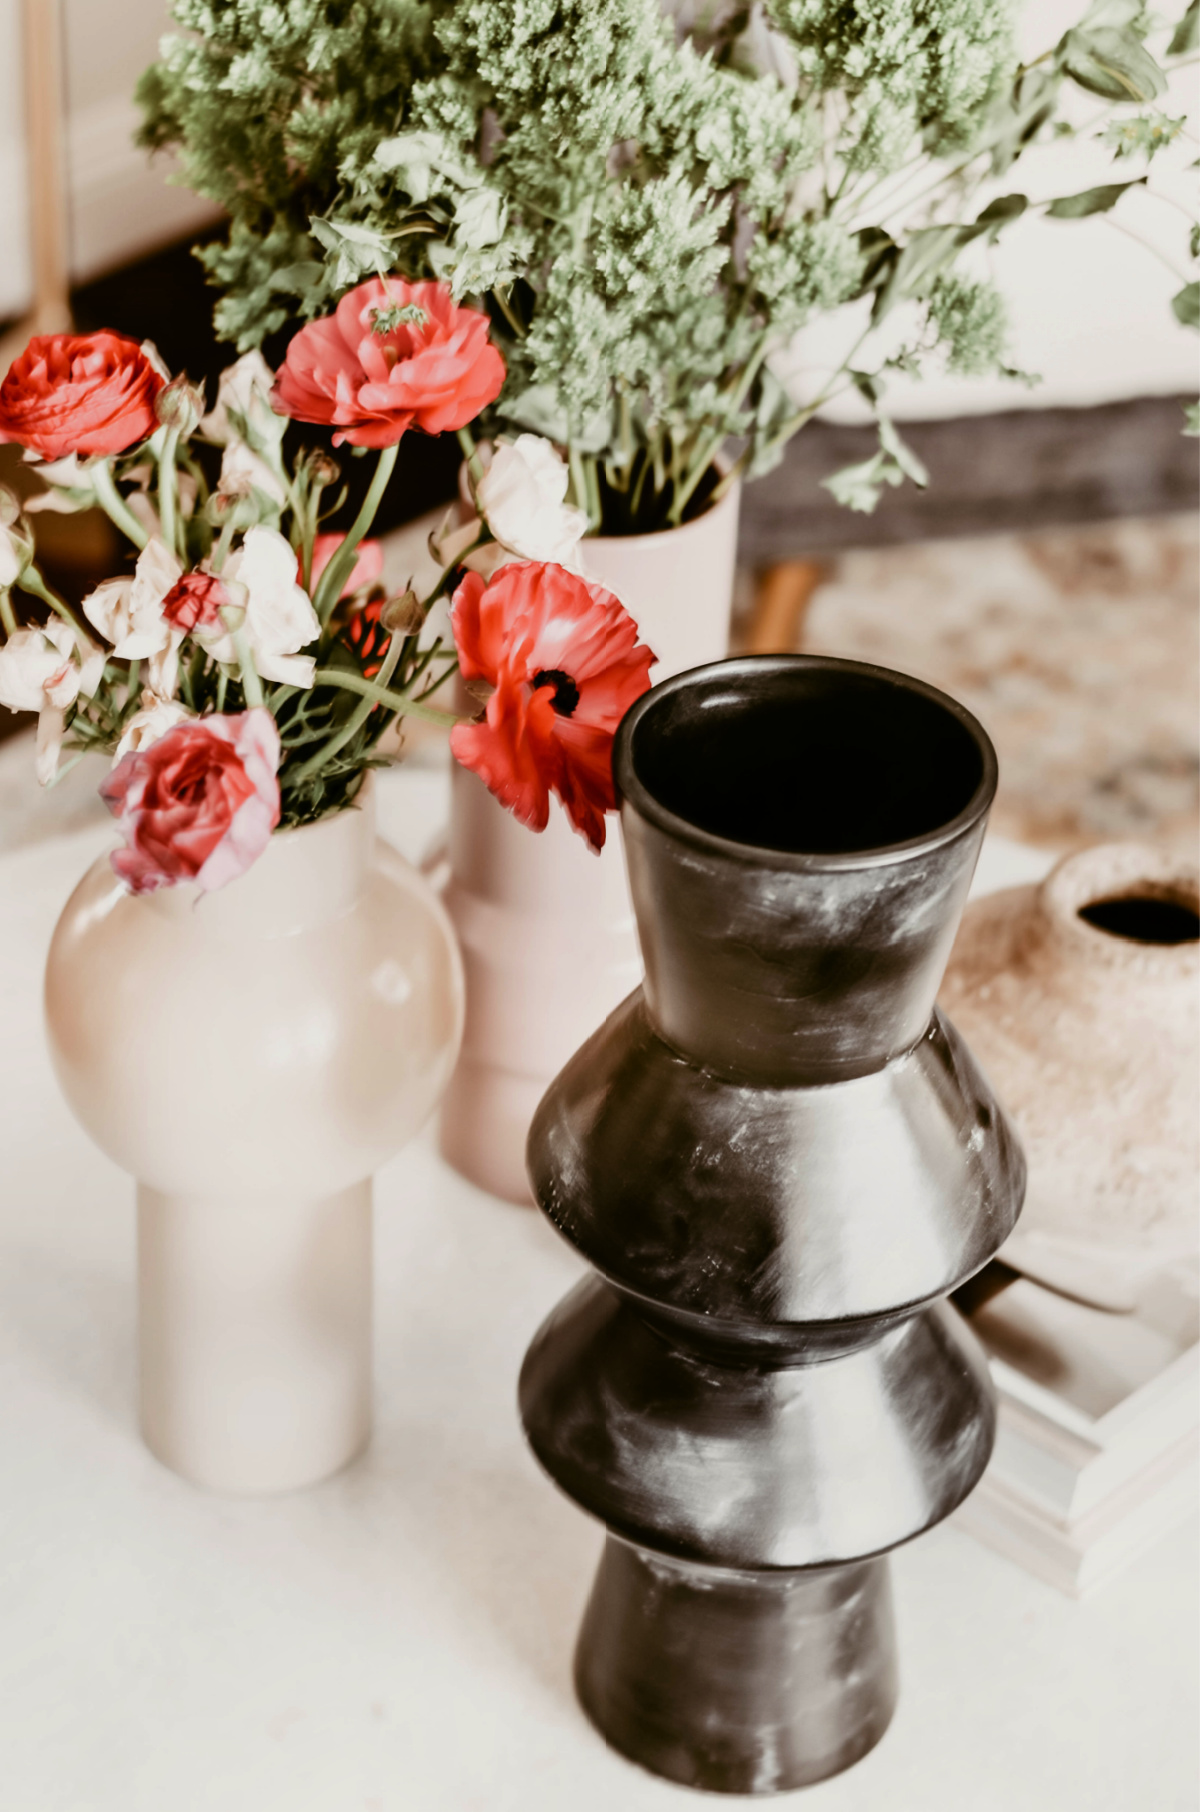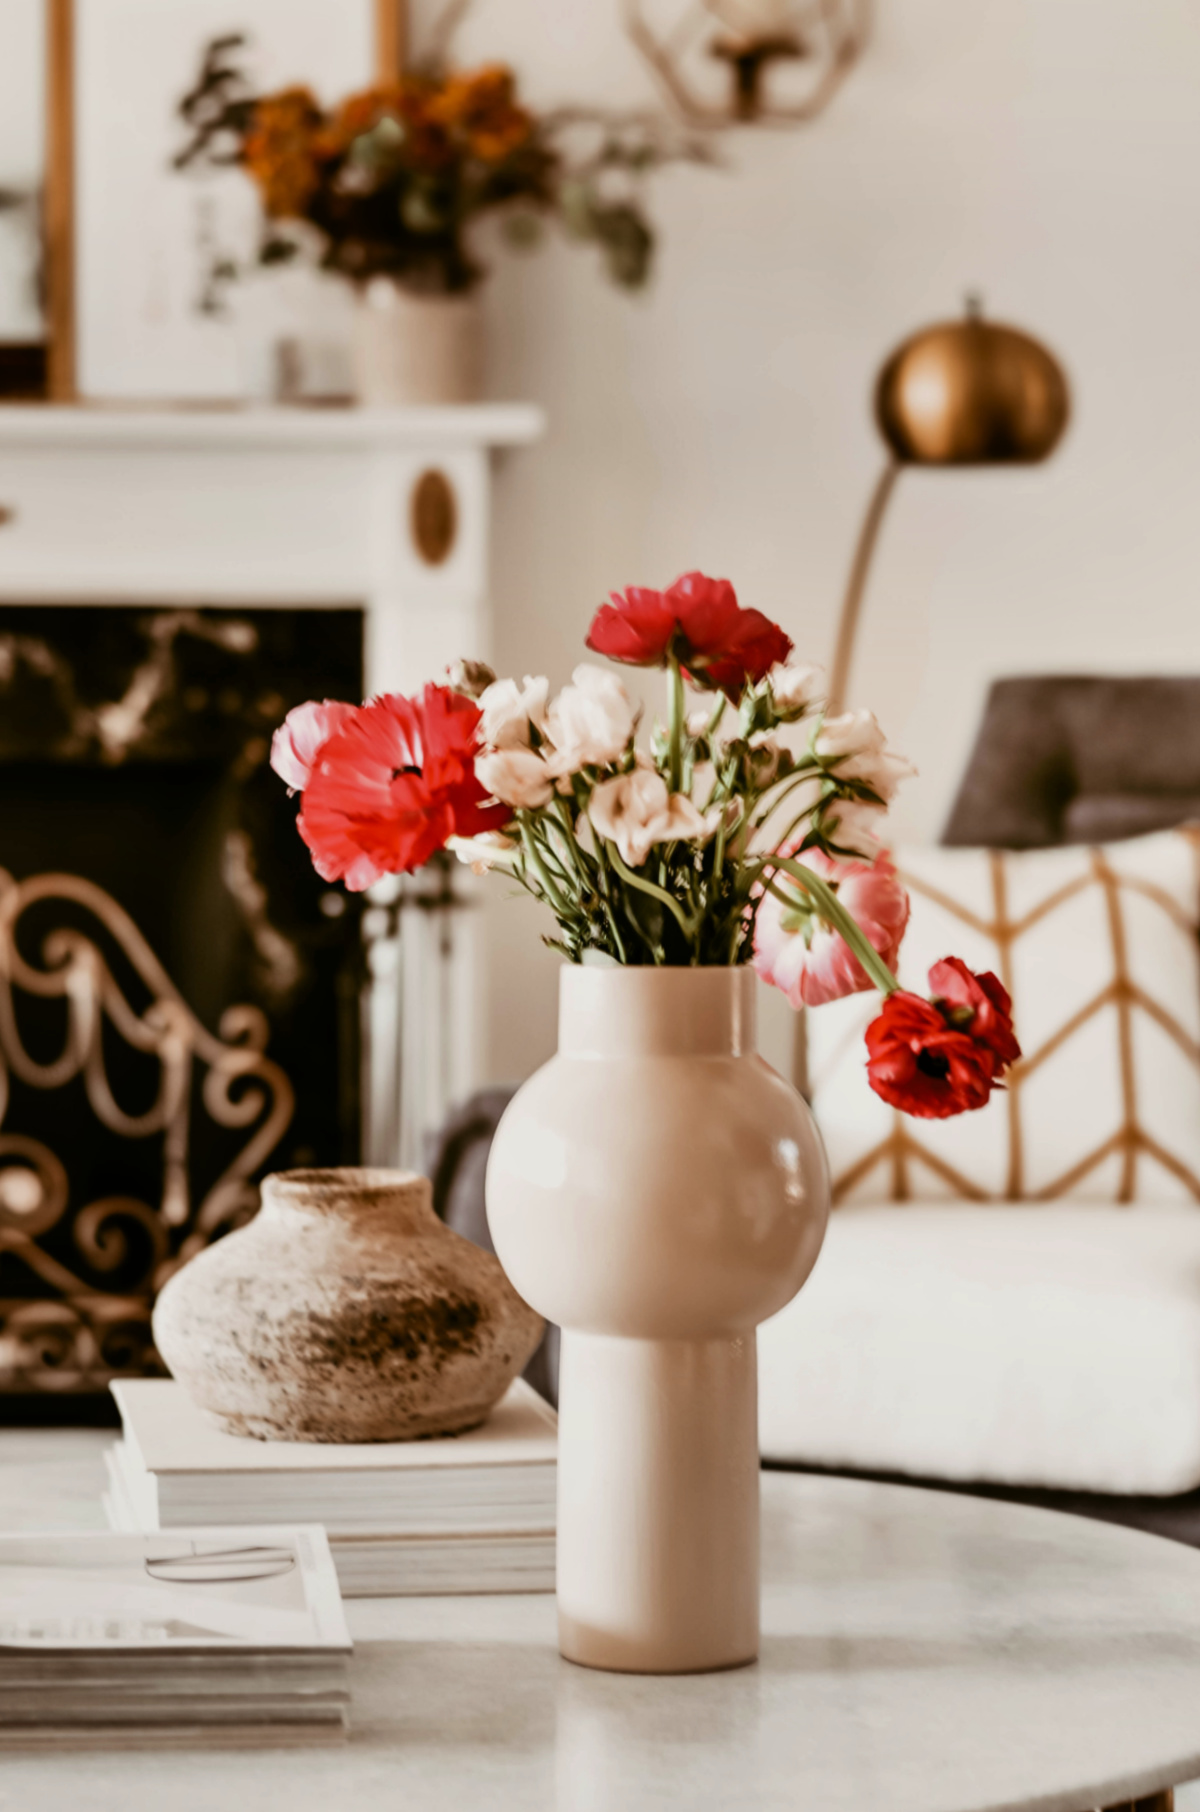
If you ever accidentally stumble upon some uniquely shaped vases at your local crafts store, don’t be too quick to pass them up just because their generic paint color doesn’t reflect your personal aesthetic. Always remember, there’s nothing that a little imagination, a couple of cans of spray paint, and a little bit of elbow grease can’t fix! Case in point, these beautiful vases. One day (back at the end of March to be exact), I ran to my local crafts store to find some things for a project that I was working on. I happened to venture into a corner of the store that I’ve never gone into before and was pleasantly surprised to stumble upon these good-looking vases. Their structural shape captured my attention and my heart immediately. Plus, they were in the sale section which made me grab these particular three out of the variety of styles they had despite not being clear on what their sales price was. I figured hey, if they are out of the price range I want to pay for them, I can always leave them behind or just pick one.
Well, to my complete delightful astoundment, they were not only on sale for an unbelievably inexpensive price but they were “buy one and get two free!” Now, as a realist, I’m always bothered by this false sense of bargain, because we all know we live in a country where NOTHING IS FREE. Even though I knew they just lumped the price of three into the one vase to trick shoppers’ minds, I was happy with what I paid for them nonetheless simply because these sorts of deals almost never happen to me and these totem vases go for quite a penny at the big box retailers.
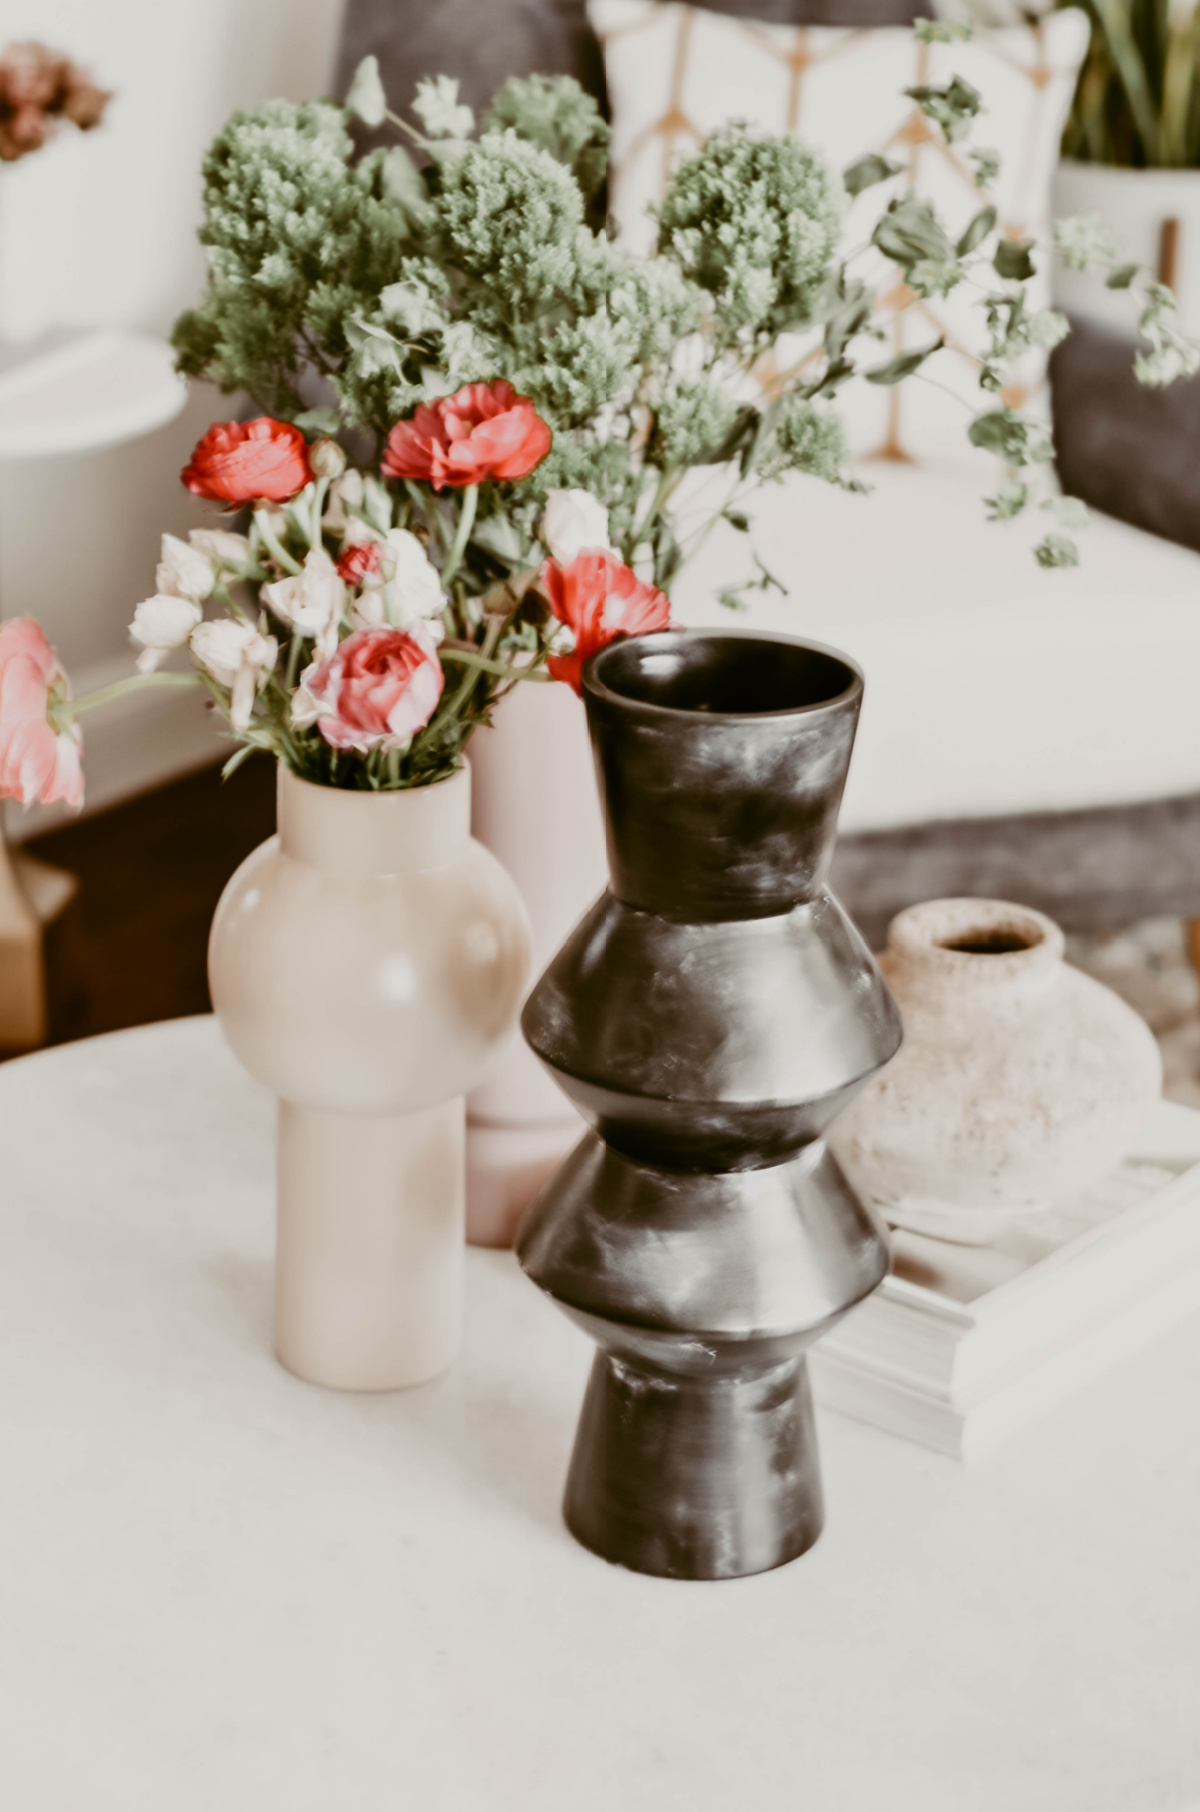
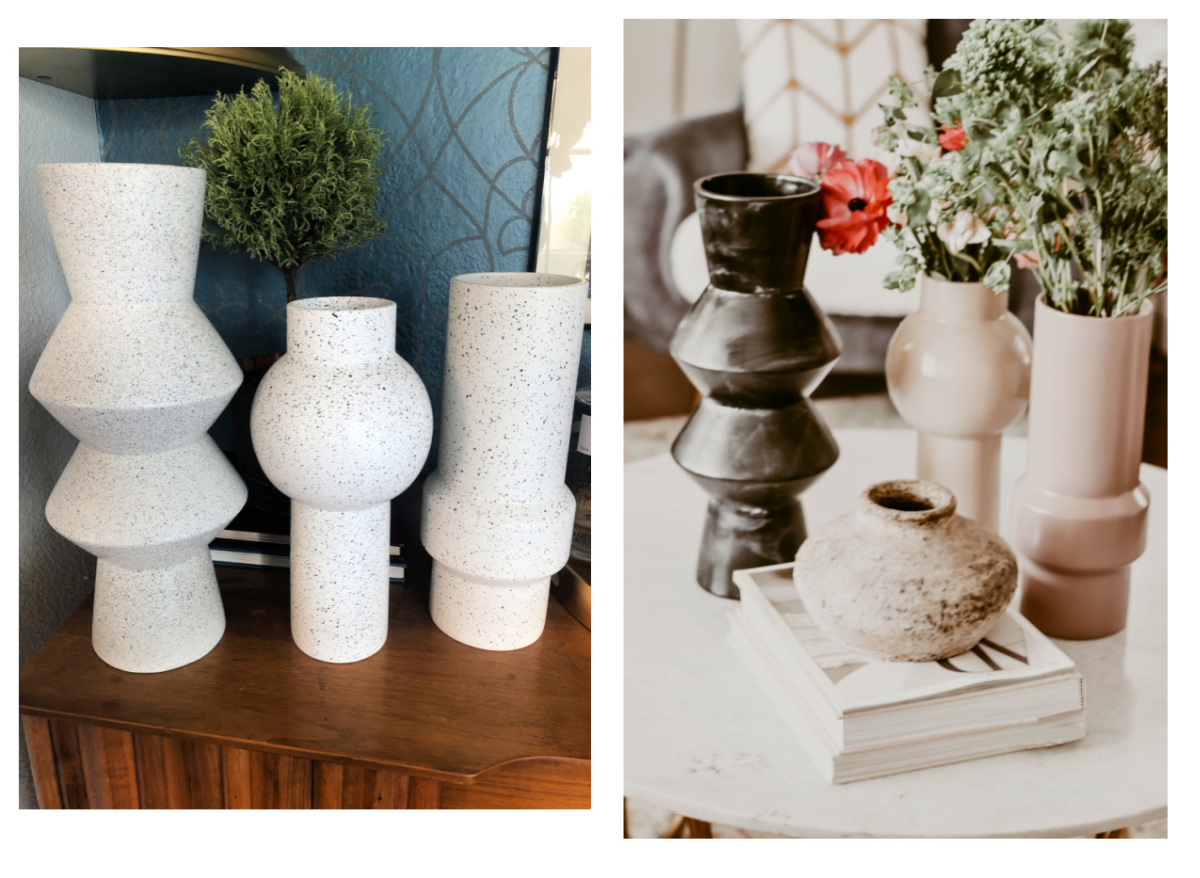
Since they were way down at the bottom of the list of the many other projects I was in the middle of finishing up, they sat around for a little while before I could give them the proper attention they deserved. Nevertheless, once I was ready to paint them, I approached each vase as its own creation, with inspiration drawn from their shape – imagining them in the vintage aesthetic of the bygone era that I love so much. The how-to makeover for these crafts store totem ceramic vases is pretty simple. With a few basic supplies, I was able to transform these sculptural vases in no time by repainting each one in the color I felt its shape called for. I already had all the paint colors on hand.
Three different color spray paints of your choice plus, one small bowl of white paint. Paper to cover and protect the surface of where you’ll be spray painting your items, preferably in a ventilated place, like outdoors or in an open garage. Two small rags, (one dry and one lightly damp). However, if you’d like to know the exact paint color I used on each vase, read on.
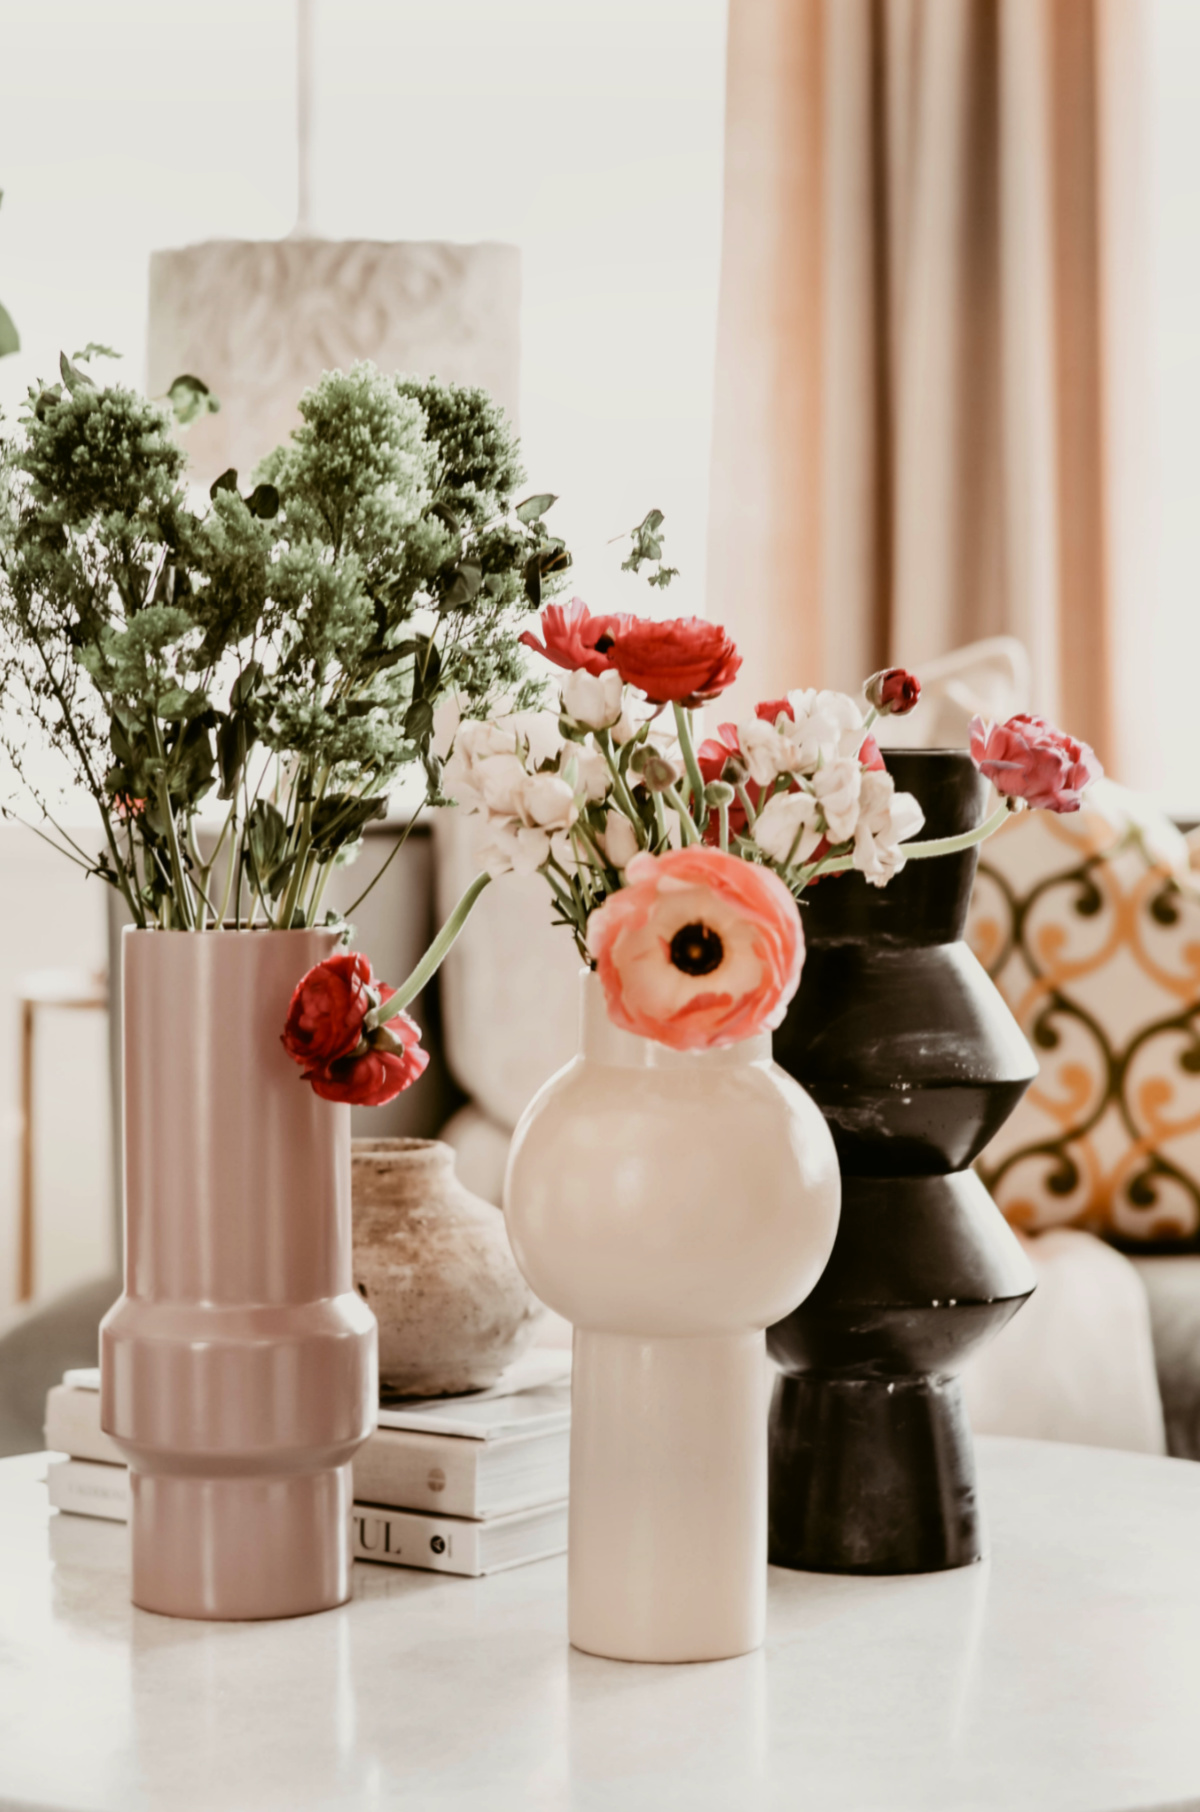
This one actually turned out to be the most problematic spray painting job in my life, only because my over-achiever instincts kicked in which prolonged this spray painting process over several days. The reason being was originally, I imagined this strom urn vase in a nice shiny white with gold veining overlaid randomly over the vase. Similar to this look. However, instead of using an artist brush to do that, I decided to use gold leafing which would have been fine had I let the paint dry first and then, apply sizing over the areas I wanted the gold leaf on.
Being an impatient DIYer, I thought applying the gold leaf over the wet paint would have worked, but instead, it disintegrated the gold leaf all over the place into bits that created this whole mess that I had to let completely dry out before I could sand the areas to smooth out the surface once more, so I could re-spray paint that vase again. By this time, I ran out of white spray paint since I was using half cans. The hubby kindly ran out to pick me up another white spray paint can that ended up being in a matt finish that showed too much of the previous faux-pas imperfections. In the end, I decided at this point, I needed to use a paint and primer combo spray paint in another one of my favorite colors to ensure better coverage and finished the paint job on this one with a protective finish. I can’t tell you how happy I am to have chosen to go with the satin almond color instead. It’s as if this hue was made for its shape!
This one was a no-brainer. The organic shape of this totem vase made me think of this satin vintage blush spray paint I had in my paint arsenal. Then, I got on the fence about it for a split second but the hubby said, “we don’t have any vases in the house in this color and it’s a great vintage tone.” And he was right! Now, I can’t imagine it in another shade.
I just can’t get enough of the sculptural shape of this vase. The paint process I used on this one took me less than thirty minutes. What I did is pretty simple. I simply spray-painted it in a satin black paint. After letting it dry, I dipped a slightly damp rag (almost dry) in a little bit of white paint and dabbed it in random spots over the vase, especially on the pronounced edges. Then using my dry rag, I lightly wiped off the white in a sweeping motion. I applied pretty much the same technique I used here.
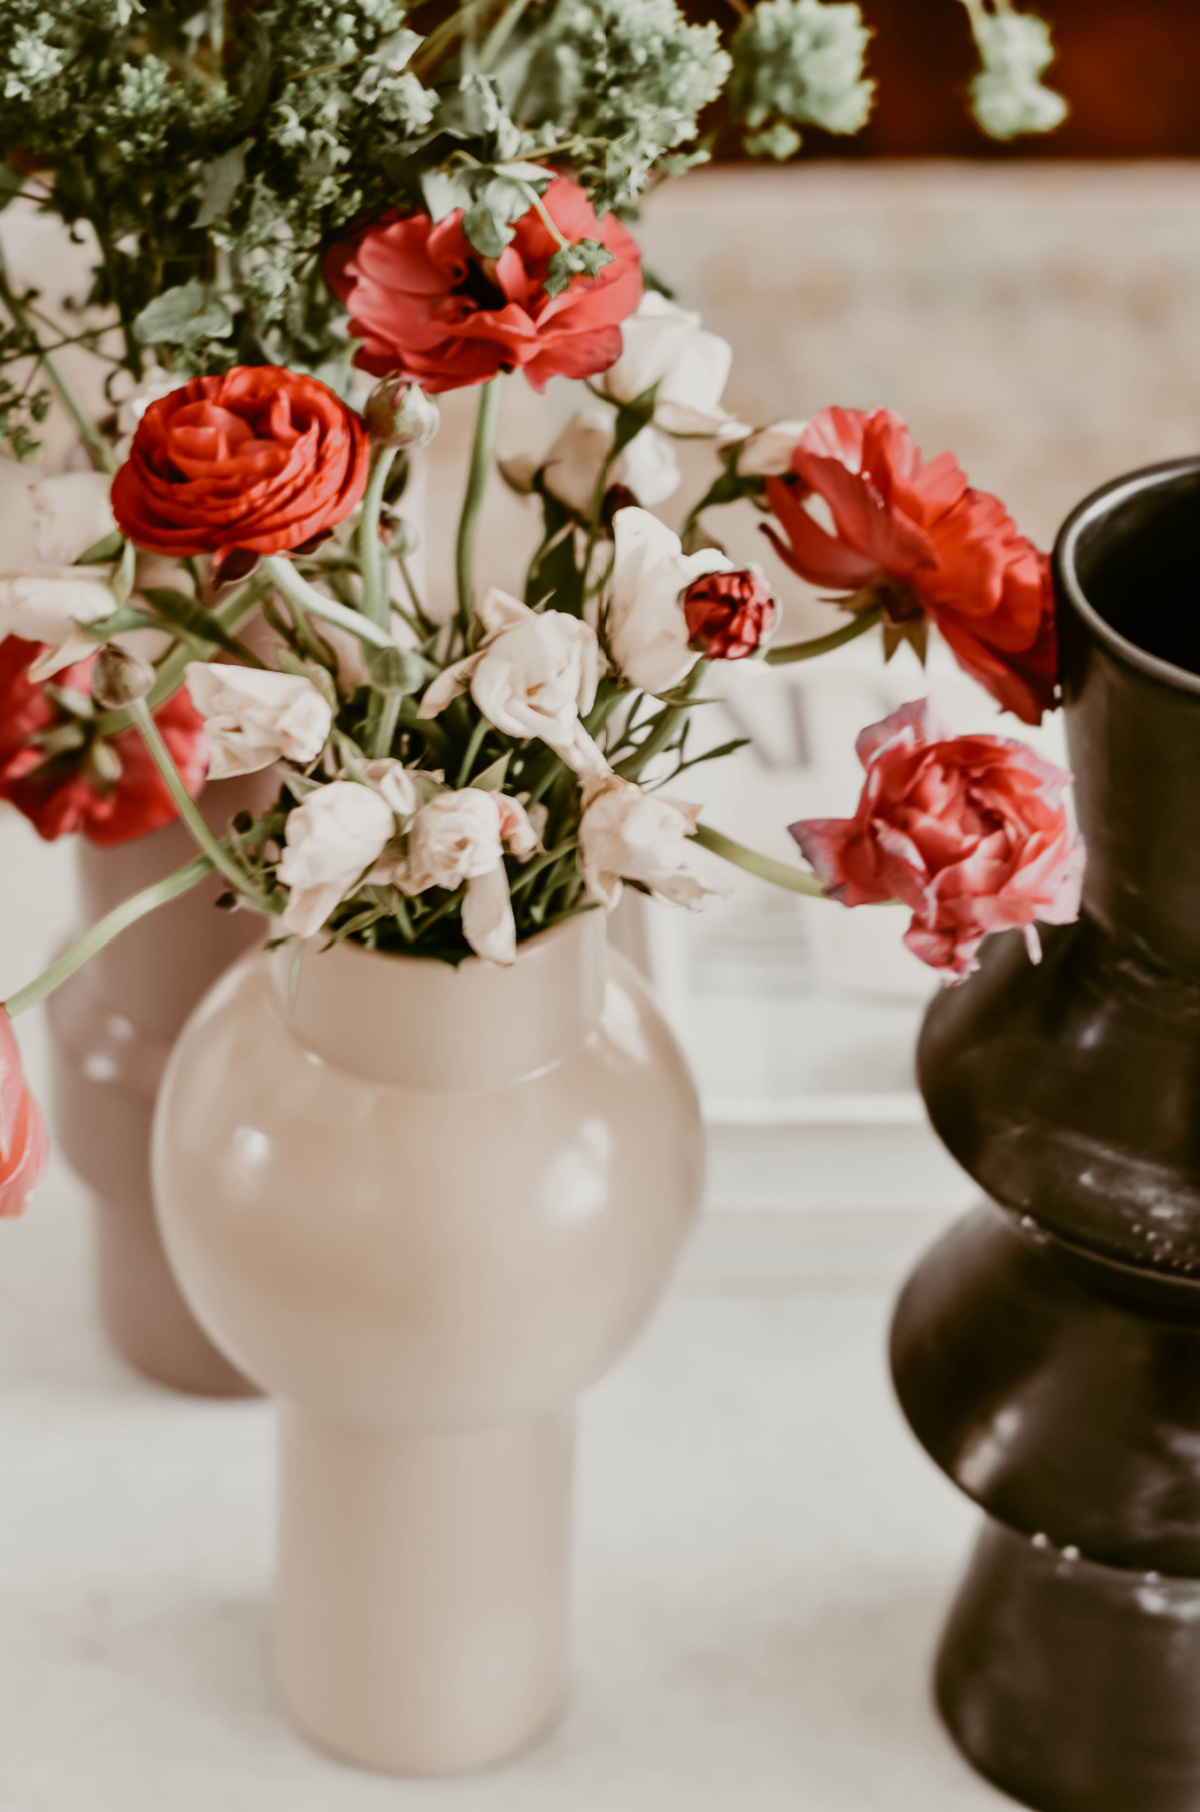
These types of simple makeovers are my favorites. The transformation process is not only enjoyable but also gives you so much drama! I love how such an easy and simple update brought them to life and instantly freshened up our space! Filling these beautiful ‘west elm worthy’ crafts store ceramic vase makeovers with colorful spring blooms now showcase their organic shape and the blooms themselves. This is what I like to call refined simplicity with everyday function. They add just as much flair filled with vibrant florals as they do on their own.
