Search
Search

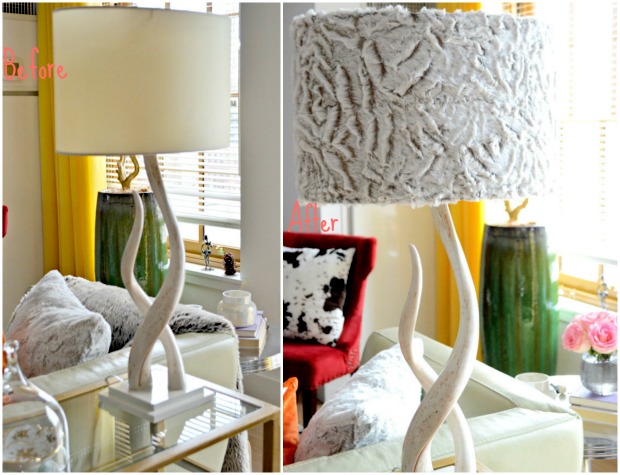
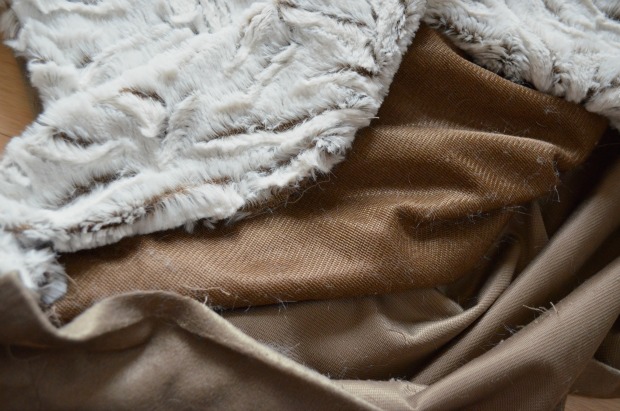
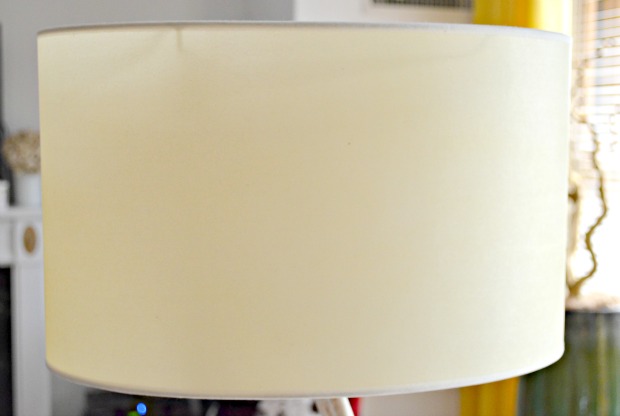
I rarely say that I’m obsessed with anything, but when it comes to plush soft to the touch fabrics such as fur, I will admit that word appropriately describes my love for this material for its ability to bring a sense of glam and elegance to a space instantly. I can proudly say that I am obsessed with the rich, lush sophistication that it adds to a space. For instance, take these lamps. I recently paired the one I had for a couple of years with its sister on my sofa table, but for some unfortunate reason, one shade is a brighter white than the other shade which in comparison, makes it look like an unbecoming eggshell hue. This, of course, drove me slightly insane every time I came down the stairs and saw them. Additionally, I’ve always felt that the shades fell flat and needed something as stately as the base, so I decided to update them and detract from their color variances by covering them in none other than some luxuriously plush faux fur fabric. For the longest time, I was searching for faux fur at different local craft stores and could never find the right texture or color, and when I did, the fabric was never thin enough for the job. It wasn’t until recently when I went shopping for bedding items to prepare for expected guests and accidentally spotted this throw that I realized I finally scored the right fabric. Once I felt its texture, I knew after unstitching the back of it, the furry side of the material would be perfect for my project. (Not to mention, it was at a great price). Here’s how I went about transforming my West Elm Source Kudu Table Lamp Shades.
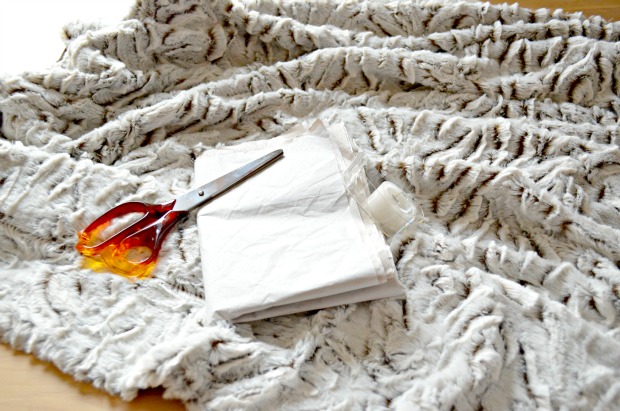
What you’ll need:
Step 1
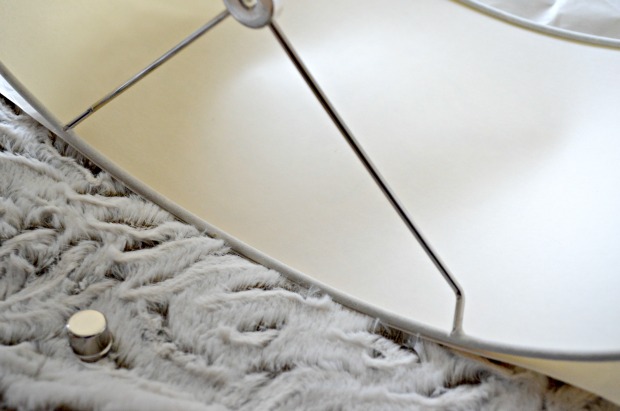
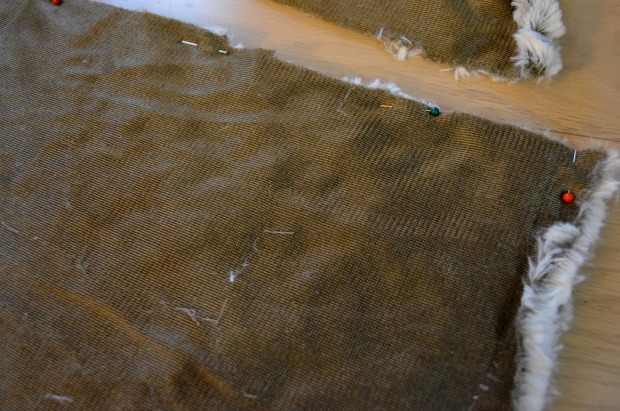
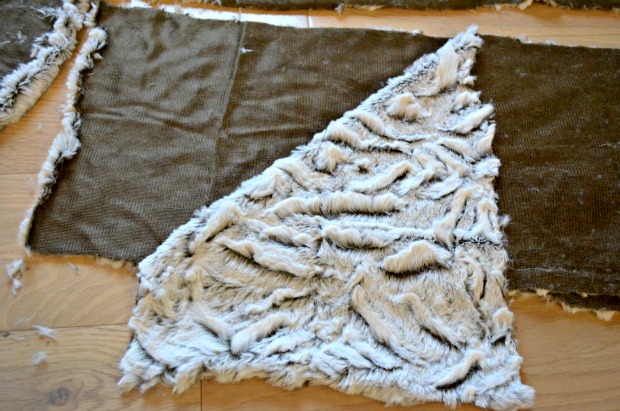
If using a throw as I did here, unstitch it from its backing by using a scissor to cut the thread – pulling and snipping as you go or you can also use a seam ripper. I used my good’ol pair of scissors.
Step 2
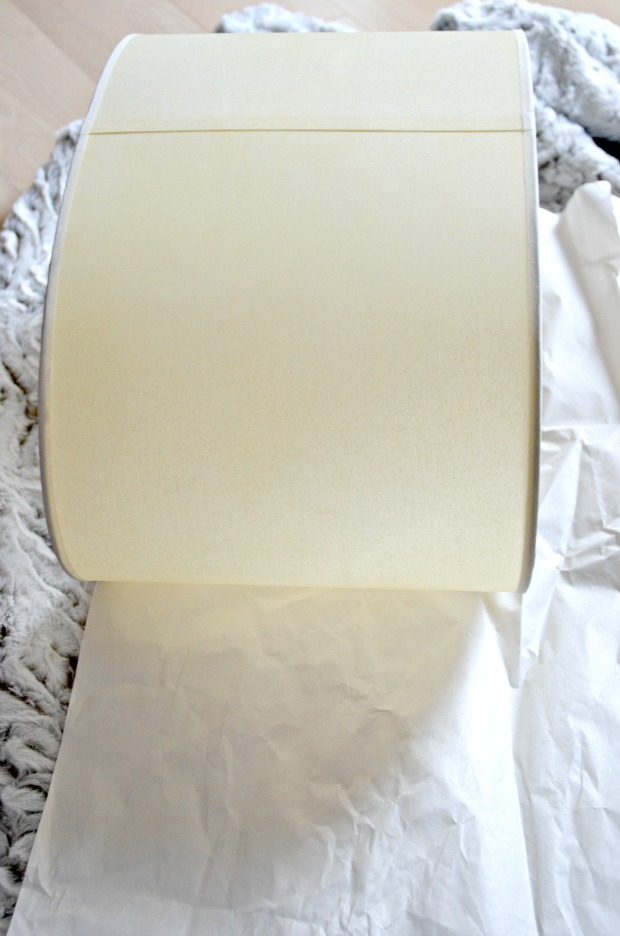
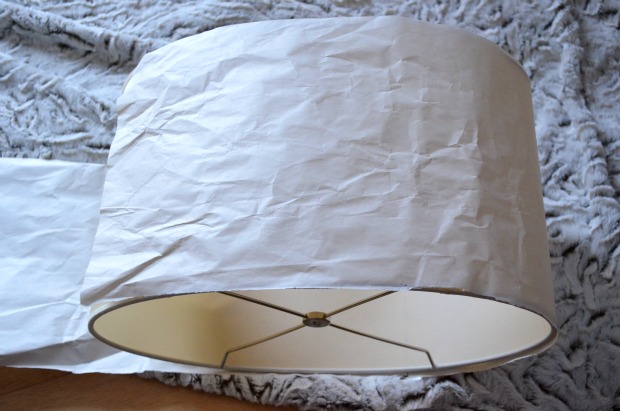
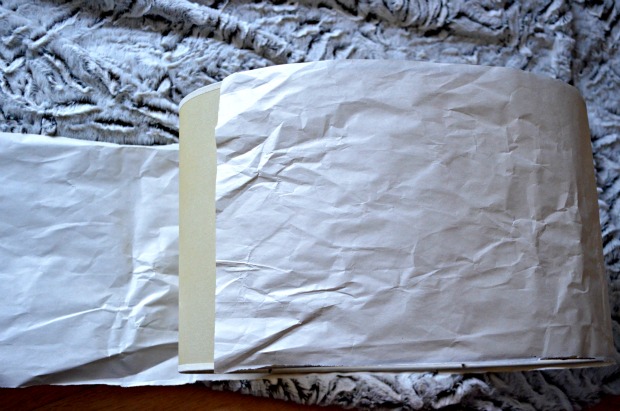
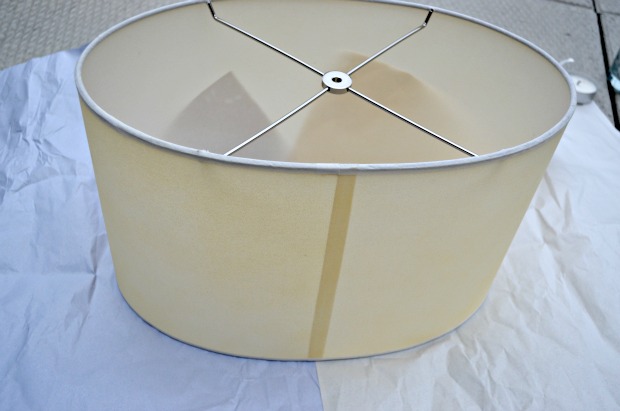
Remove lampshade off your lamp and place it on top of your tissue paper to trace out a template (using a marking pen) of the circumference adding one inch on each side and seam.
Step 3
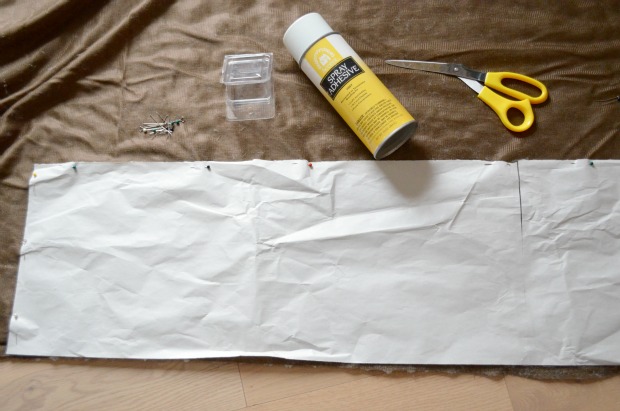
Place your fabric flat on a hard surface, then place the cut tissue paper template over your fabric secured down with sewing pins. Using your scissors, cut fabric to measurements. Use your first cut fabric as the template to cut your second piece. (That is if you are covering two lampshades). Shake fabric well to remove all loose fur and threads.
Step 4
Once you have your cut pieces, go outside in an airy area, and spray the bottom side of the fabric with spray adhesive. Center lampshade on fabric, starting at the lampshade seam and wrap the fabric around, smoothing out as you go while overlapping the fur over the seam for a seamless finish.
Step 5
Stretch and fold the remaining fabric over the inside top of the lampshade and adhere using this glue. Repeat for the bottom of the lampshade.
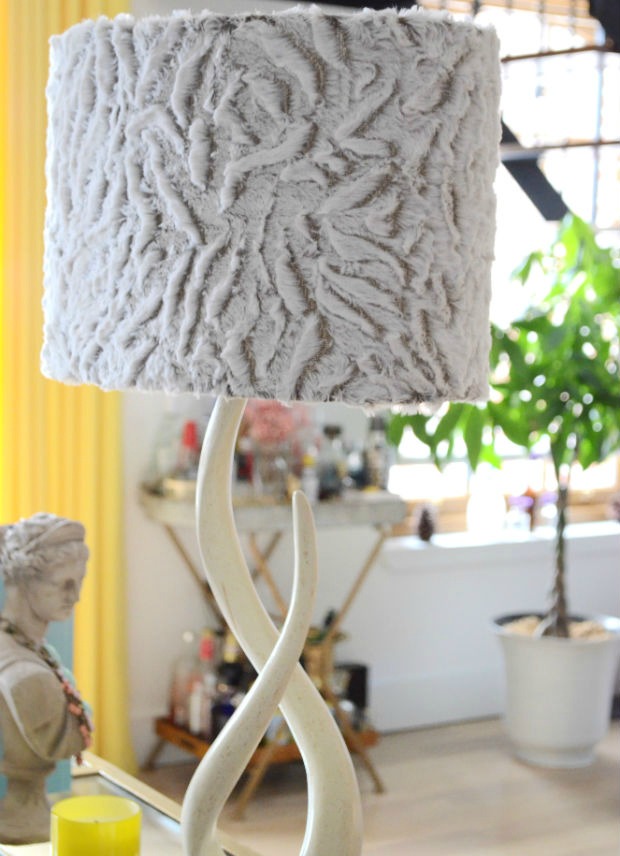
And voila! Just like that, in a few minutes coupled with a little bit of patience, these fur-covered lampshades boast an immediate glamorous luxe touch to our living room.
Think of all those good lamps you passed up on at the thrift store or at yard sales just because of their hideous lampshades, or how about that old worn out ugly lampshade that keeps making you cringe every time you look at it. I hope this inspires you to turn any ugly duckling lampshade into a beautiful swan!
Also, imagine how cool of a bed case the rest of the fabric would make for the pooch in your life by inserting an old or an unsightly dog bed and adding a zipper at the open end, so it can be washed when needed simply by sliding it off the insert.
Happy DIY’ing!