Search
Search
“I’m here to convince you that achieving beautiful interiors doesn’t always require a complete gut renovation.”
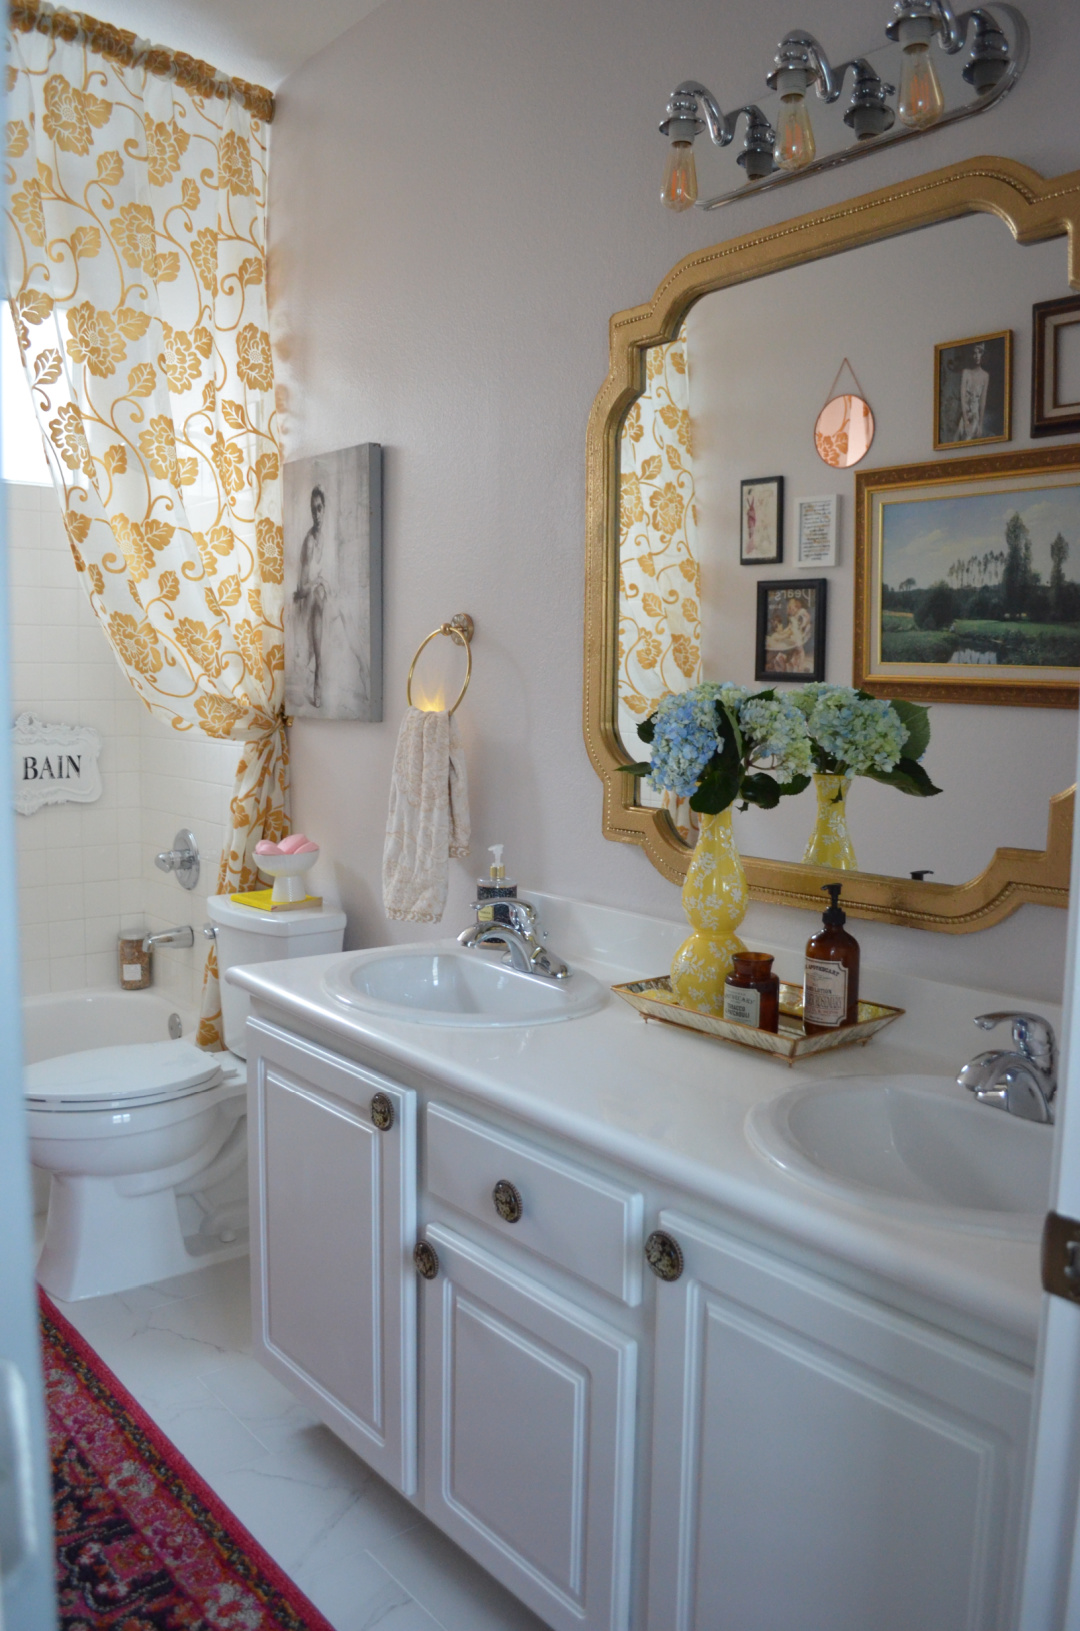
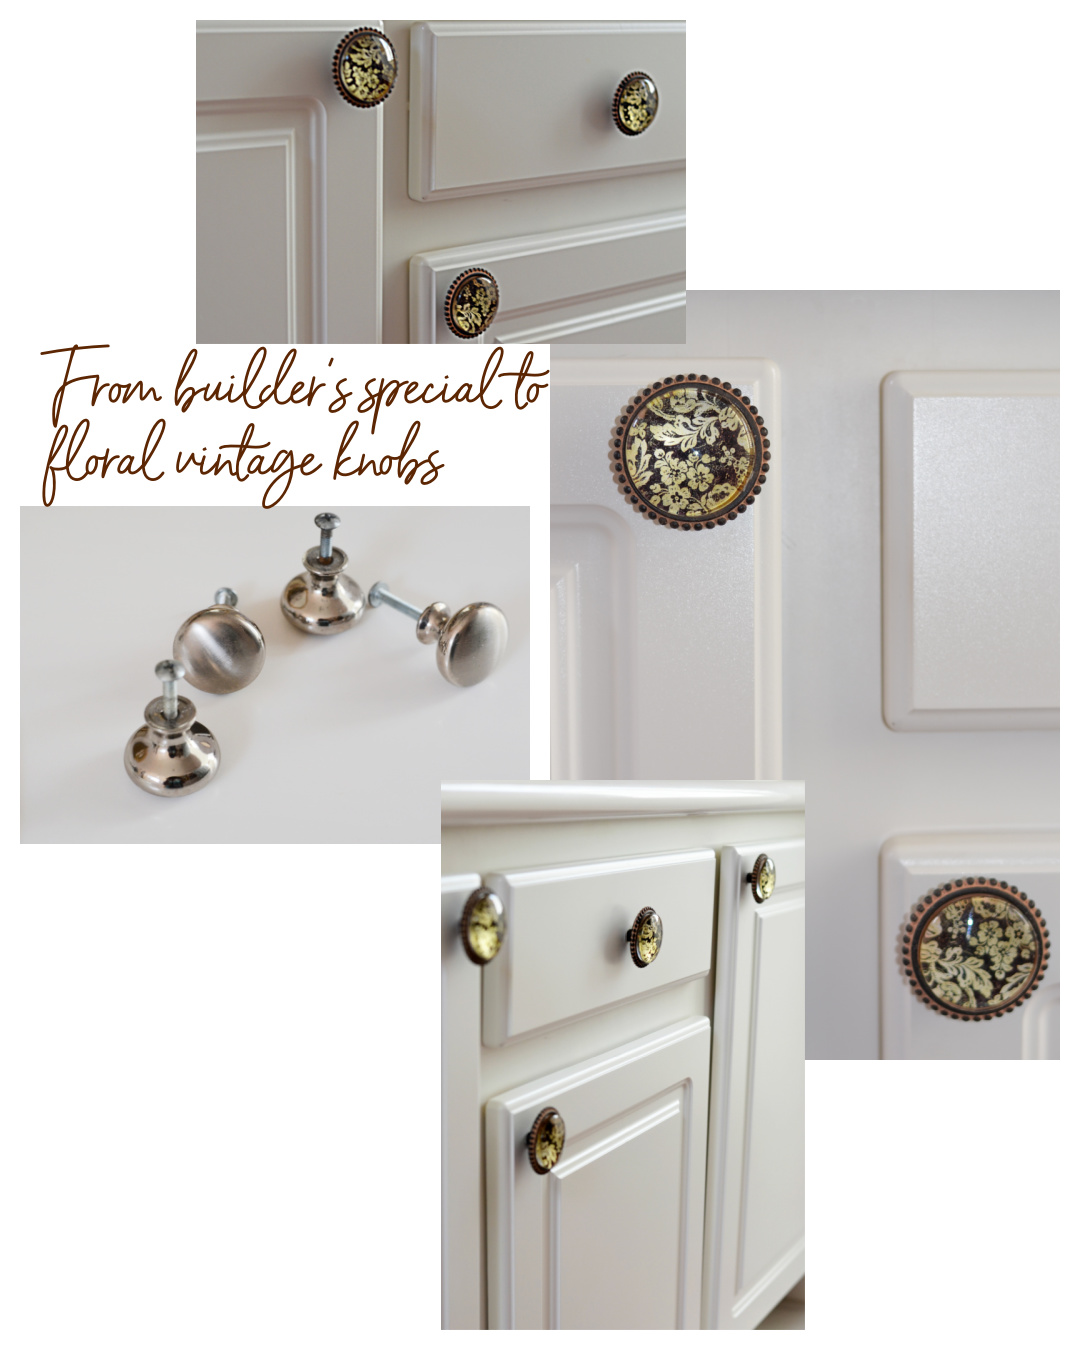
When we moved into this house six plus years ago, I wanted to change the guest bathroom into something more elegantly unique beyond the fresh coat of white paint, custom curtain panels, and upgraded doorknobs we slapped on the sink cabinet just to clean it up a bit. Over the years, as I pondered over my burning desire to rip out those old builder-grade sinks but I knew that meant having to rip out the countertop. Then, of course, the vanity cabinet would need to come out since it’s not practical with just that darn wide-open space underneath it. That would mean new floor tiles since removing the cabinet would damage the old ones. If we do that, then we might as well change the tub, which inevitably would require changing out the shower tiles, so we might as well change out the window to a much nicer and more efficient one. You get the point. One small change can sometimes take us into a rabbit hole of renovation and cash drain that is unnecessary the majority of the time.
I may have champagne and caviar taste, but my sensible self always prefers to use my hard-earned cash collecting experiences exploring the world and indulging in said caviar and champagne rather than spending it all solely on a house that can be gone in one unexpected poof! Especially when this is not my forever dream home. Consequently, this past June, I finally decided enough was enough and went with option B – enlisting my husband’s help to put an end to that gnawing itch to tackle this guest bathroom “no gut renovation transformation update” on a ‘Becka Bella Style‘ budget.
Understandably, living in a renovation generation, seeing endless amounts of home gut renovations with newly designed, expensive modern bathrooms on the gram can influence you to follow suit with a tired bathroom – thinking it’s the only way you can achieve a beautifully transformed space. However, as an interior design enthusiast who has been at this for a long time with an affinity for charming homes with comparatively “outdated” retro bathrooms. I’m here to convince you that achieving beautiful interiors doesn’t always have to require a complete gut renovation project to get a well-executed elevated bathroom. Especially if there’s no plumbing or structural damage to fix. Sometimes, a forty-eight-hour makeover (or four weeks in our case, squeezing a little bit of work in each day after a long day in the office, to get a little bit done at a time) to give a bathroom a quick facelift, that is rife with delightful design details that make a significant impact, without the unnecessary expense of the high-cost of a full-on renovation is all it takes.
If there’s anything I’ve always prided myself on, it is creating spaces that look expensive without the hefty price tag. It forces me to tap into my creativity and employ ingenuity to design more meaningful spaces when you don’t have that large budget where money isn’t an object. And since transforming this guest bathroom into a moody speakeasy style/old gentleman’s club aesthetic we admire so much was an idea that has been on my mind for years, it is what we set out to do. Continue reading as I will share how my husband and I went about realizing the vision. It’s one of those relatively quick projects that proves a complete full-on gut renovation isn’t always the best route, nor should it hold you back from doing a bathroom makeover in your home just because you’re not looking to break the bank.
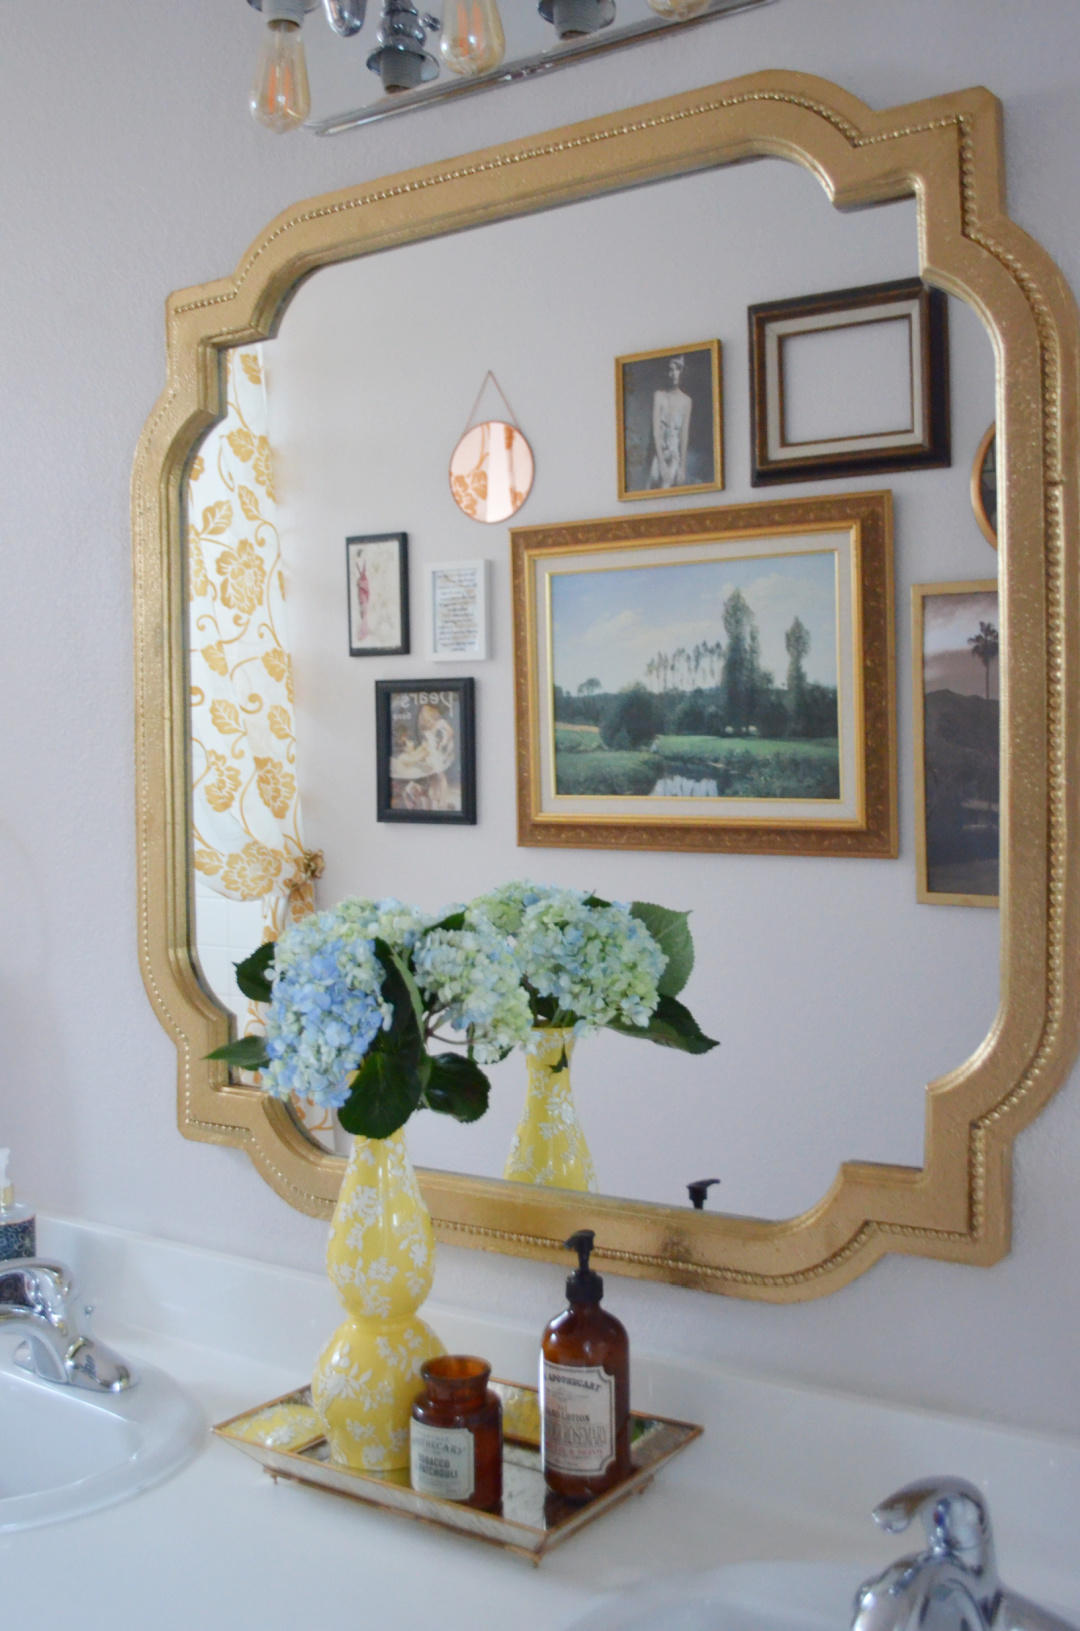
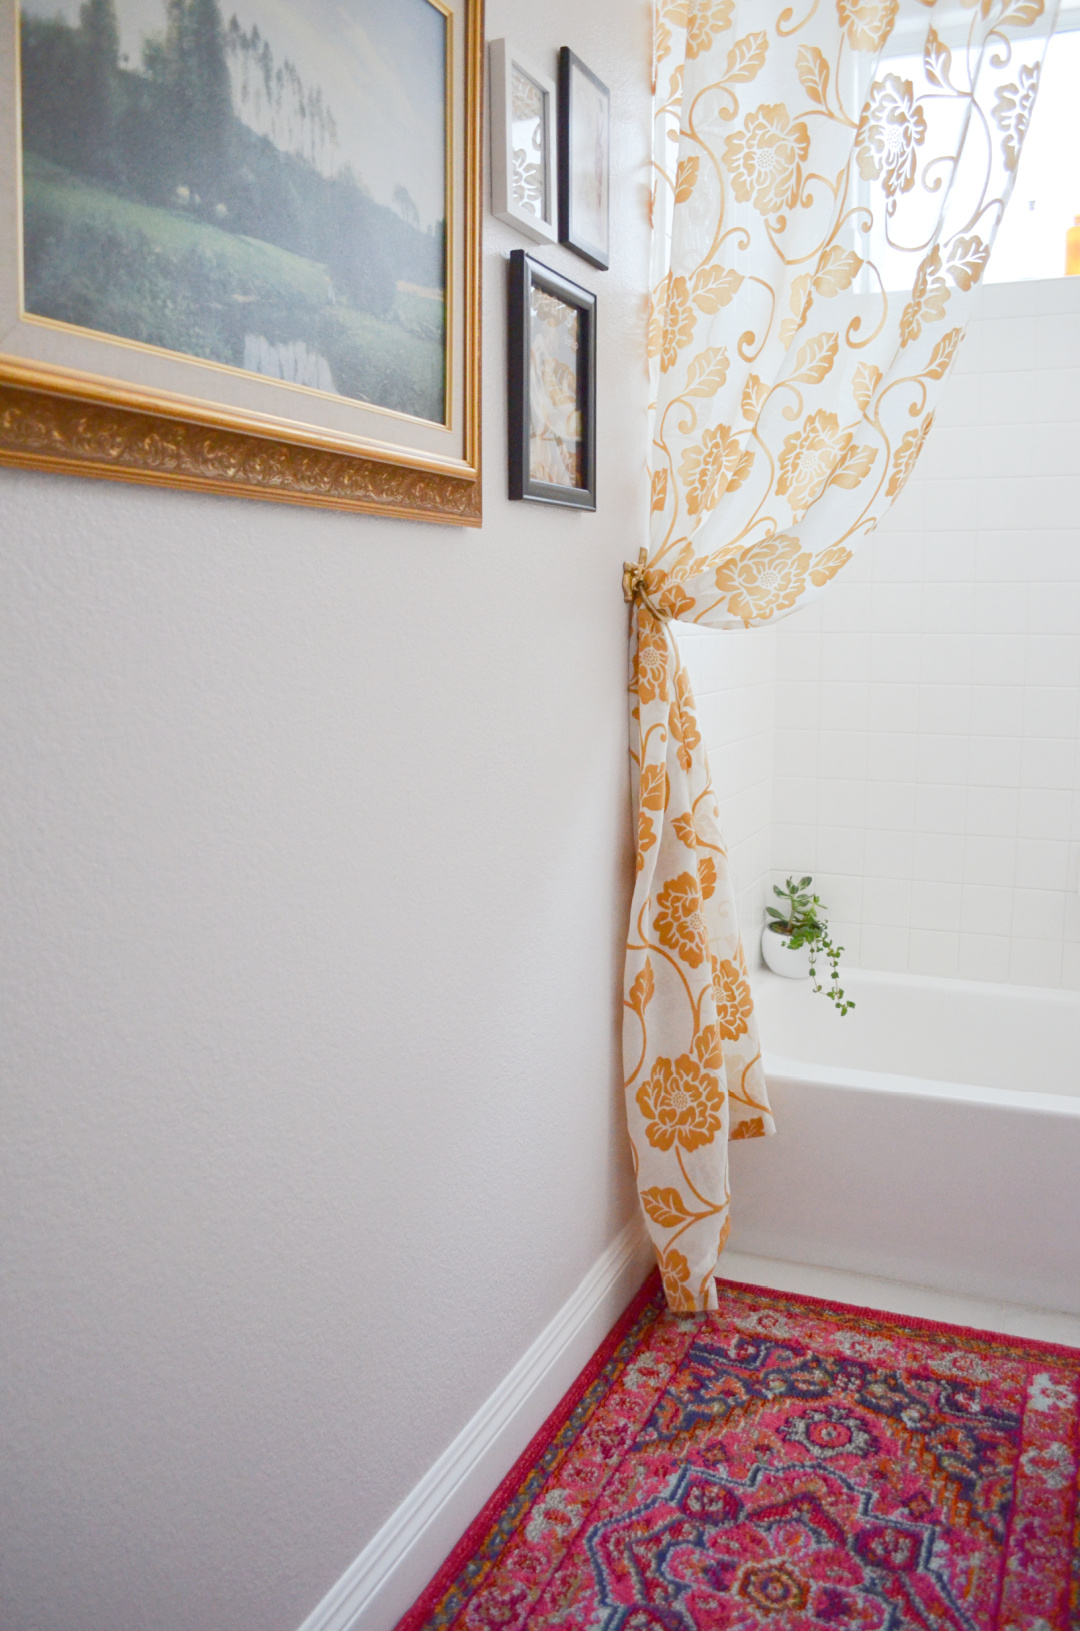
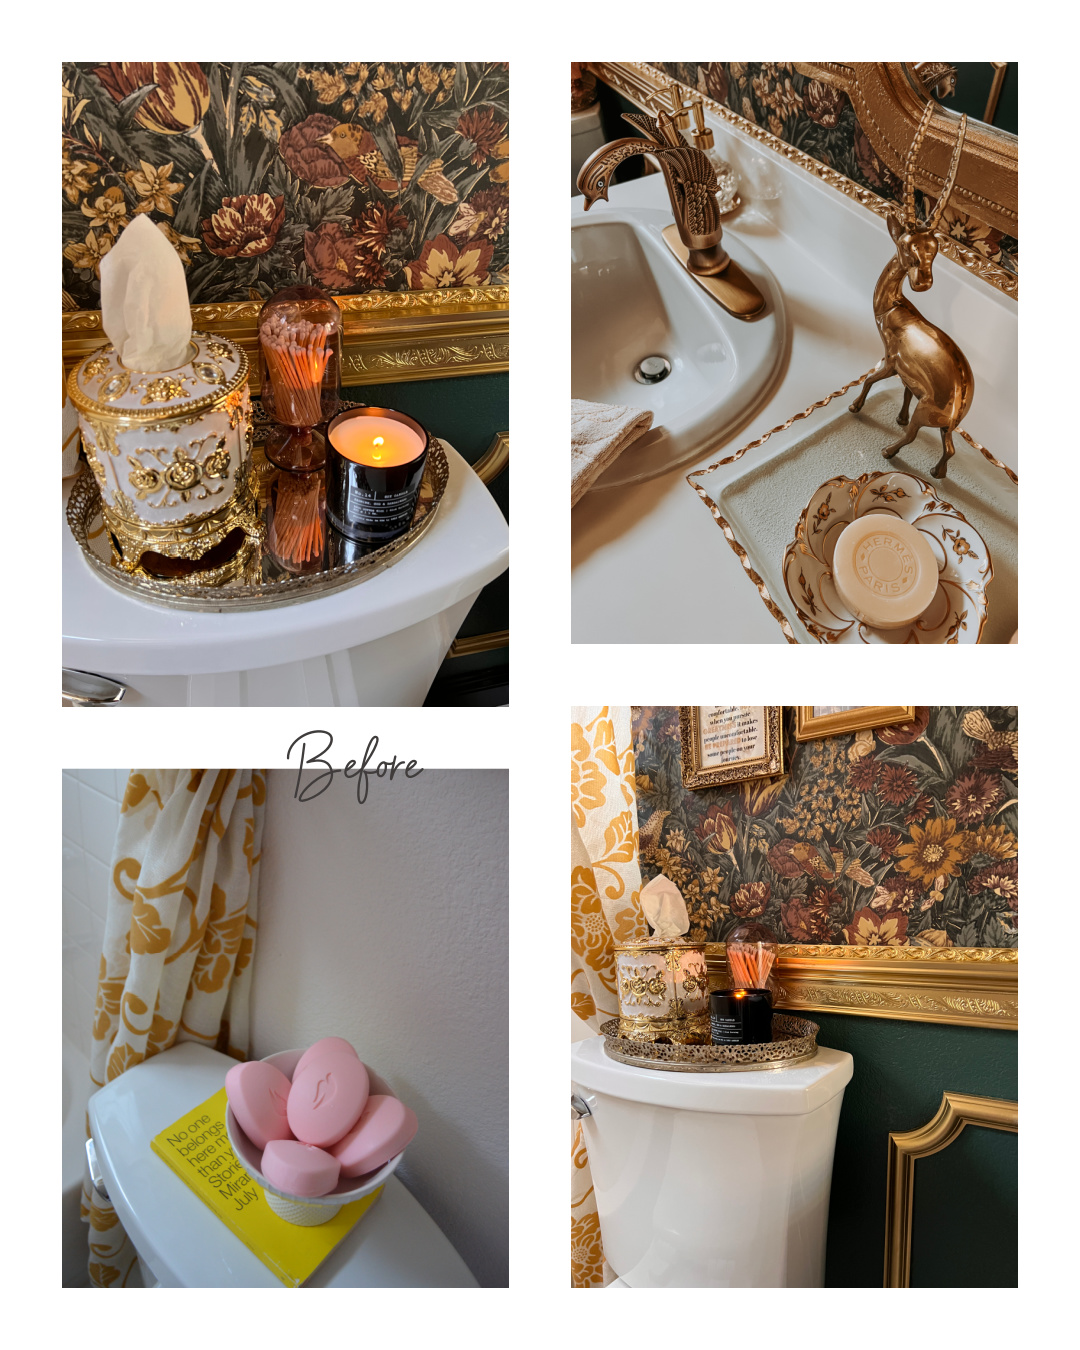
But first up, here’s a look at some of the before. This is what it looked like before when we put on a fresh coat of white paint and changed out the small generic builder-grade door knobs on the sink cabinet. Then keep scrolling to see the recent after transformation details that made the difference.
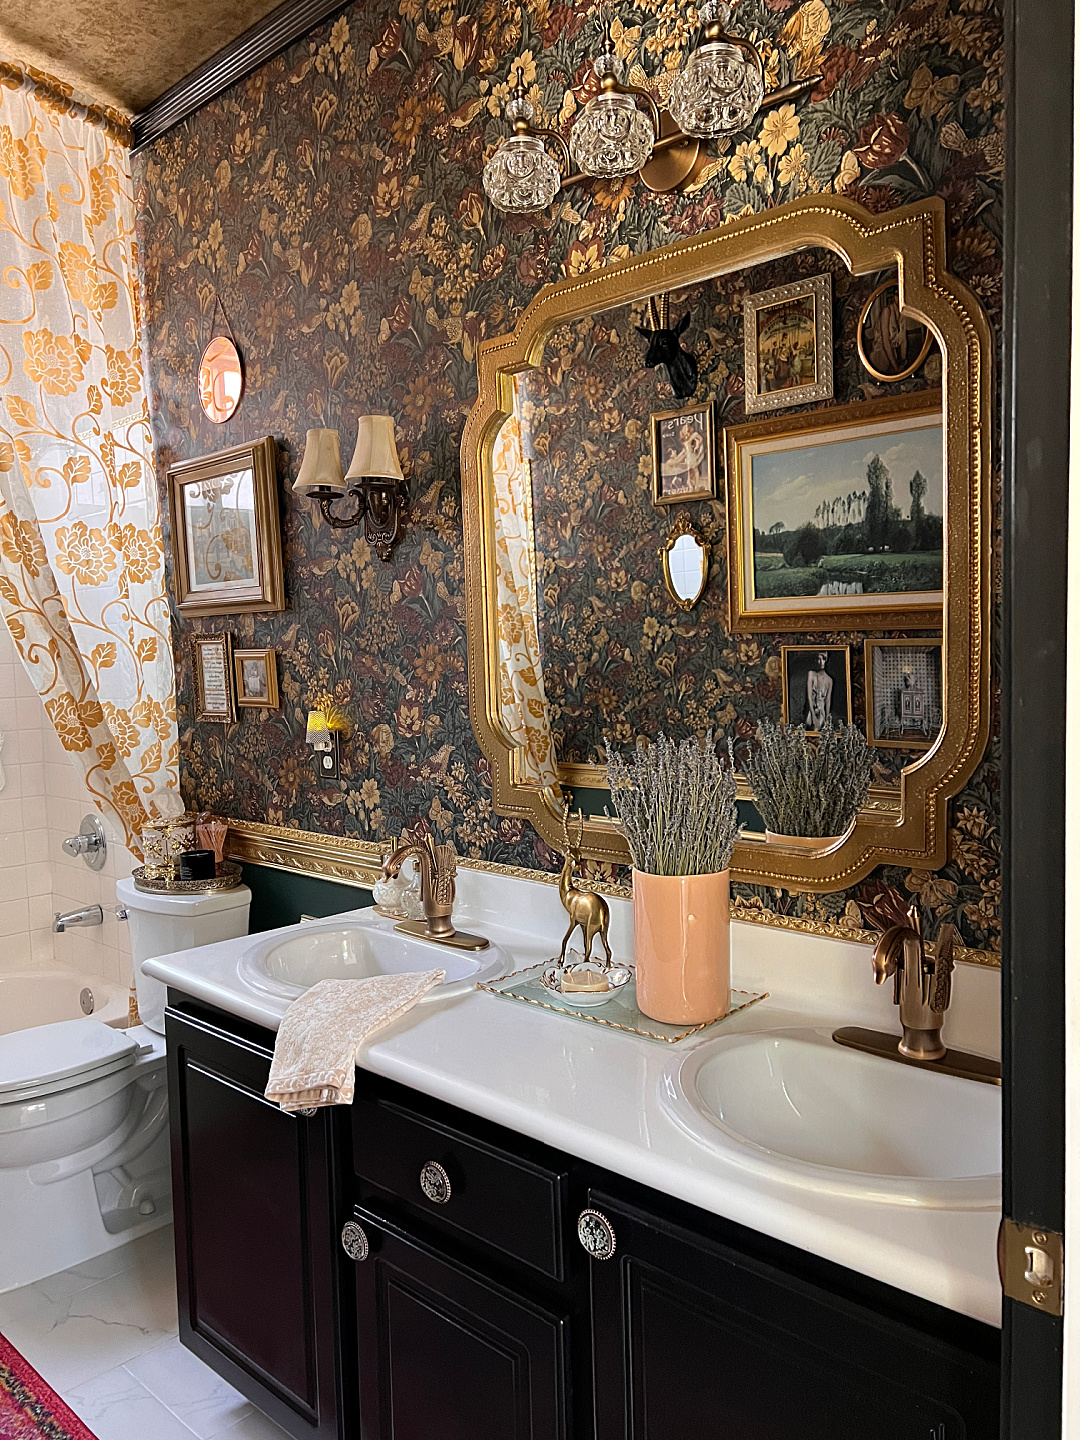
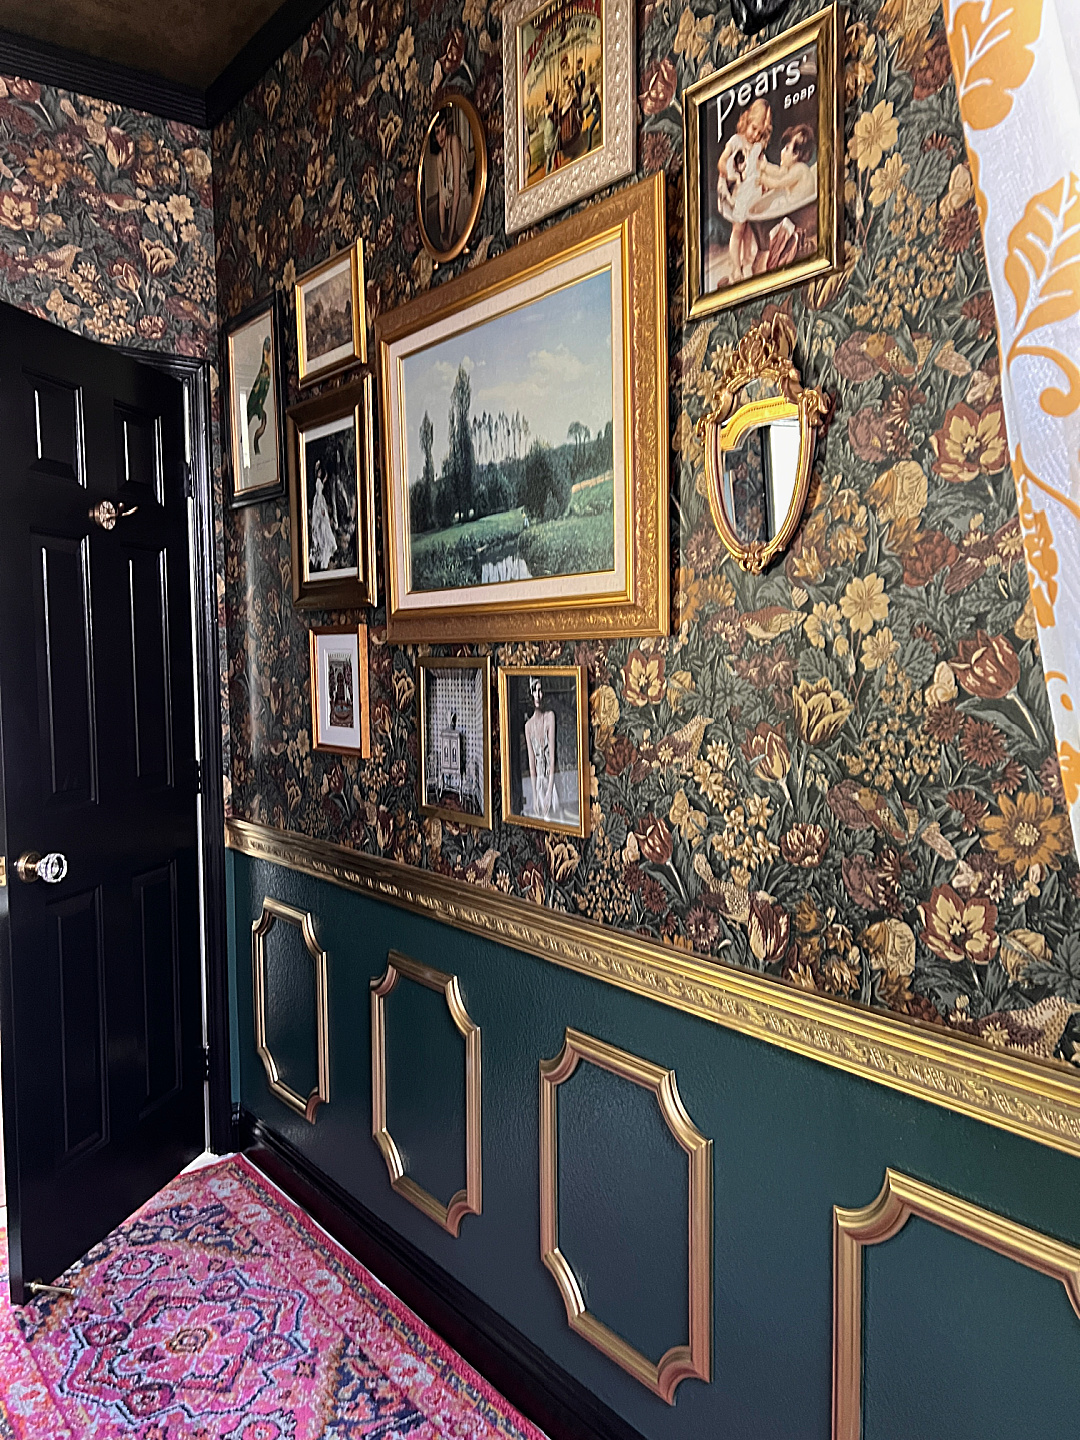
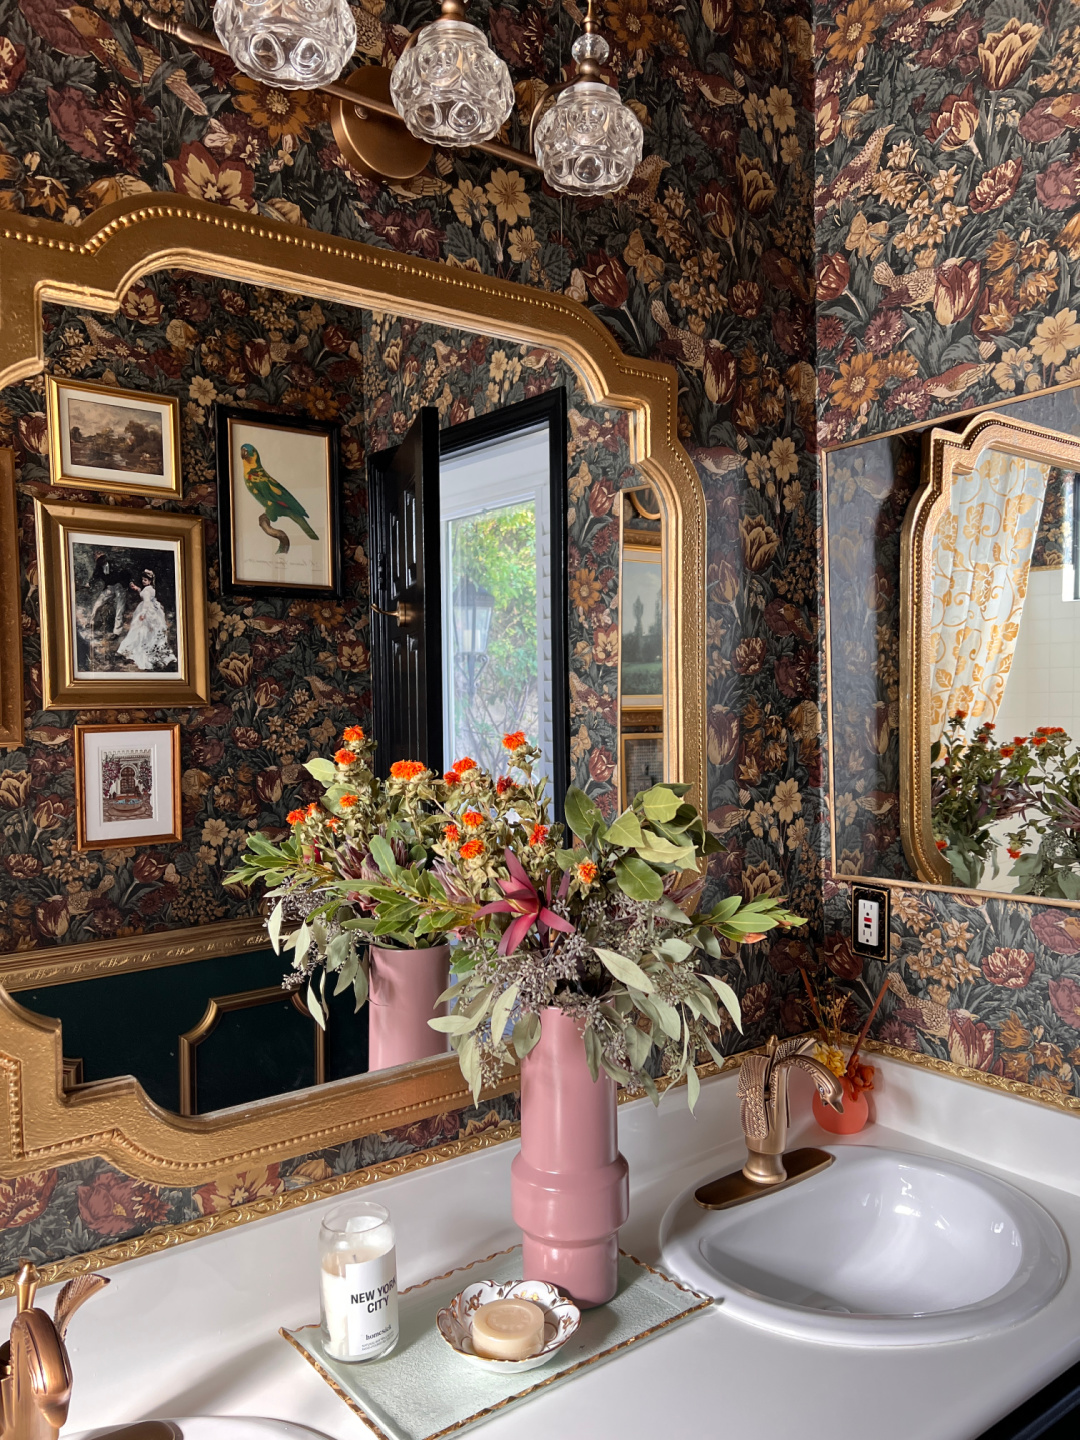
For that powerful old gentlemen’s club atmosphere, we went with daring, deep, rich, dark colors. This range of dark and dramatic hues compliments the gilded antique gold accents with a wonderful moody contrast. While the deeply saturated high gloss dark tones can be used to invite and intrigue, they also create a restful retreat feel that exudes that speakeasy mood we were after in a quiet luxury style.
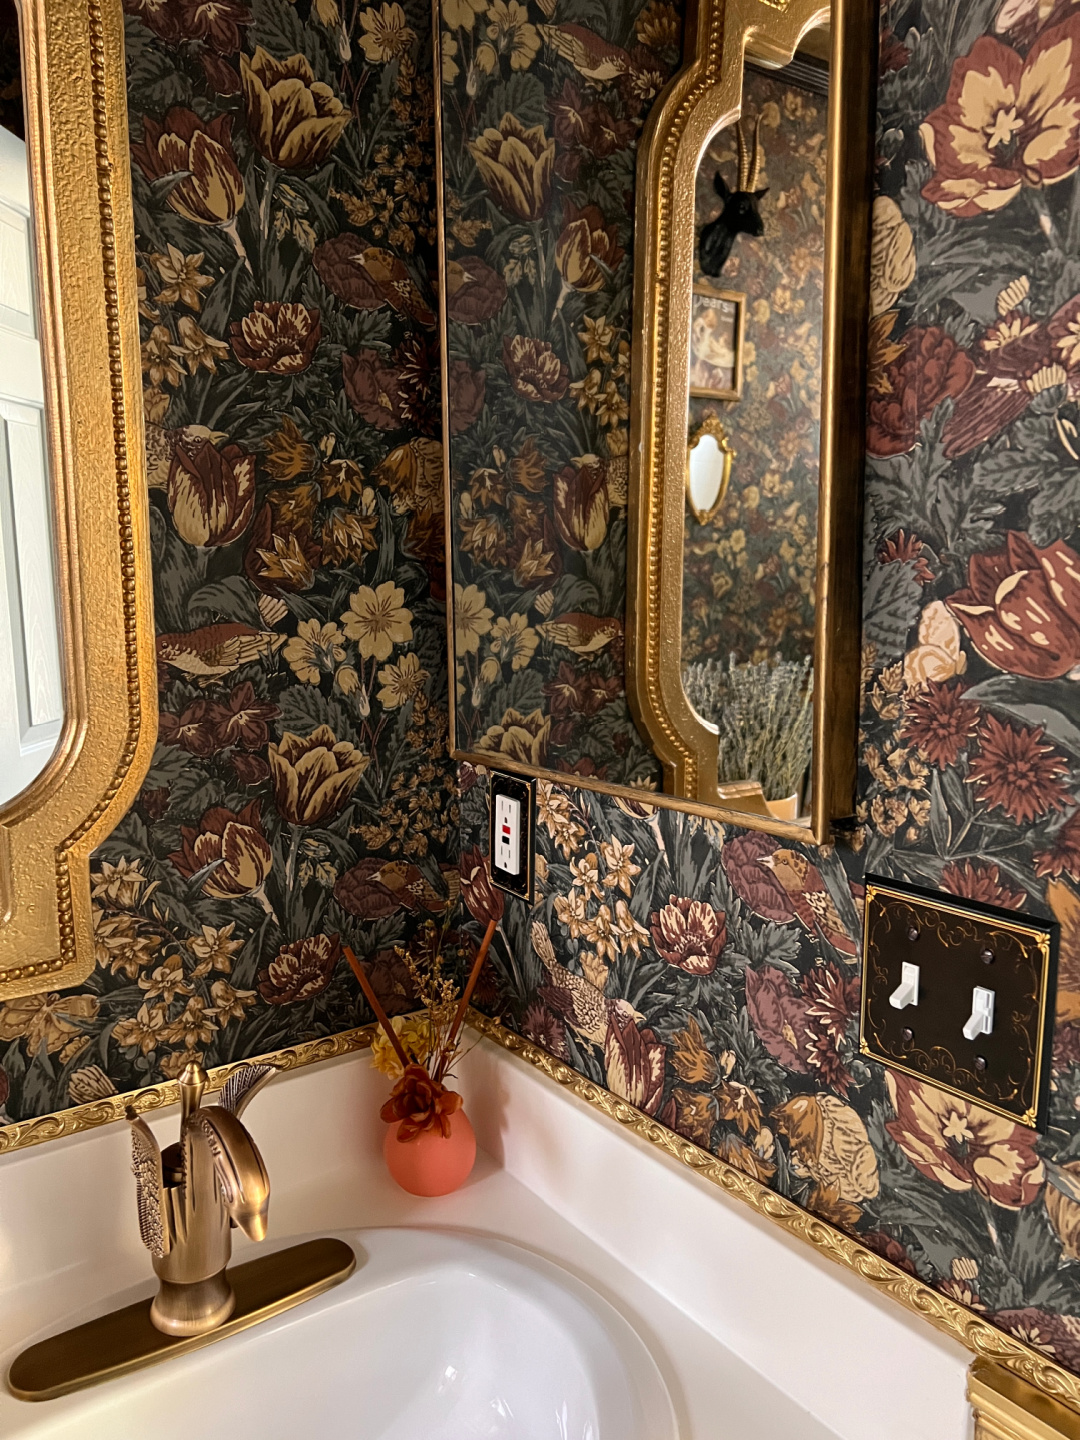
Overall, the bird floral vintage peel-and-stick wallpaper imbues bold and moody and contrasts dramatically with the distressed gold leaf jewel-toned wallpaper pattern we put on the ceiling. As no surprise to anyone, applying anything to ceilings is no small feat. Now add to that tricky corners and accessing ceiling areas above double sinks, a toilet, and a slippery curve tub. The trick was to start with these hardest areas first, which made hanging the paper on the rest of the ceiling a breeze. Be that as it may, the metallic sheen with its subtle shimmer looks spectacular with candlelight, and the moody ambient lighting that casts in this small bathroom now exudes retro vibes that are just fabulous.
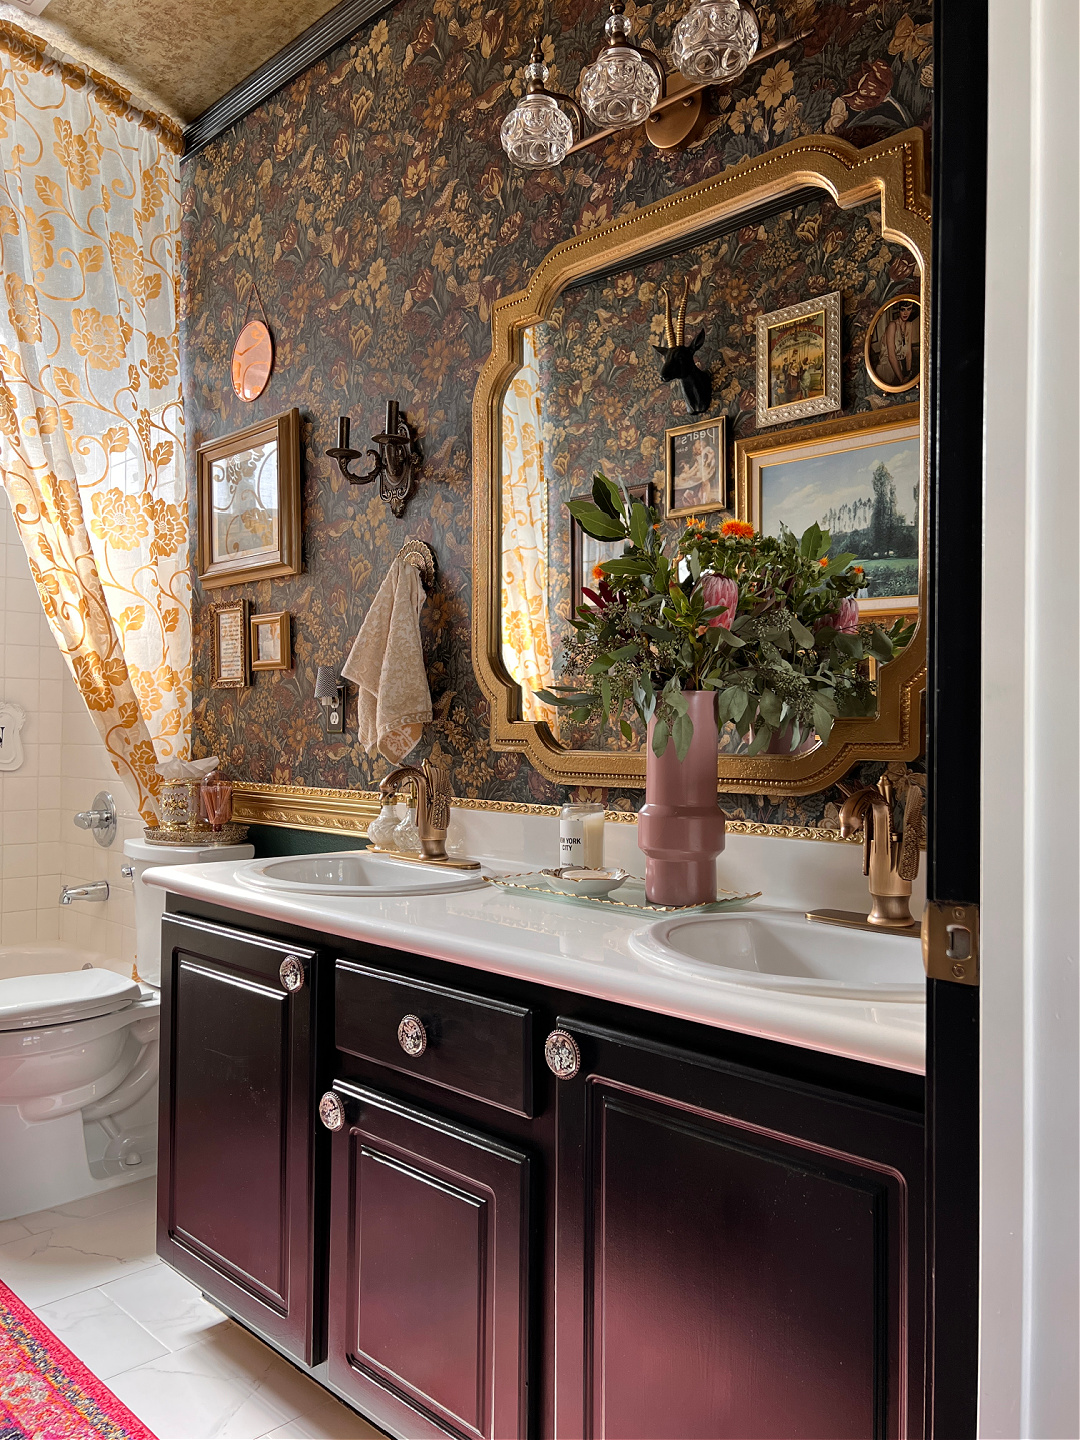
Meanwhile, one of the never-so-easy items to work with is cutting those pesky corners my husband had to contend with. However, the result is well worth it once you overcome the struggle with the cuts, as they’re such a simple upgrade that makes the greatest impact. In addition to using them around the perimeter of the ceiling to cover some of the unfinished wallpaper edges, they also draw the eye upward – making the room feel bigger by calling attention to the height of the ceiling. This detail certainly gave the room a more elegant and polished finish.
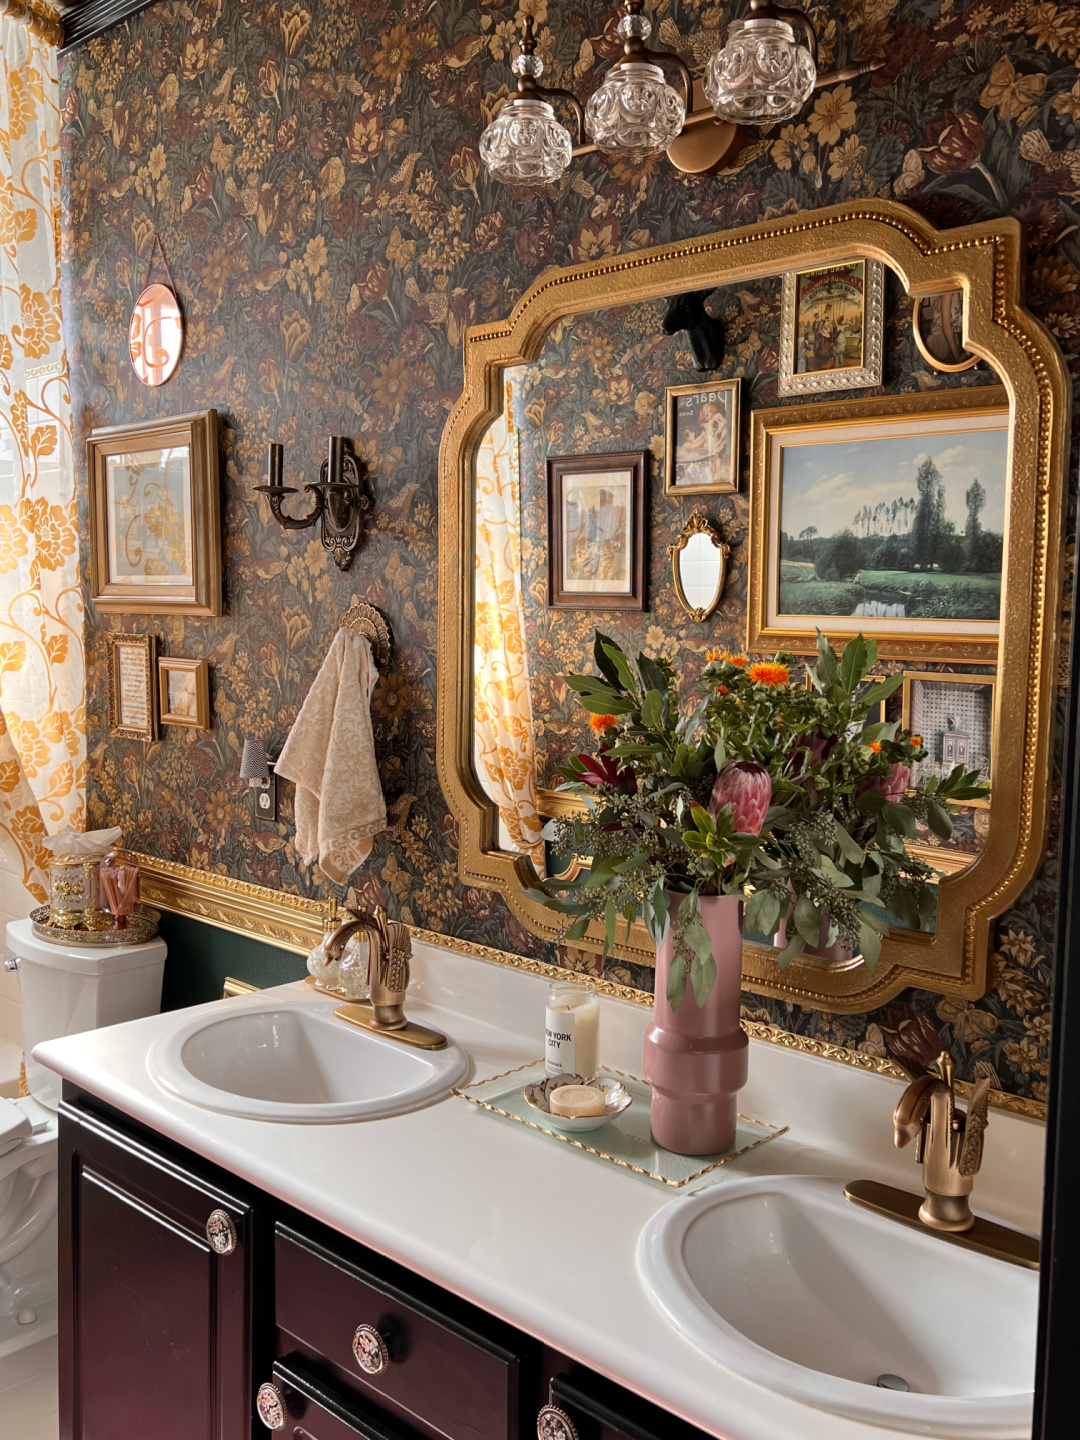
One of our many favorites in this guest bathroom update is the baroque-inspired swan faucets that instantly elevate the old sinks with a timeless, elegant feel. Sure, as is always to be expected in making home improvements, whether small or grand, we faced some challenges in retrofitting these faucets into the old sink. We first had to find a plate that would not only match the faucet but also cover all the holes in the sink (The sink was designed with three holes to accommodate the old unsightly boilerplate faucets, and this faucet only required one hole. Then, much to the shock and dismay of my husband, of course, the new faucet did not fit into the central hole, so there was chipping, chopping, and praying involved to make it fit). However, once those obstacles were overcome, it was easy breezy, right? Wrong! We also had to get new fittings to hook the faucet hose into the existing house plumbing. But, after it was all hooked up, imagine the glorious sound of water rushing through those beauties. Cue the sound of chubby little angels playing their harps in full chorus. 😉
The room is pretty much done, except for a couple of minor details, like finding the right kind of vintage ceiling light fixture, and, eventually, a better-suited floor runner. When you have a small space, don’t be afraid to go big and bold. The end result is exhilarating.