
Search
Search

I find wall galleries comforting because they remind me of faces, places and things that I love. A wall gallery when composed correctly can bring warmth to a home, awakening one’s sense to daily reflect on what matters the most in our lives.
Now if arranging and hanging a wall gallery seems daunting to you, no need to fret. Here’s an ingenious way that makes arranging and hanging (the hubby did the actual hanging for me;) your gallery arrangement a breeze.
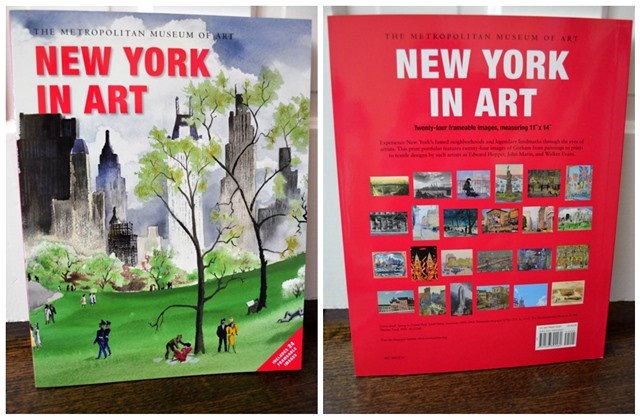
I simply recycled some existing frames I had by changing out pictures that I was tired of looking at and replaced them with some cool photographs from the Met museum’s art book that I purchased a few months ago.

Frames before I changed out the photos
Steps:
1. Lay out your gallery arrangement on the floor in a pattern that appeals to you.
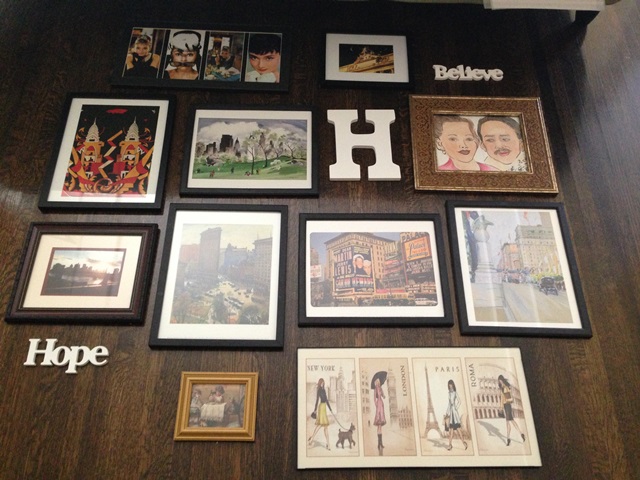
After: revived frames with the New York art photos
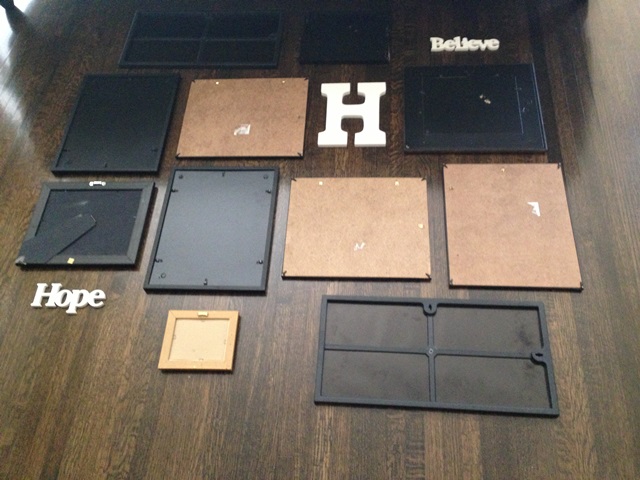
2. Flip frames over face down.
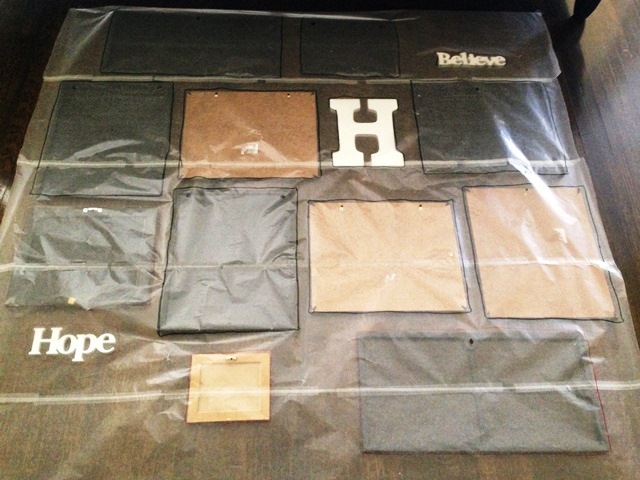
3. Tape several pieces of wax paper together so that it is the same size of your gallery arrangement. Then place your wax paper on top of the arrangement to trace the outline (I used a sharpie) of each frame and hanger/nail spot onto the wax paper.
4. Tape the wax paper on the wall exactly where you want it. I wanted mine in the center of my big wall and credenza, so I just eyeballed it but you can use a tape measure to ensure that it is level.
5. Now nail away onto where your markings are on the wax paper. Remove wax paper from the wall. Hang photos.
I tried several different arrangements before I settled on the one shown above. At first, I still wasn’t sure if that’s how I wanted it, but seeing it all up on the wall leaves me feeling pleased. I will be posting the finished look of my home office wall gallery soon. So check back or sign up on bloglovin’ so you can automatically get updated with new posts.