Recently I was at the West Elm store and spotted this feather wreath. I fell in love with it, and it wasn’t expensive, but for some reason I wasn’t moved to buy it… it actually revived my ol’long lost passion of doing DIYs. Thus, it inspired me to create my version of it and this is what I created. I have not done too many DIY projects due to my lack of patience, but what was nice about this project is that it only took me 10 minutes to complete from start to finish.
The unfortunate thing is that years ago {the time of Katie Brown doing DIY on tv who was my inspiration}, before I even attended design school, I used to do so many DIYs… I wish I knew there would be a thing called the blogosphere where I could have shared them all with you, but I guess this is the occasion where I can appropriately use my not so favorite phrase: “better late than never.”
Our hands are indeed a precision tool without equal that can create beautiful things that uplift others who see our work, and uplift ourselves when we see the end result.
 |
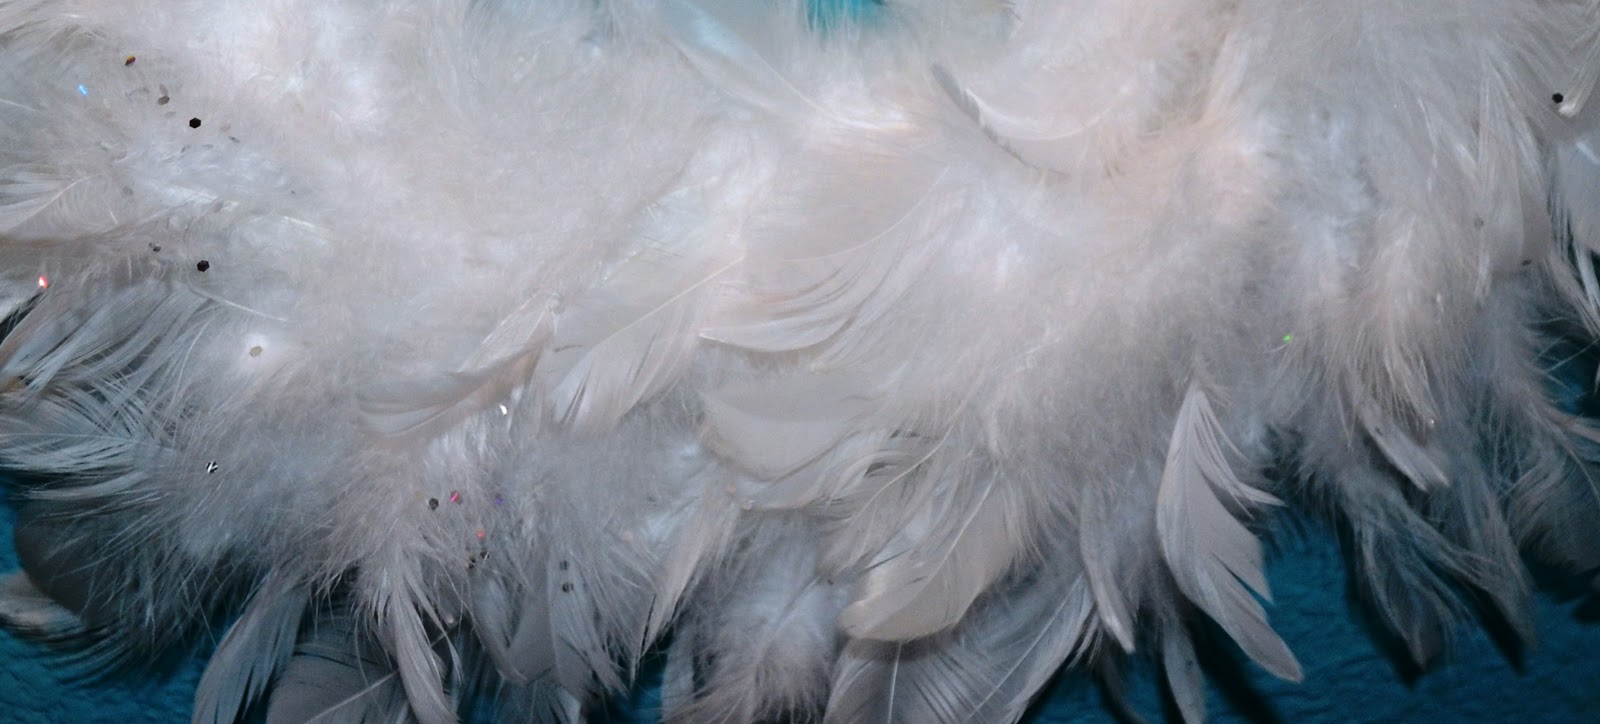
| What I liked with this feather garland… it was full of glitter…. which gave it a subtle sparkle. |
What You Will Need:
1. 12″ x 2″ x 2″ Styrofoam wreath from Michael’s
2. Use felt on the bottom for a protective finish. Michael’s also carries prefabricated cardboard pieces that fit the bottom of the styrofoam wreath, but I had felt material at home already that I preferred to use for a smoother finish.
3. A white feather garland to wrap around the styrofoam wreath. I opted for white, but there are other colors available as well.
4.Scissors to cut the felt if you opt to use felt instead of the cardboard.
5. Glue gun with glue sticks {which I always have in my glue gun}
6.Once you cut the felt to size… glue it to the bottom of the styrofoam… then just glue your garland around the foam wreath carefully covering all sides.
Tip: If you go for the felt. To help cut a perfect circle, put the styrofoam wreath over the felt and mark it along the circumference of the foam and then cut it to size.
When done, this is what it should look like:
What are your proudest DIYs? Please share your DIY projects with me on my facebook page.