
Search
Search
Recently I gave this sneak peek of a DIY project I worked on. This was one of the simplest ones yet! And the coolest part of this project is that I used the most unexpected thing you would ever think of to make a dramatic statement.
Have you had days when you’re stuck at homesick? If you’re anything like me, you usually find yourself looking around and seeing all the things that could use a makeover in the home or apartment. Well, that’s exactly what happened. I was antsy to cover my windows in my apartment, especially since I’m keeping the generic eggshell color on the walls for now. However, the problem with these older pre-war buildings is that they have water pipes that stick out of the wall that runs to the radiators. These “architectural features” can be such an eyesore and annoyingly get in the way of putting a curtain up – unless you get these curtain hooks that stick about 5 1/2″ – 6″ of the wall. When space is an issue, having something stick out that far is the last thing you want. It would make the space look even more diminutive than it already is. But the rather unsightly windows needed a facelift BAAADDD!
My solution? I thought of a cornice…but they can be labor intensive depending on the style and how fancy you want to get. Being on my sickbed, and knowing this apartment is not THE apartment that we’re going to stay in forever made me come up with a solution that was quick, cost-effective and easy to do. It gave the dreary window in the dining room a dramatic facelift.
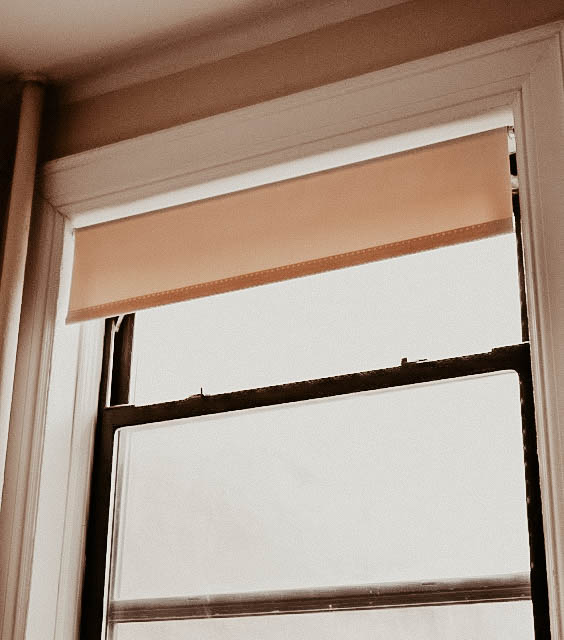
{Window Before}
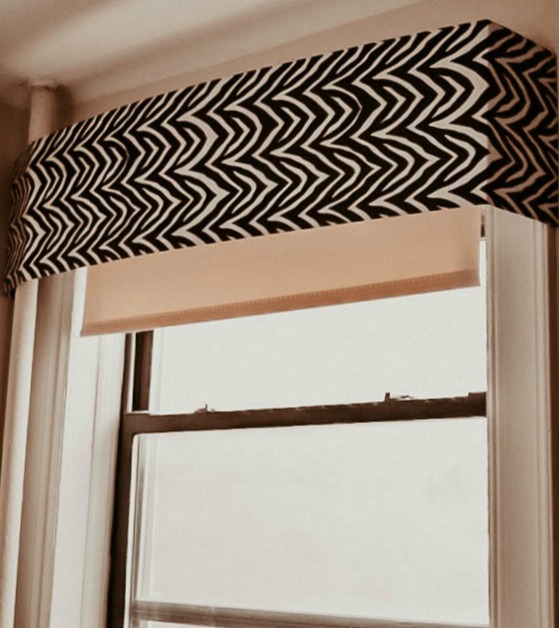
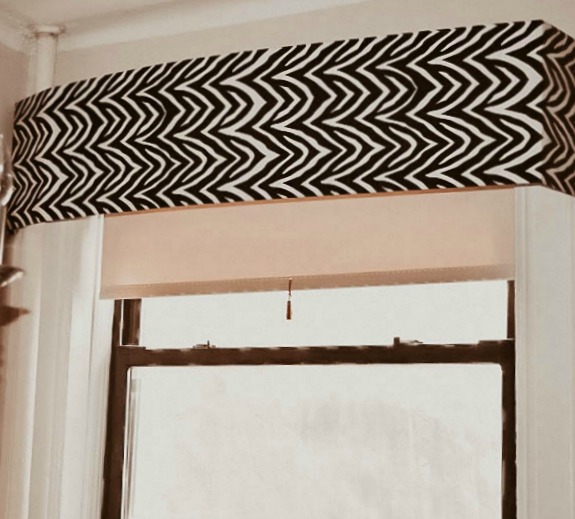
{Window After}
Here’s what you’ll need:
1. Determine the size of your window from outside your window frame.
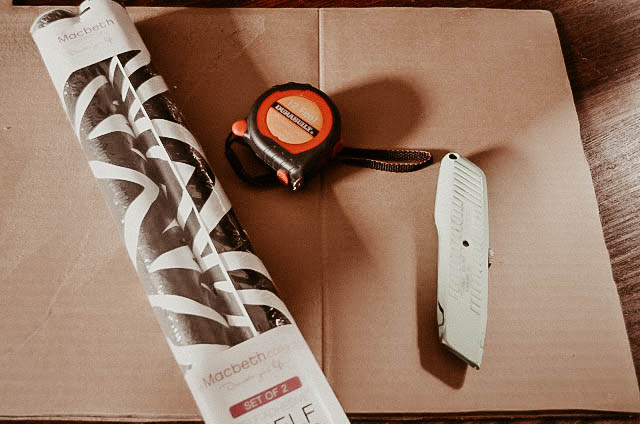
1. X-acto knife
2. 6’ft tall box
3. Contact paper of your choice
5. Paper for the back
6. Straight Edge {optional}
Step 1. Measure Out Your Window
Mark the length of your window on the cardboard box and make sure to add 2 additional inches on each side so that you will be able to wrap it around your window frame molding. Use the Exacto knife to make the cut.
Tip: For a smooth looking finish, you must have a straight line. Draw your measurements and use a straight edge to make a line, score the cardboard with an Exacto knife and then break the pieces along the scored lines.
Step 2. Cut and Position Your Contact Paper Of Choice
Measure the contact paper to match your cardboard and remember to add an additional 2″ per side. You will need to fold the additional 2″ inches over the edges and onto the back. Then cover the remainder of the back with the white part of the backing of the contact paper. As you’re covering your cardboard make sure to keep the paper taut and smooth it down as you slowly peel off the backing off the contact paper – that way, you’ll avoid bubbles.
Tip: You can either use the same contact paper to cover the entire backside or you can flip over your contact paper and use the plain white side of it. Glue it over the edges for a smooth aesthetic pleasing look from the street view.

Step 3: Install Your Finished Product
Install two L-brackets on the wall, one on either side of your window frame molding {or the space where the curtain rod would go}, then attach your cornice over the brackets.
Tip: Since the cardboard cornice is super light, I opted for silver thumbtacks and just pinned the side of the cardboard cornice to the side window frame molding. I used two tacks per side {one on top/bottom of cornice}.
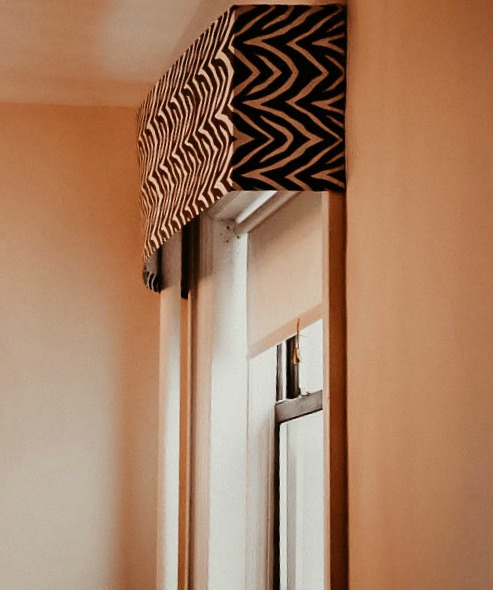
{Side profile after}
Just a tip: if you do happen to get some bubbles in the contact paper, then all you have to do is take the exacto knife and cut a very tiny slit in the center of the bubble and then gently "run" the air out through the slit with your fingers. Be careful not to make the slit too big, or else it would be obvious.
Very true! Thanks for the input.:)