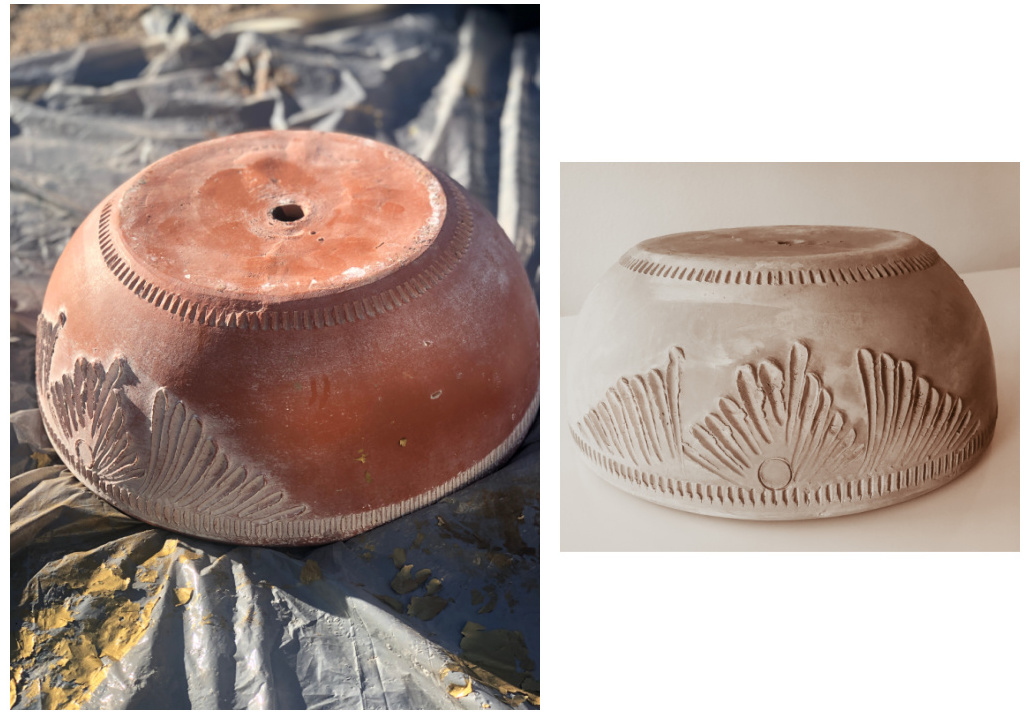
A few months back, while browsing one of my favorite home stores, I came across this round terracotta bowl. The price was so reasonable, I decided to pick it up even though I had no particular plan for it at the time. All I knew was I wanted to change its color. Then a month or so later, I came across a great table on FB Market that I thought would look great for our backyard dining area once it was refinished. While I was in the process of stripping the table, the idea of turning that terracotta bowl into a moss bowl centerpiece came to me. Since I already had most of the items on hand, all I needed was some floral foam and time to put it together. Finally, one afternoon I decided to take a mental break away from my computer screen and assembled this super easy DIY which you can see here.
Moss Bowls are seen in decor for good reason because they are one chic way to breathe in life, add interest, texture, and a touch of natural element into any space. That is precisely what I wanted for that section of our outdoor living area. However, as much as I’ve been swooning over some beautiful ones I’ve seen online, I could never justify spending the exorbitant amounts for such a frivolous accessory. Instead, I made the opportunity to create my own unique piece, and was so pleased with how nice it turned out for less than thirty dollars and it was so easy to make!

Since I’m leaning towards a more subdued, calming palette for the yard, I decided on a mixture of colors to paint the terracotta bowl, starting out spraying it randomly with this spray paint color (which I also had on hand) not covering the bowl completely. Then I went over it with a damp rag dipped in a diluted beige paint color mixture made of one part beige with one part water. After squeezing the excess liquid mixture from the rag, I then randomly dabbed it over the grey to get the right greige shade and texture I was after. Once completed, it left me with the perfect neutral tone of greige with a little bit of the terracotta peaking through that now blends perfectly well with the table that I’ve refinished in a driftwood tone. Another DIY that I’ll be sharing with you soon.


Here’s how to create your own Reindeer moss bowl centerpiece:
Step 1. Paint or antique your terracotta/cement bowl or whatever you decide to use.
Step 2. Glue a piece of felt at the bottom of your terracotta bowl to protect it from scratching your tabletop surfaces.
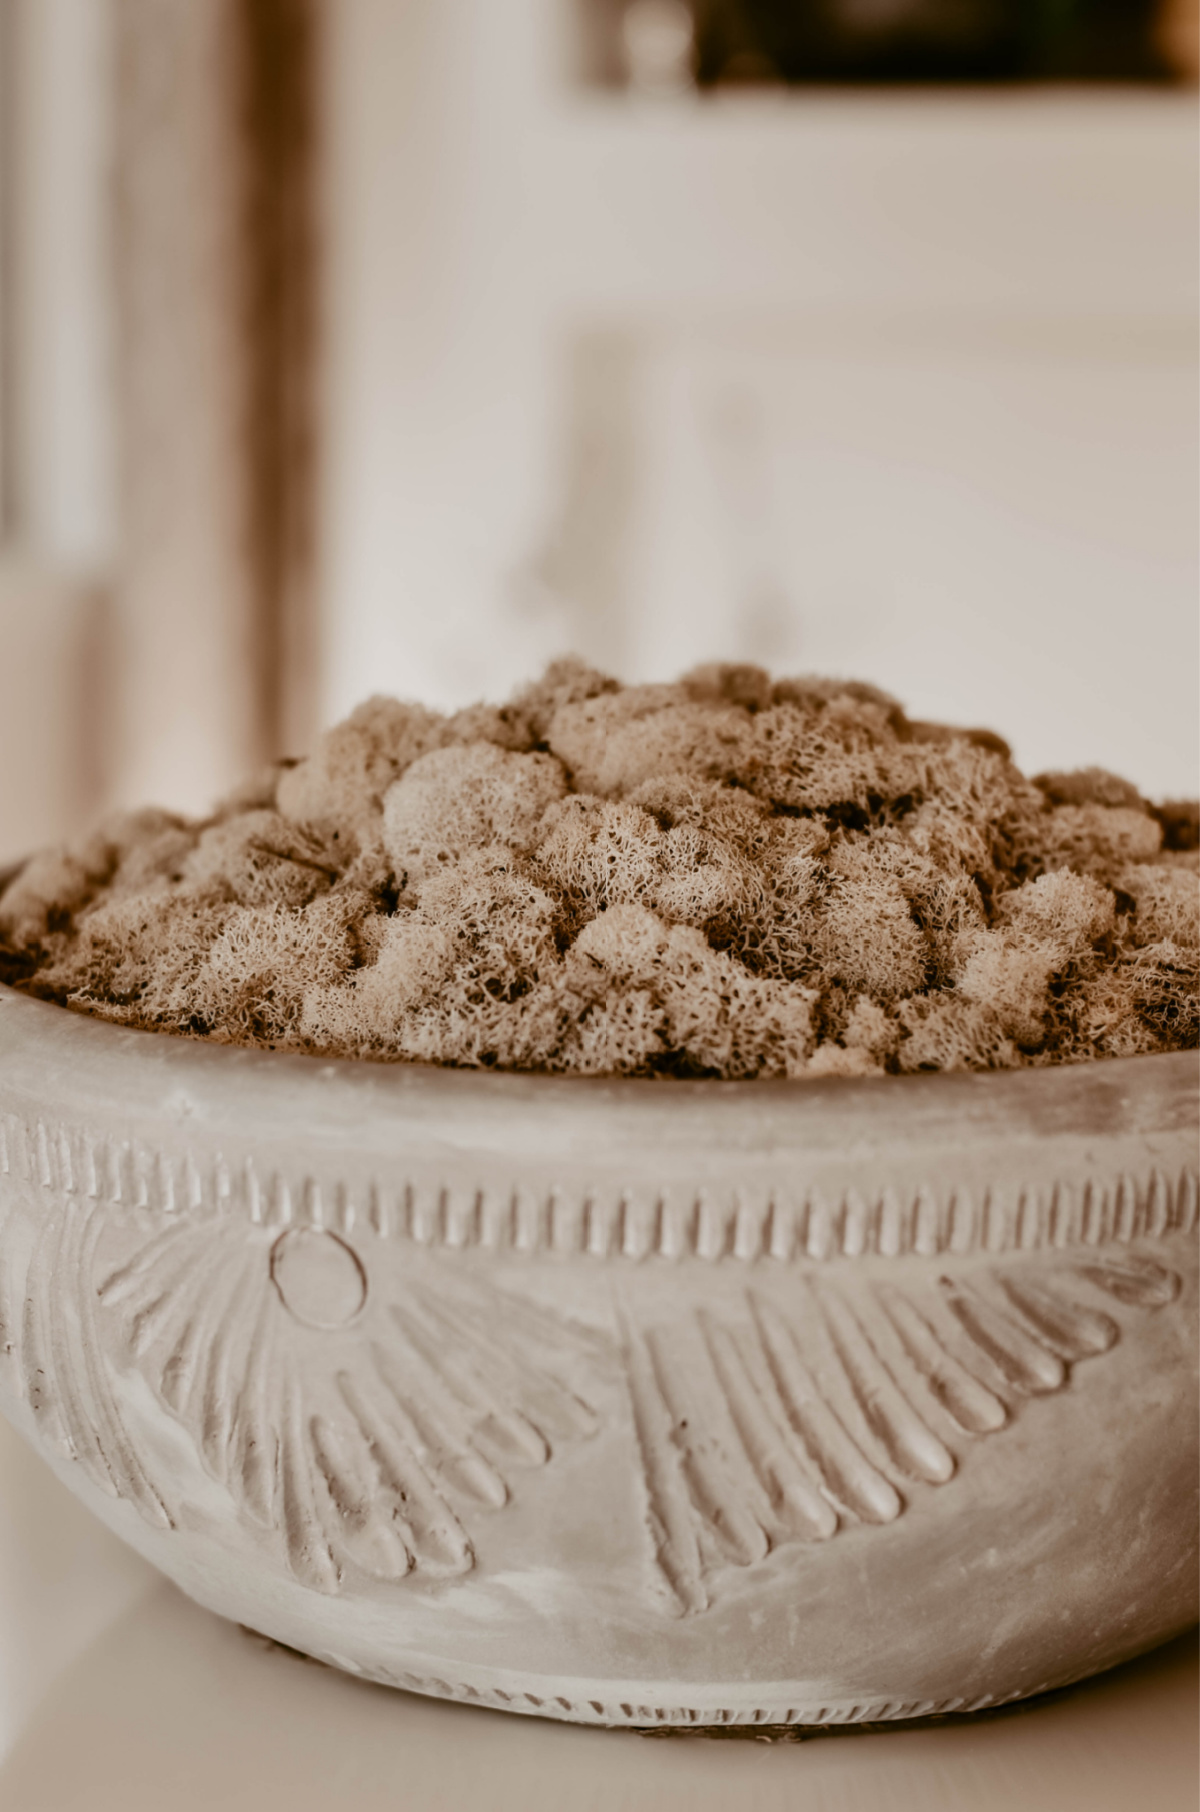
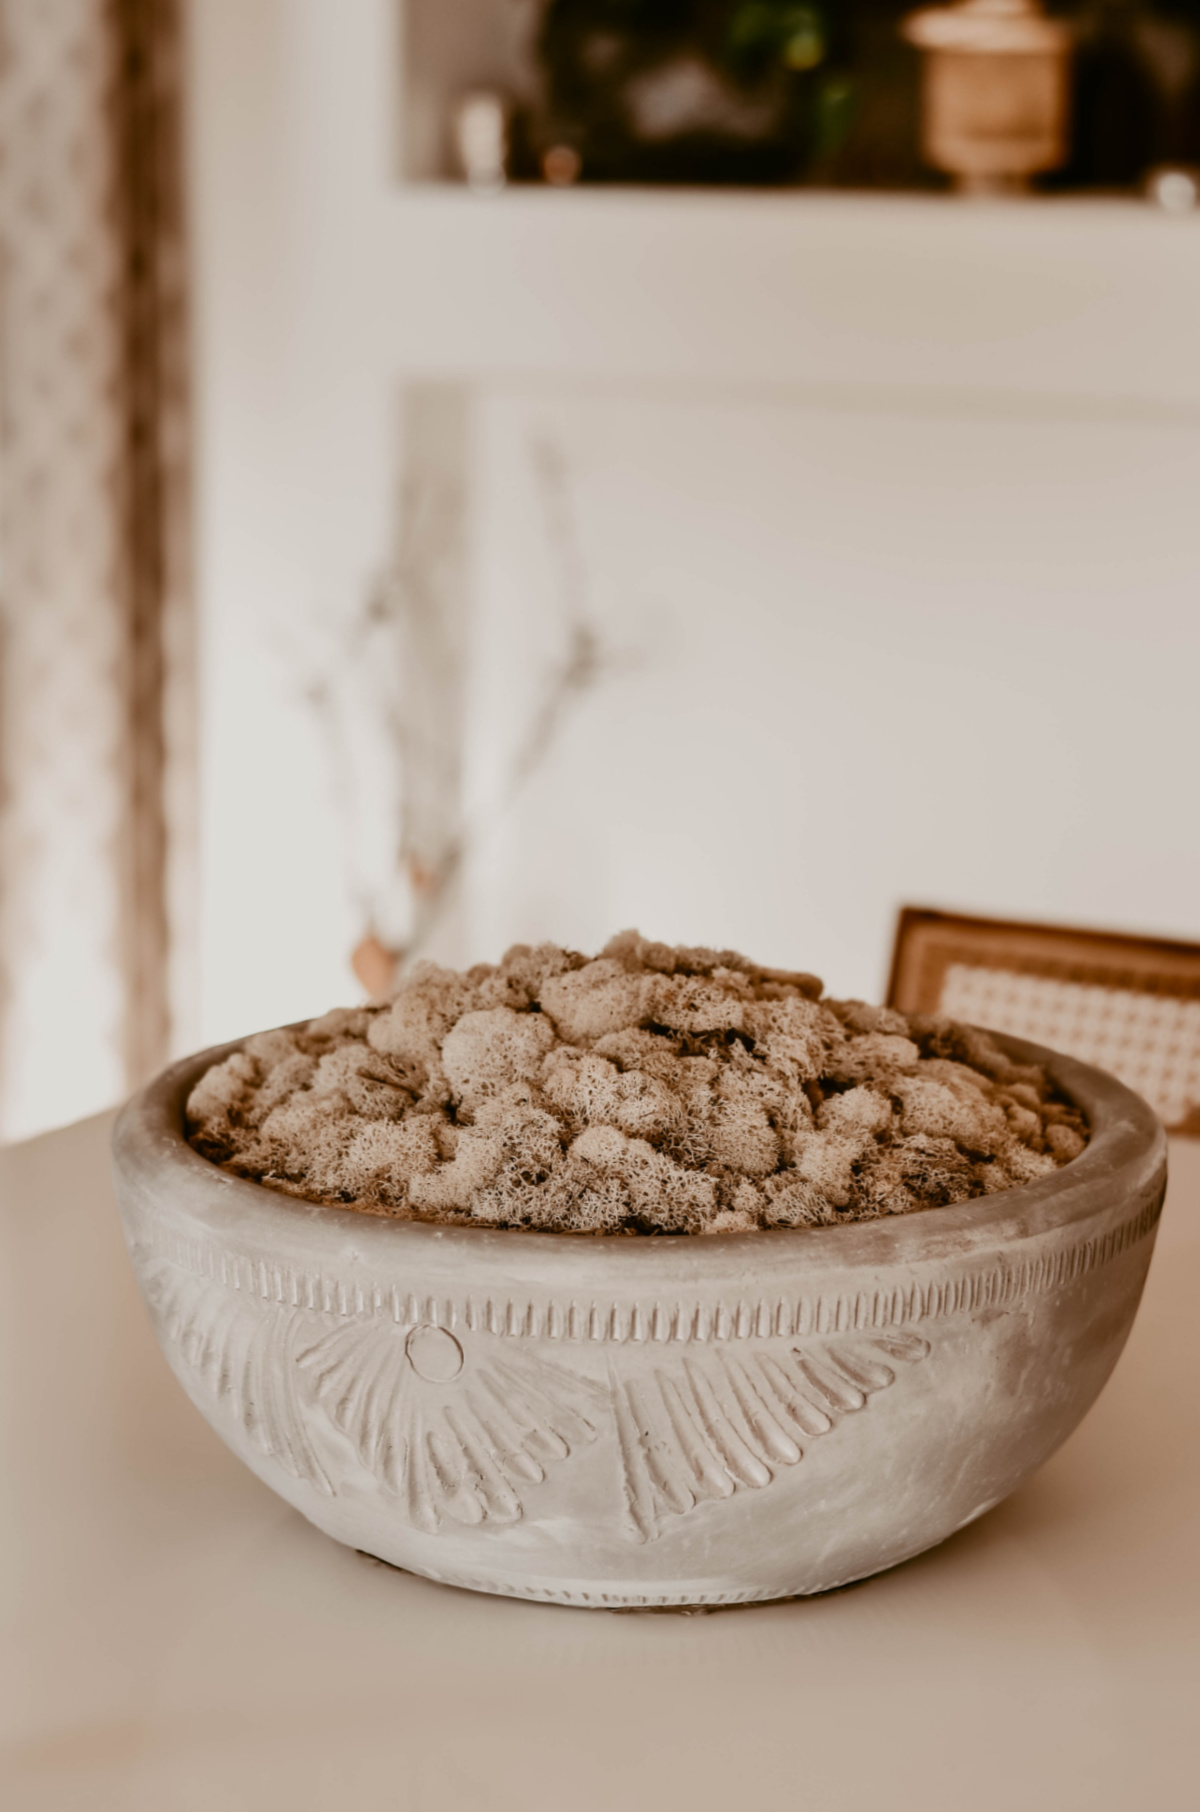
Step 3. Since my terracotta bowl was quite sizable and Reindeer moss is a little costly, I decided to build up the height of my bowl with floral foam bricks – making sure that they fit snugly, and then used some leftover Spanish moss I had on hand to cover the green styrofoam blocks because I would have needed a lot of bags of Reindeer moss to fill-up that bowl, but by doing that, I only ended up using four bags of the Reindeer moss.
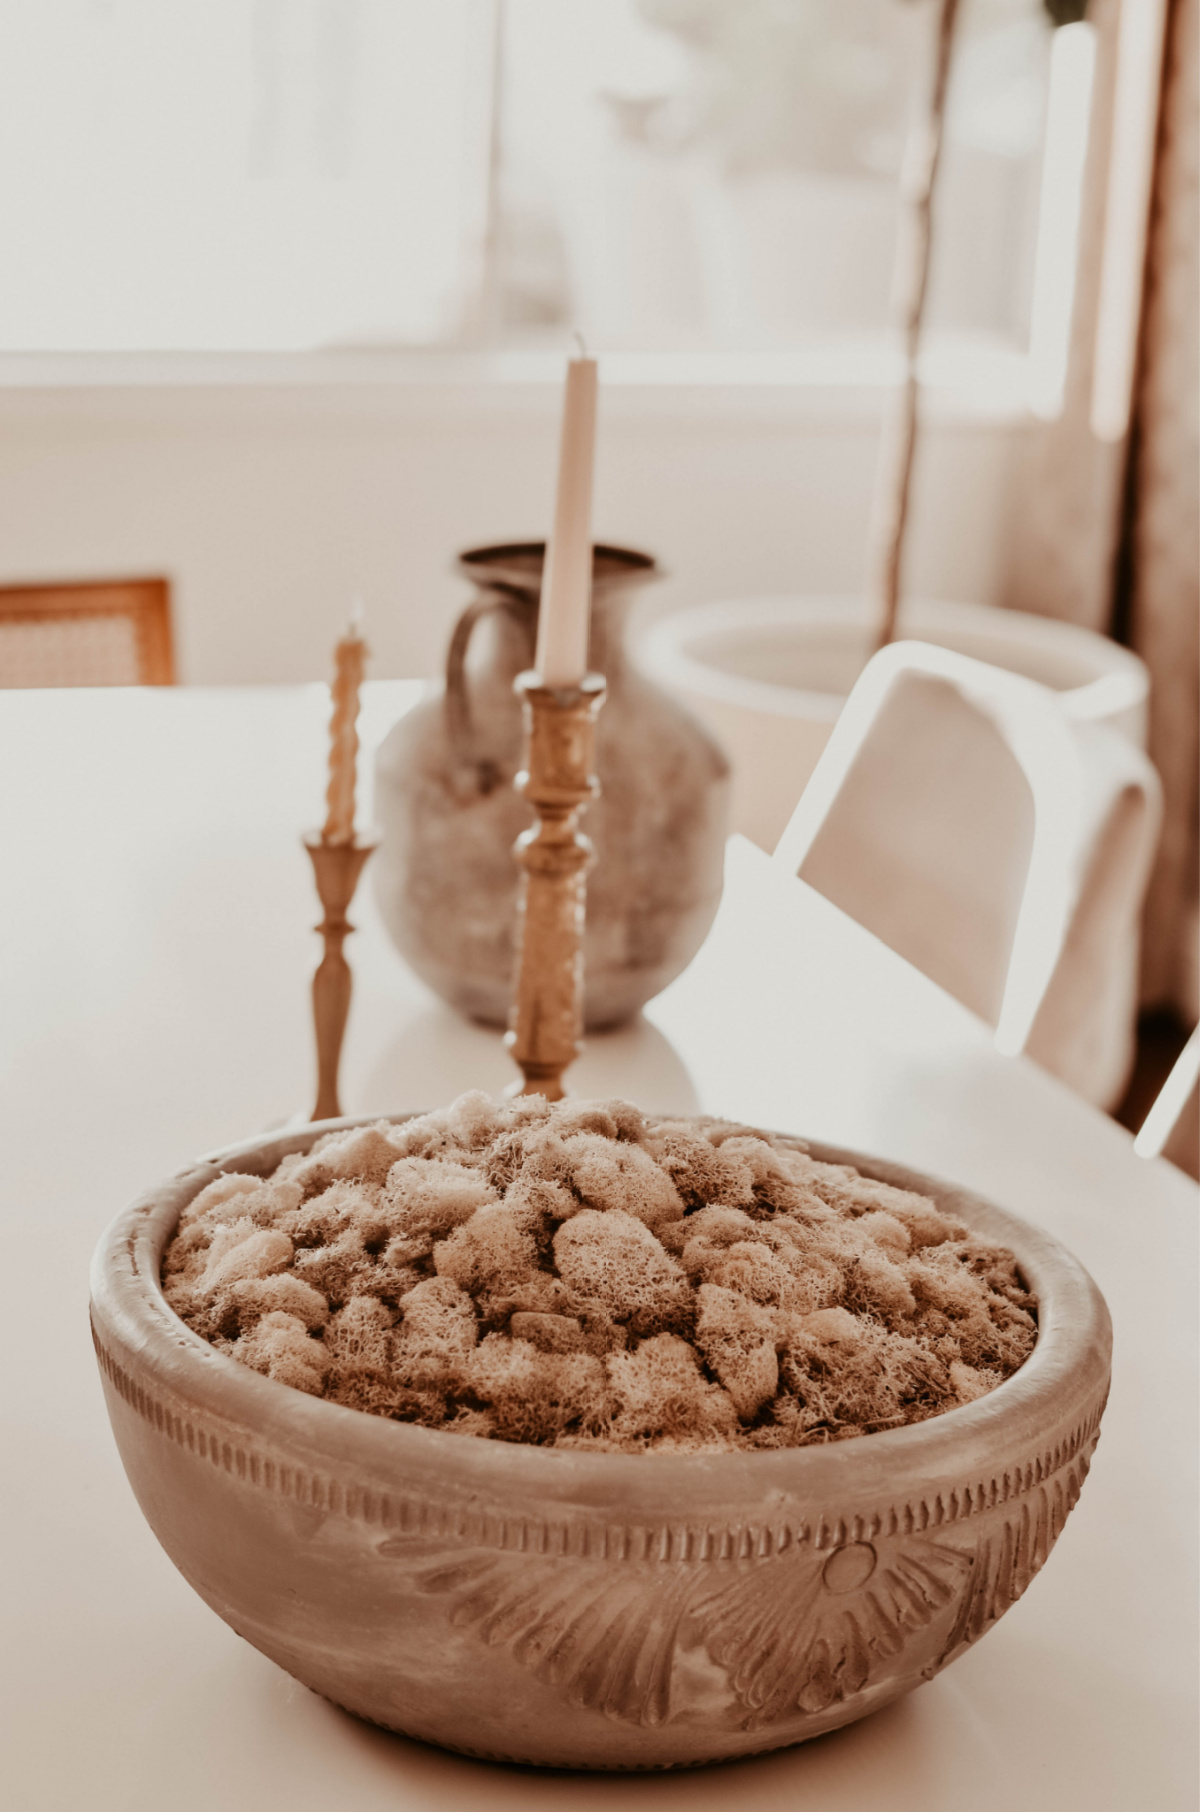
Step 4. Start layering your Reindeer moss – arranging it to your satisfaction – ensuring to fill in every gap while creating a higher mound in the center of the bowl. Once you have it to your taste, use a glue gun and glue down some pieces in place to make sure your handy dandy work stays put on a windy day, especially if using it for your outdoor decor as I am. It gets pretty windy here, so I wanted to make sure my hard work doesn’t get blown into my next-door neighbor’s yard.

I love anything vintage that is old and timeworn. That’s the look I was after and now, the neutral tones of the bowl and the textures of the Reindeer moss complement the wooden table so well – bringing that calm and inviting feel I’m after for that space. There are no rules when it comes to assembling one for yourself – just make sure it’s created with what is meaningful to you. Have fun making your own diy reindeer moss bowl centerpiece.
Don’t forget to tag @beckabellastyle using #dosesofslowliving hashtag with me for a chance to be featured.